
How to craft a modern vintage baby quilt part 6
EASY DIY BABY QUILT SERIES
Free Beginner Sewing Patchwork Pattern With Easy to Follow Tutorials
Perfect for new quilters and a quick make for the more experienced.
ADDING COTTON LACE TO YOUR BABY QUILT BINDING
Part #6 in the series
(This post contains some Amazon affiliate links, I will earn a small commission if you purchase at no extra cost to you)
You thought we were done? Surprise…
Welcome back!
This is an optional step. The quilt is perfect without this added lace. I just wanted to add an extra vintage vibe to mine, and in case you do too, keep reading.
You can catch up below if you missed any of the steps:
In Part 1, we explored the exciting world of selecting fabrics for your baby quilt.
Part 2: We'll dive into the essential steps of cutting fabric to bring your cozy creation to life.
Part 4: We’ll assemble the quilt sandwich and get ready to hand stitch the layers together.
Part 5: We will hand quilt the layers together, then add make and add the binding.
Part 6: We added optiopnal lace to the binding.
Part 7: Bonus queen size fabric requirements for the more adventurous.
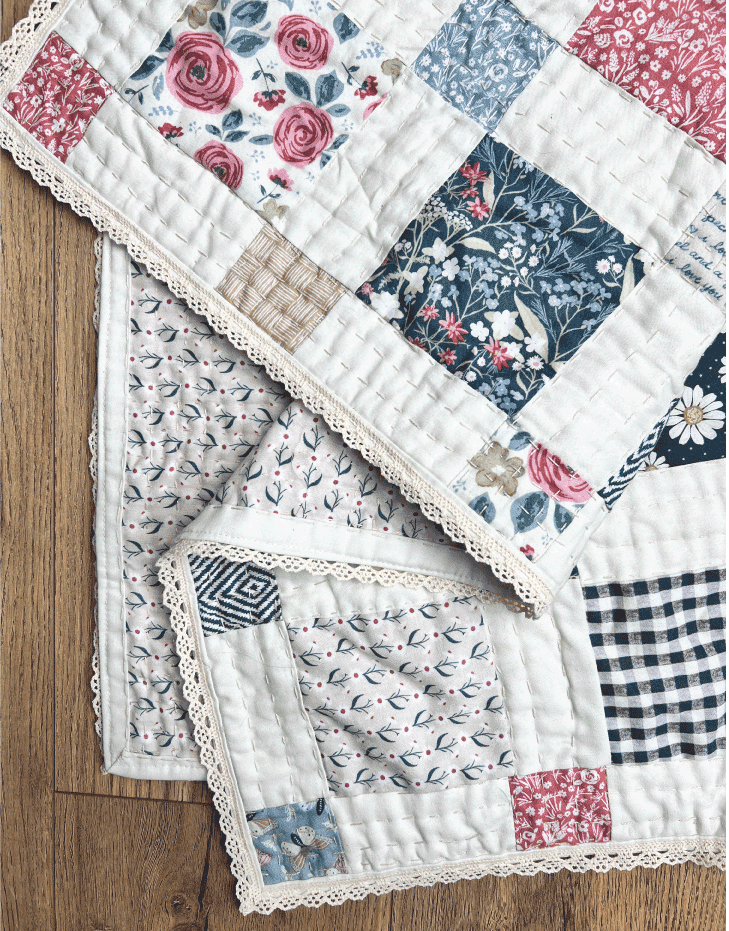
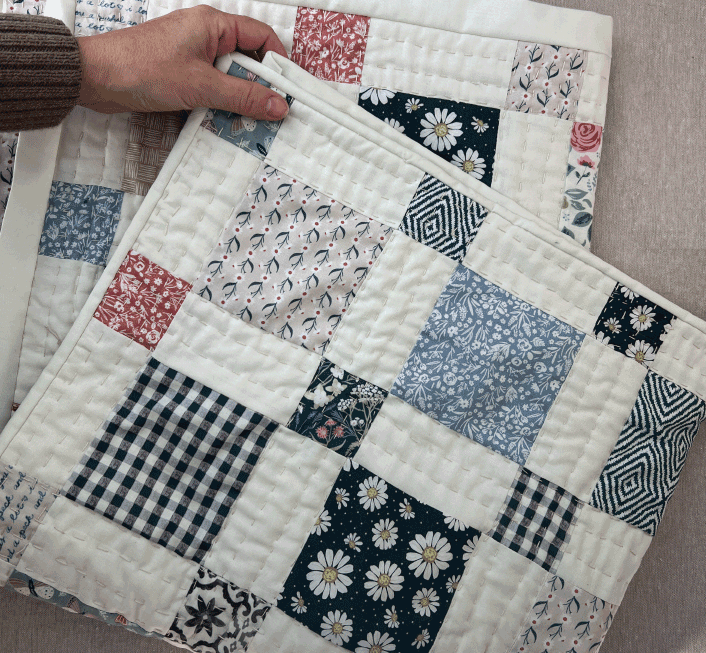
Here is Little Laura without the lace, I do love her like this.
WHERE TO PURCHASE THE LACE
If you want to use the same lace I used you can get it here.
It’s way more than you need, but the price was really great and it included 9 different types of cotton lace (6 yards of each one) for other projects.
You can go check out my instagram reel where I asked my followers to help me choose the lace, you can see all of the different ones included here.
HOW MUCH LACE IS NEEDED?
For this quilt ( 32” x 32” finished size) you will need about 132" of lace. (or about 3.7 yards)
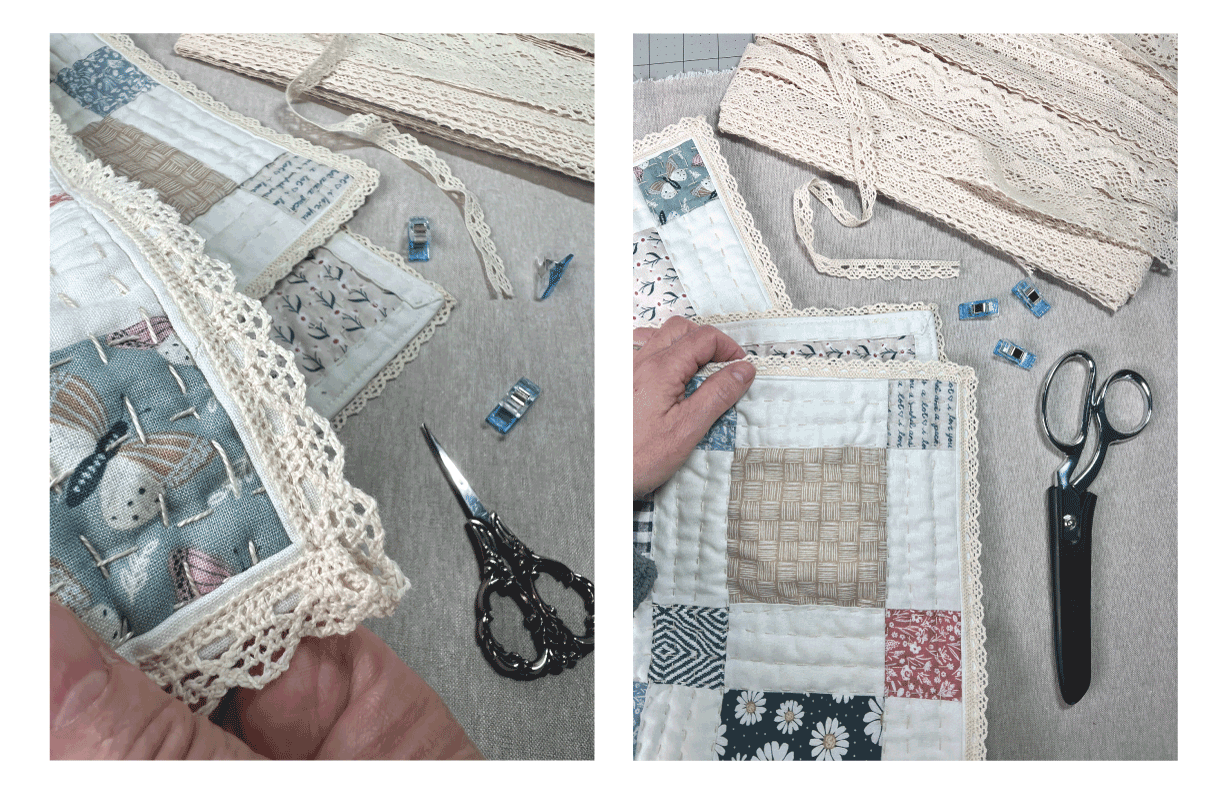
HOW TO ATTACH THE LACE
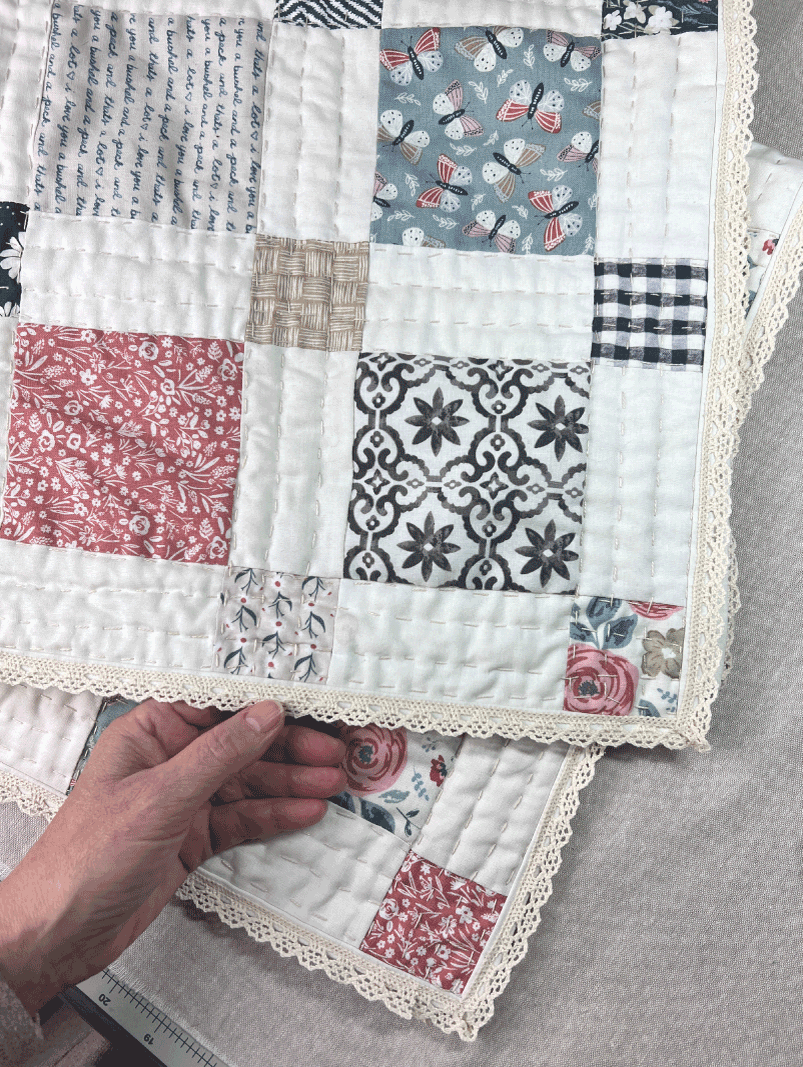
I use clips to attach the lace to the binding on the front of the quilt. Once you start using clips you will never use pins again, promise!
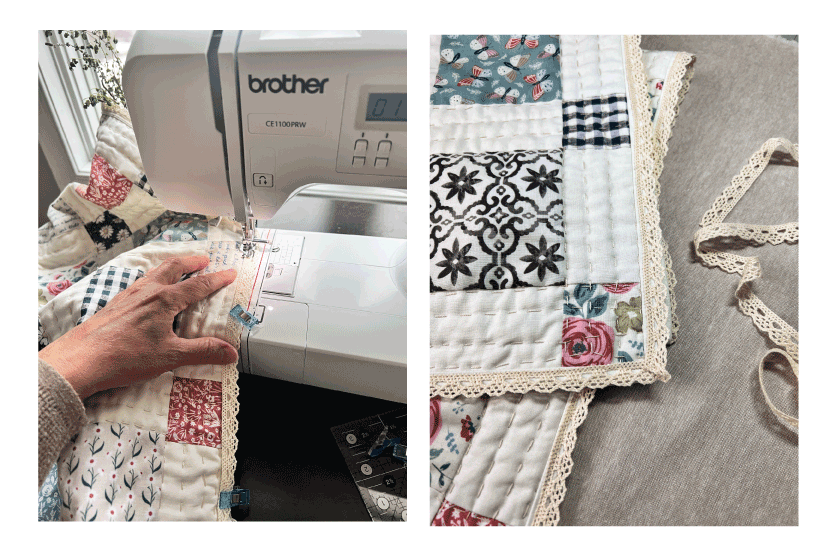
I used 3.0 stitch length and machine stitched the lace to the front of the quilt.
When you get to the corners, miter the edges by folding the lace on a 45 degree angle. See the closeup image below:
I am so happy with the results. The lace gave my quilt the perfect vintage vibe I was looking for.
Need a little more help attaching the lace? I made a video for you to show my method, see below.
If you have a better way, I’m all ears, let me know in the comments.
HOW TO ATTACH LACE TO BINDING
How to attach cotton lace to quilt binding. Easy to follow technique to get pretty mitered corners and barely visible join. Hand stitching the ends completes this quilt and adds a lovely vintage vibe.
Please let me know if you like the addition of lace, or if you prefer it without.
Any tips to share about working with lace? Please let us know in the comments.

Thanks so much for following along, and please let me know if you have any questions.
I would love to see your makes, you can tag me on Instagram @maureenmaker or just reply here in the comments.
I reply to every comment.
Happy Making,
XO Maureen