
How to craft a modern vintage queens size patchwork quilt
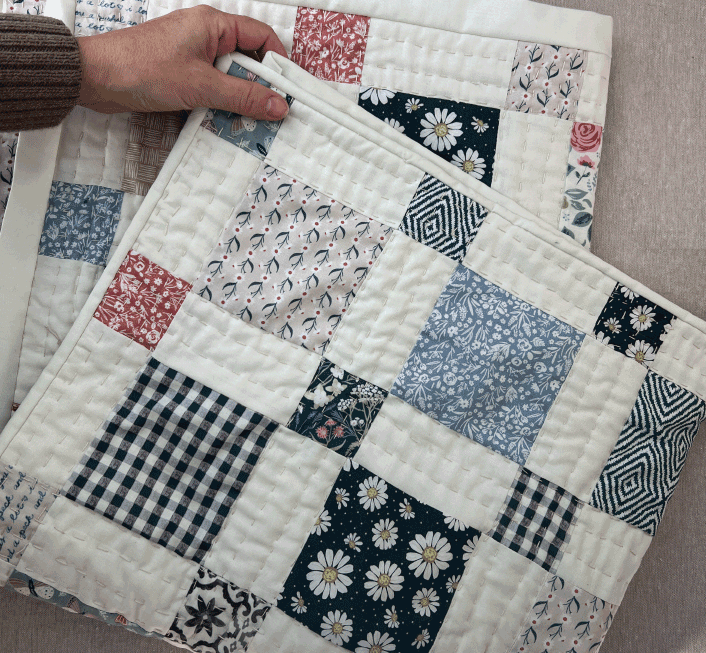
EASY DIY QUILT SERIES- BONUS QUEEN SIZE DIMENSIONS
Free Beginner Sewing Patchwork Pattern With Easy to Follow Tutorials
Perfect for beginner quilters and a quick make for the more experienced.
Part #7 in the series
THIS BONUS POST IS A FOLLOWER REQUEST.
Are you up for a challenge?
I have roughly figured out the fabric required for a Queen size quilt top version of this quilt.
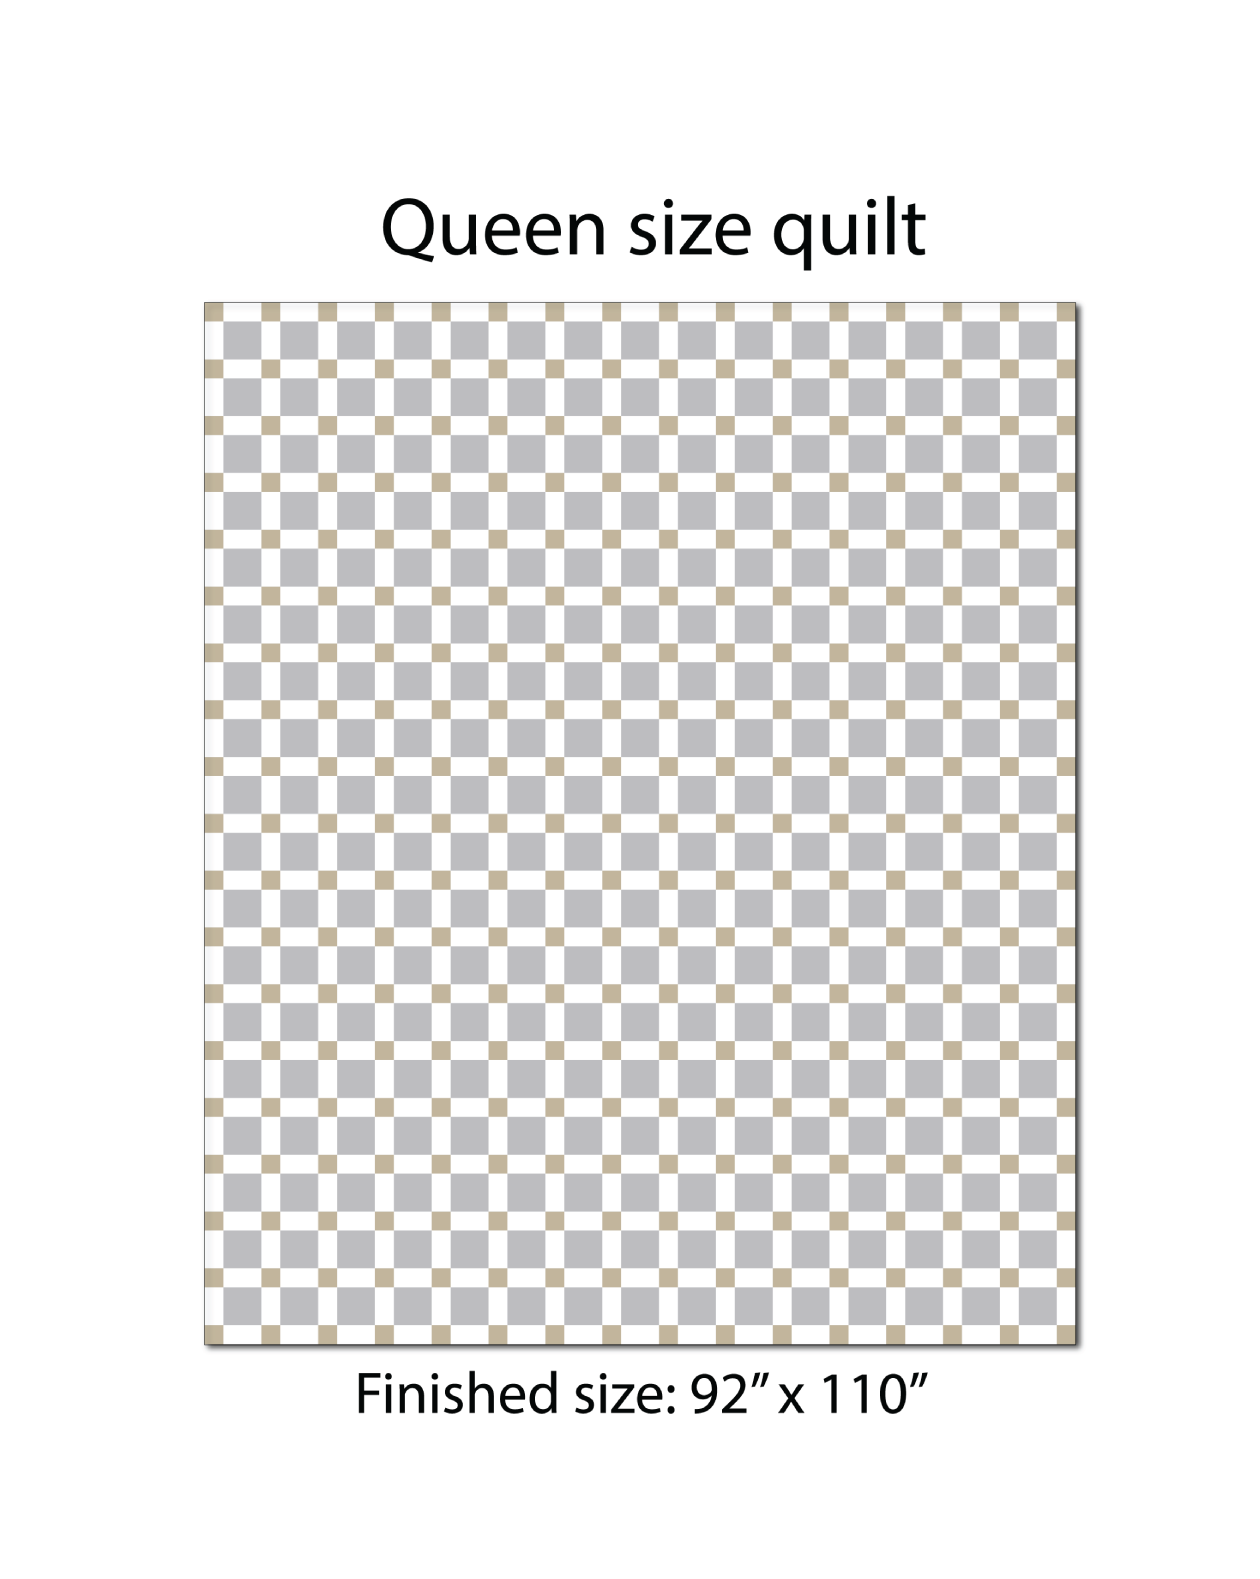
I have assumed that the maker will want to begin and end the quilt with the 2.5” units framing the quilt for a more balanced appearance, so I extended the finished quilt top to measure 92” x 110” which is a little larger than a standard queen size quilt. Feel free to make this smaller if you want. See the diagram below so you can visualize the layout.
(A standard queen size is usually 90” x 108”, so this is very close.) I prefer my quilts slightly larger, maybe you do too?
I created this at actual size in my software to make sure it was accurate, but please do your due diligence and double check my numbers before you buy and cut your fabric.
The diagrams below show how many quilt pattern pieces will fit on one yard of fabric.
If making a scrappy quilt, you will need less yardage of each fabric.

BACKING AND BATTING CALCULATOR:
To calculate the backing and batting required I like to use this resource.
Let me know if you are ambitious and make this huge quilt, I would love to see it and feature it on my instagram account.
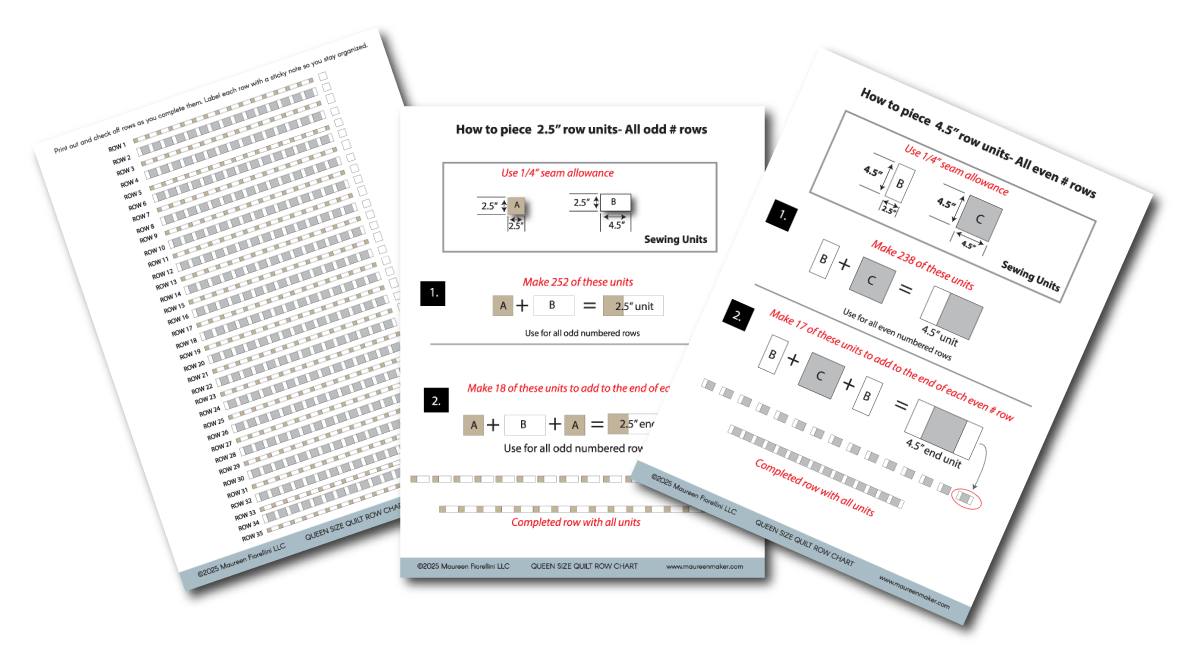
I made you a downloadable chart to keep track of your fabric piecing and rows.
Print out and check off each row as you go, and don’t forget to label your rows to stay organized. I like to use sticky notes, but they tend to fall off. My friend Belle from Seams Sew Me makes these cute piecing clips.
Click below and will join my makers vault where you can get this printable, or just click here.
Happy Making!
XO Maureen
This is part 7 of a 7 part series on making the 32” x 32” baby quilt “ Little Laura”.
For quick links to skip ahead to the other posts in this series, click below:
You can catch up below if you missed any of the steps:
In Part 1, we explored the exciting world of selecting fabrics for your baby quilt.
Part 2: We'll dive into the essential steps of cutting fabric to bring your cozy creation to life.
Part 4: We’ll assemble the quilt sandwich and get ready to hand stitch the layers together.
Part 5: We will hand quilt the layers together, then add make and add the binding.
Part 6: We added optiopnal lace to the binding.
Part 7: Bonus queen size fabric requirements for the more adventurous.