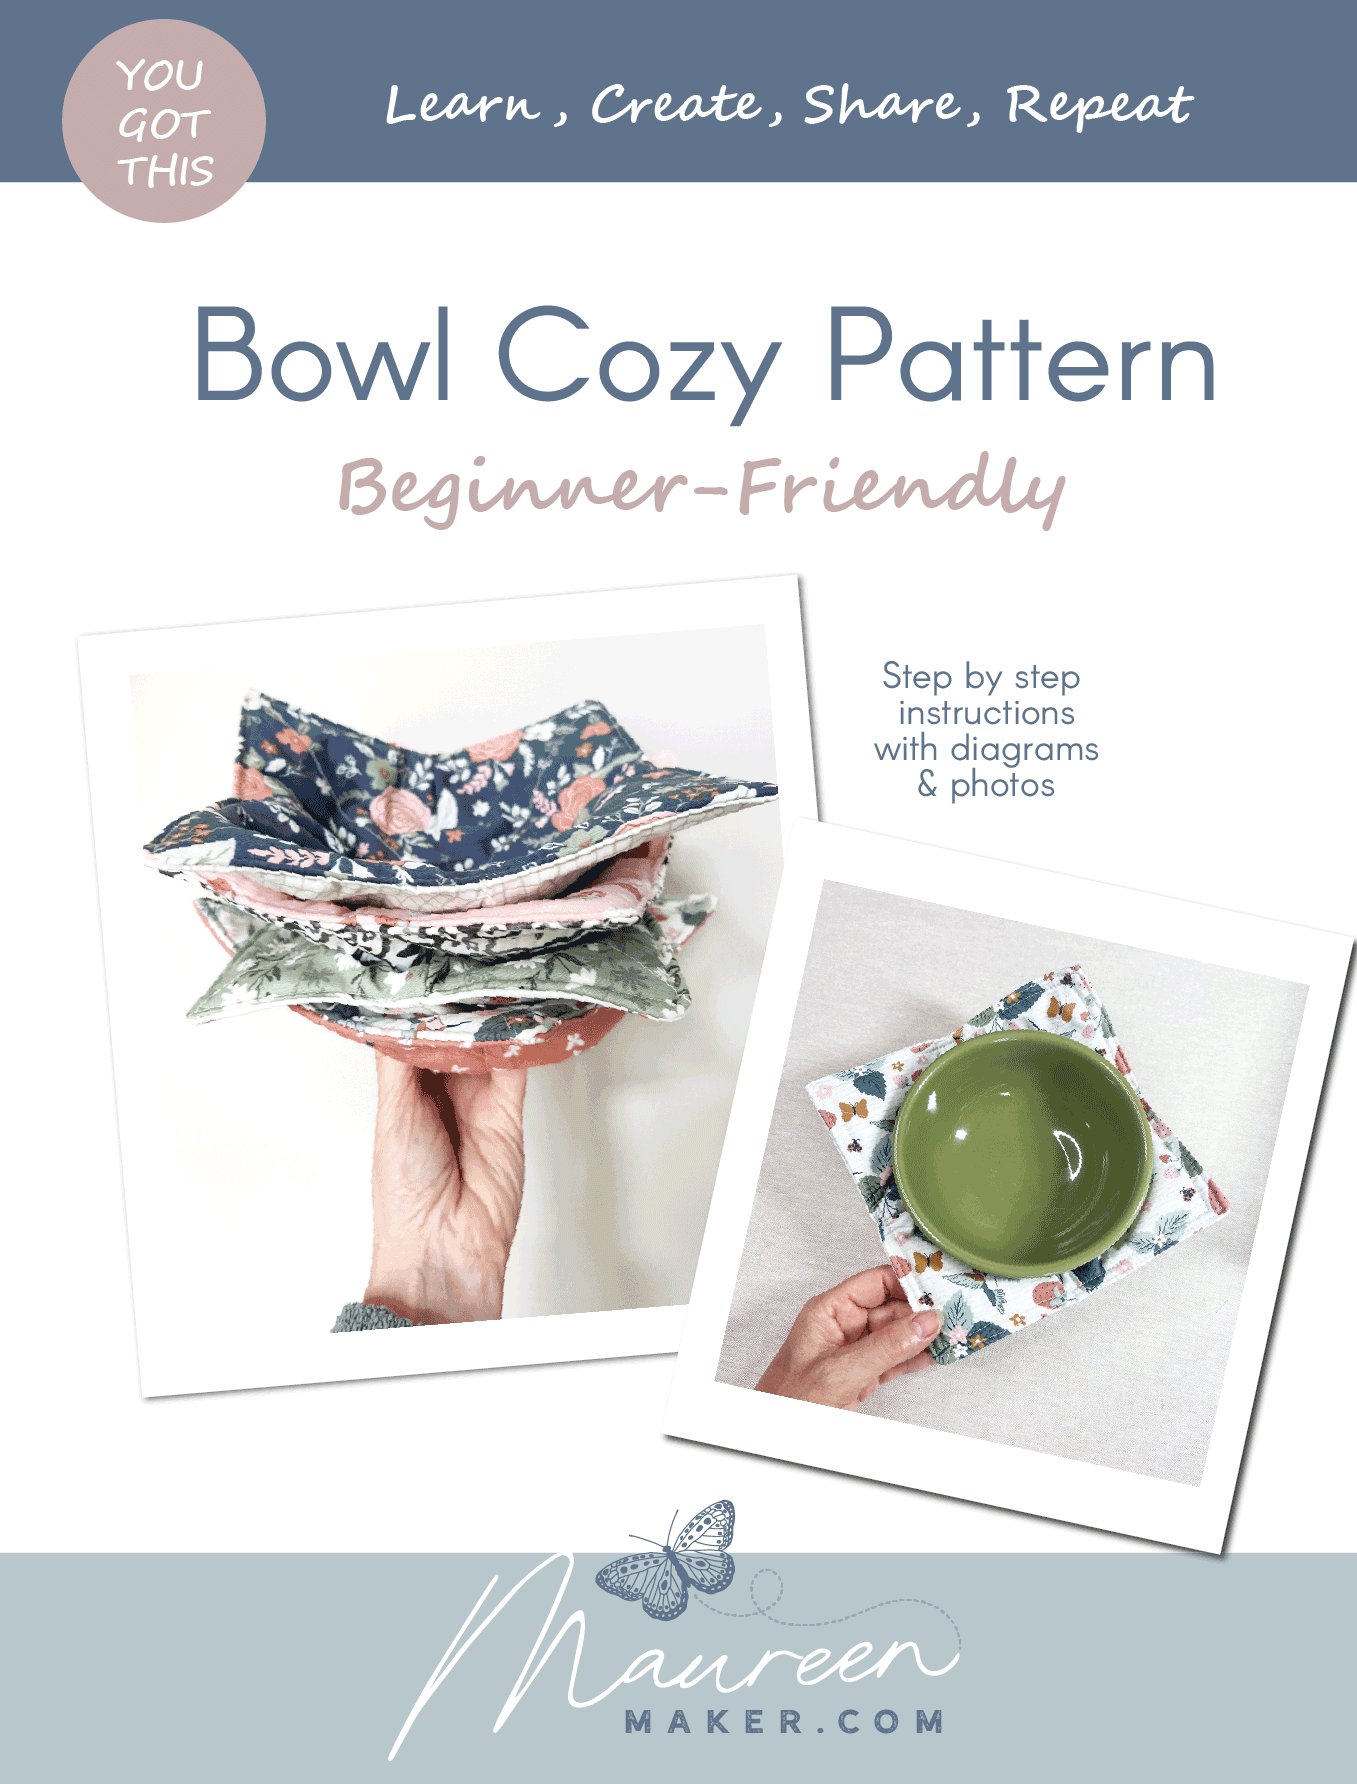
HOW TO MAKE A BOWL COZY FREE PATTERN TUTORIAL
HOW TO MAKE A BOWL COZY- Beginner - friendly
Step by step FREE PATTERN and TUTORIAL
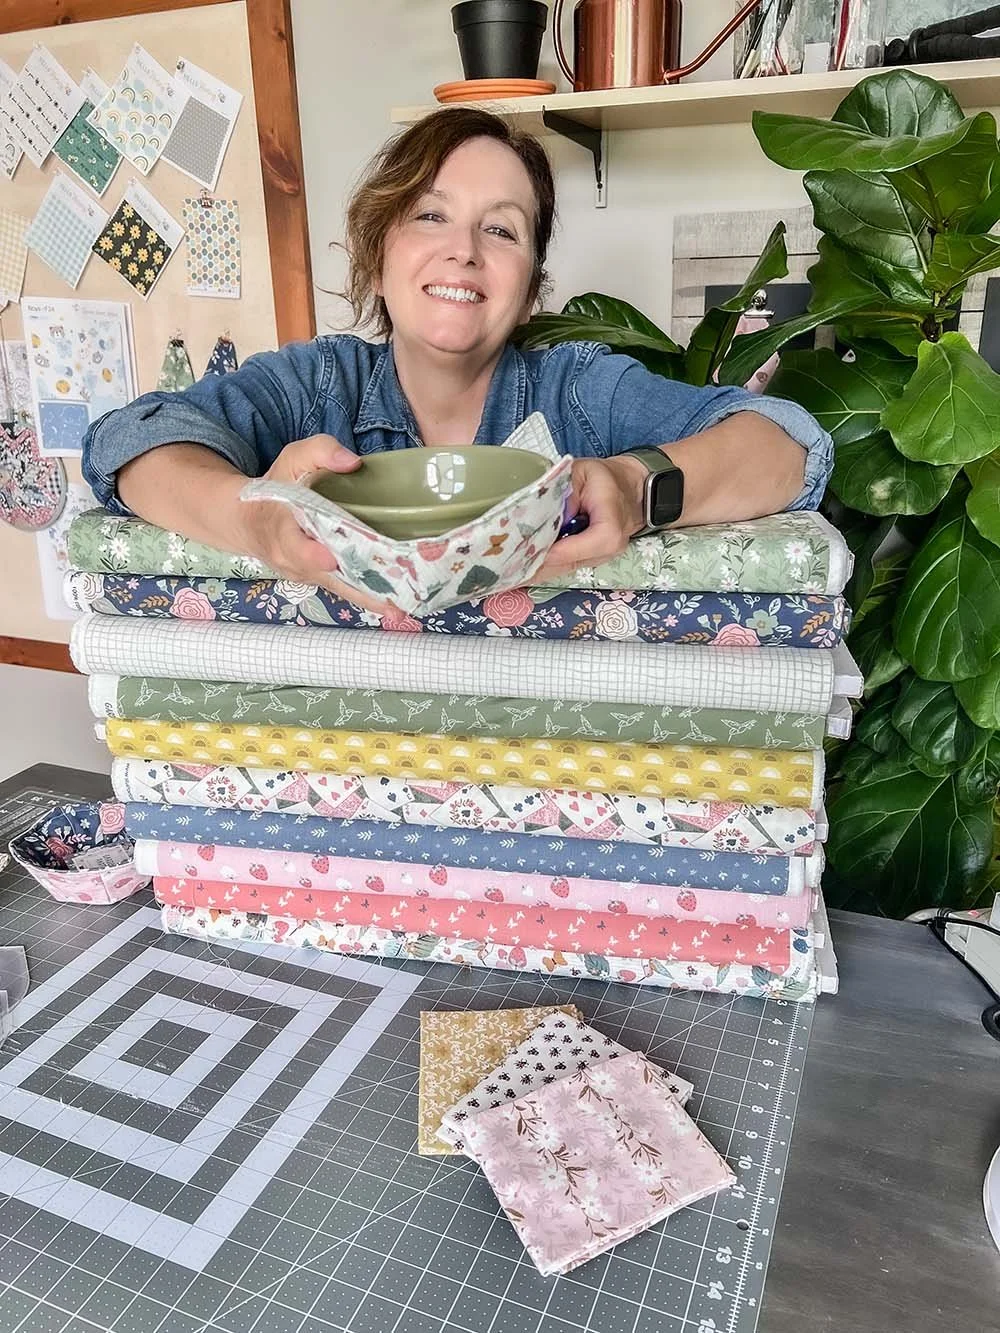
Welcome👋🏻 I’m so glad you stopped by!
Looking for a quick and easy sewing project that's perfect for beginners?
Bowl cozies are a fantastic choice! They don't require a lot of fabric, are incredibly useful, and make wonderful last-minute gifts.
So, what exactly is a bowl cozy? Think of it as an oven mitt for your bowls. It protects your hands from hot bowls straight out of the microwave, and as an added bonus, it catches any spills, keeping your microwave clean. Made from 100% cotton, these cozies are machine washable and reusable. Plus, they can keep your hands warm while enjoying a cold bowl of ice cream. Another great feature is that they are reversible, giving you two looks in one!
Let's get started on making your own bowl cozy. Follow these simple steps, and you'll have a beautiful, functional cozy in no time.
Happy making!
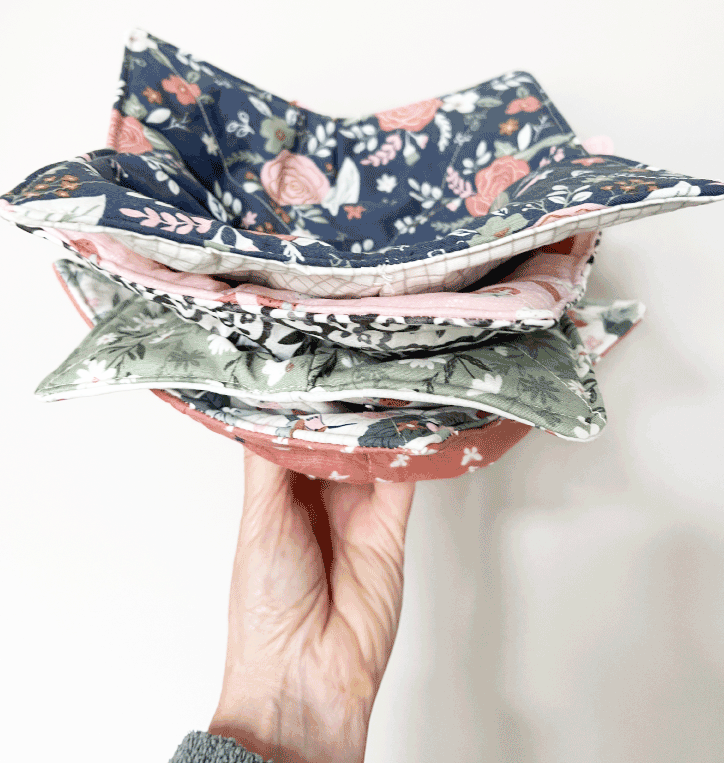
Bowl Cozy
This was the first one I made. It’s a basic bowl cozy using a square shape. No pattern is required.
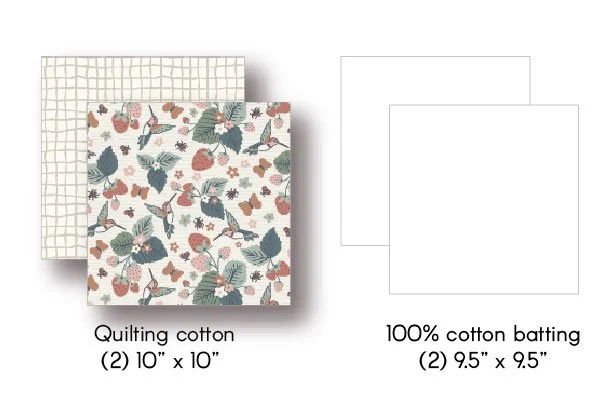
Materials needed to make one bowl cozy:
Two 10-inch squares of 100% cotton fabric*
Two 9.5-inch squares of 100% cotton batting*
100% Cotton thread
Sewing machine
Scissors or rotary cutter
Pins or clips
Ruler or measuring tape
Fabric marker, chalk or pencil
Machine needle recommended: 90/40 (size since you will be sewing over 2 layers of fabric plus batting)
*Fabric includes 1/4” seam allowance.
It is very important that all materials used be 100% cotton so these can be used in a microwave.
Other materials will melt.
I have a post with all of my favorite sewing supplies, you can read all about them here.
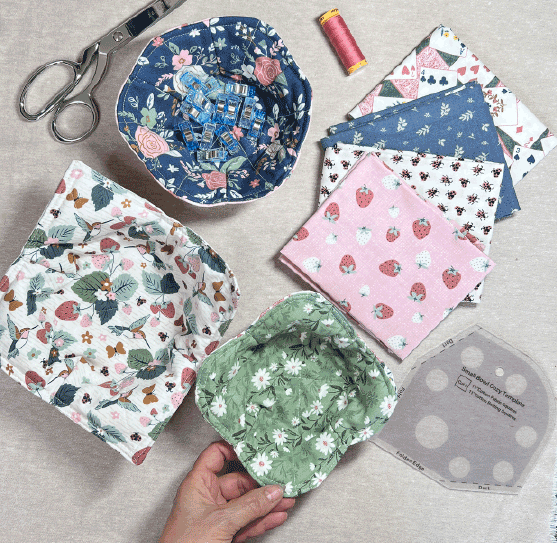
Consider Precuts
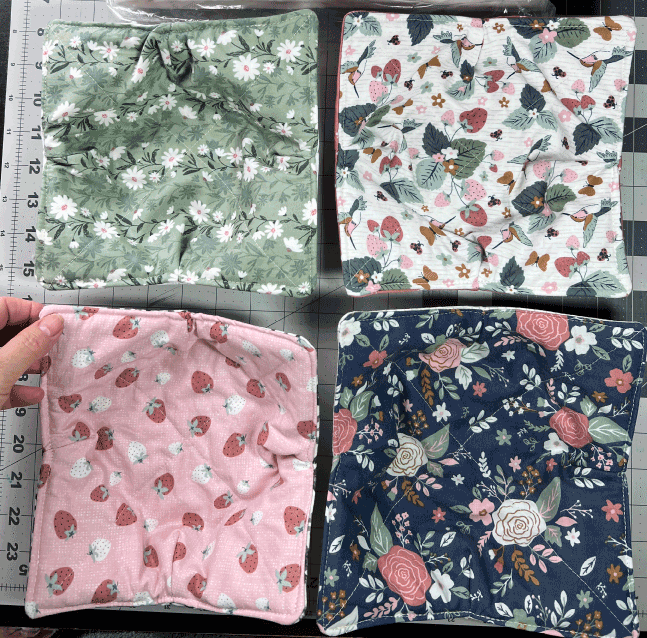
Have fun picking coordinating fabrics. I was giving these to my girlfriends, so I tried to match the fabric to their personalities.
This pattern is perfect for 10 inch precuts or fat quarters. They are already coordinated, so all you have to do is cut your batting and decide which ones to pair up together.
I’m using my Studio E Fabrics Garden Party collection. You can find it in your local quilt shop or online, but any cotton quilting fabric will work.
Point to note
I made one of these using 10” square batting instead of 9.5”. It worked, but sewing through 2 layers of batting was difficult, so I opted to reduce the batting size to 9.5” and sewing these together was so much easier.
Instructions:
Step 1: Layer and Mark Your Pieces
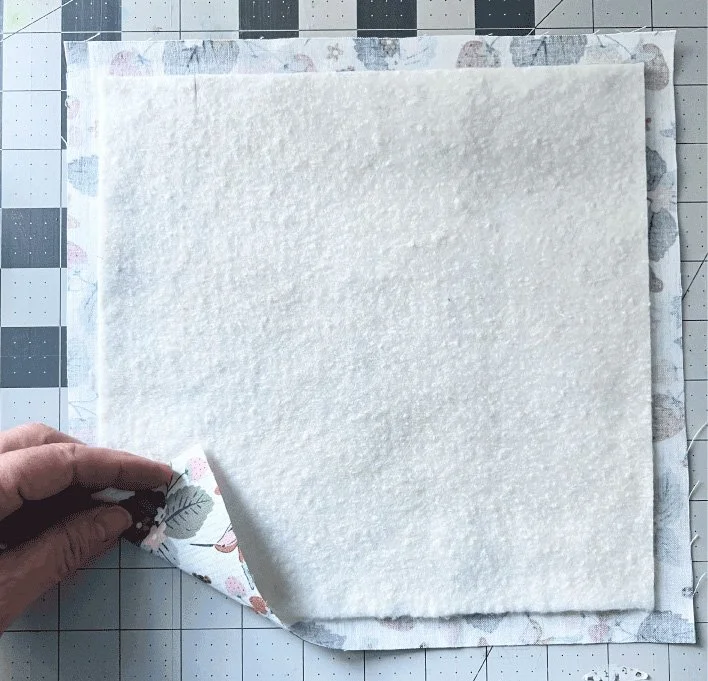
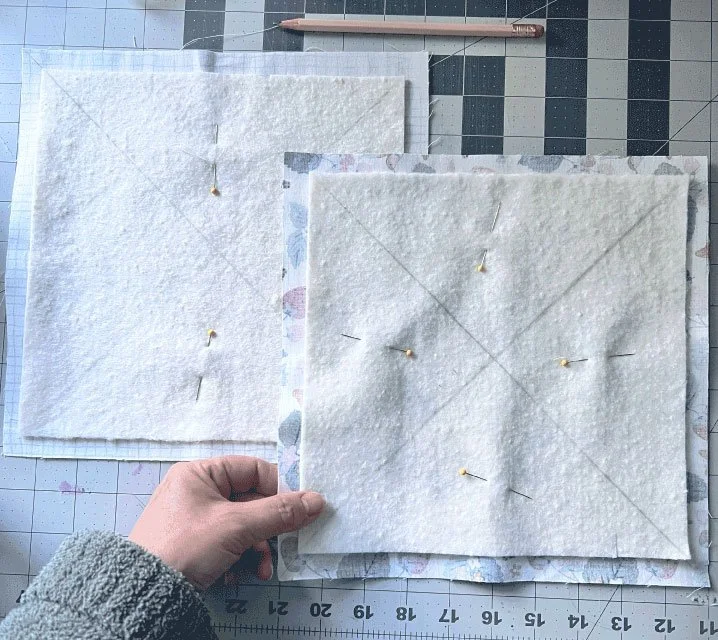
Lay one 10” fabric square pattern side down.
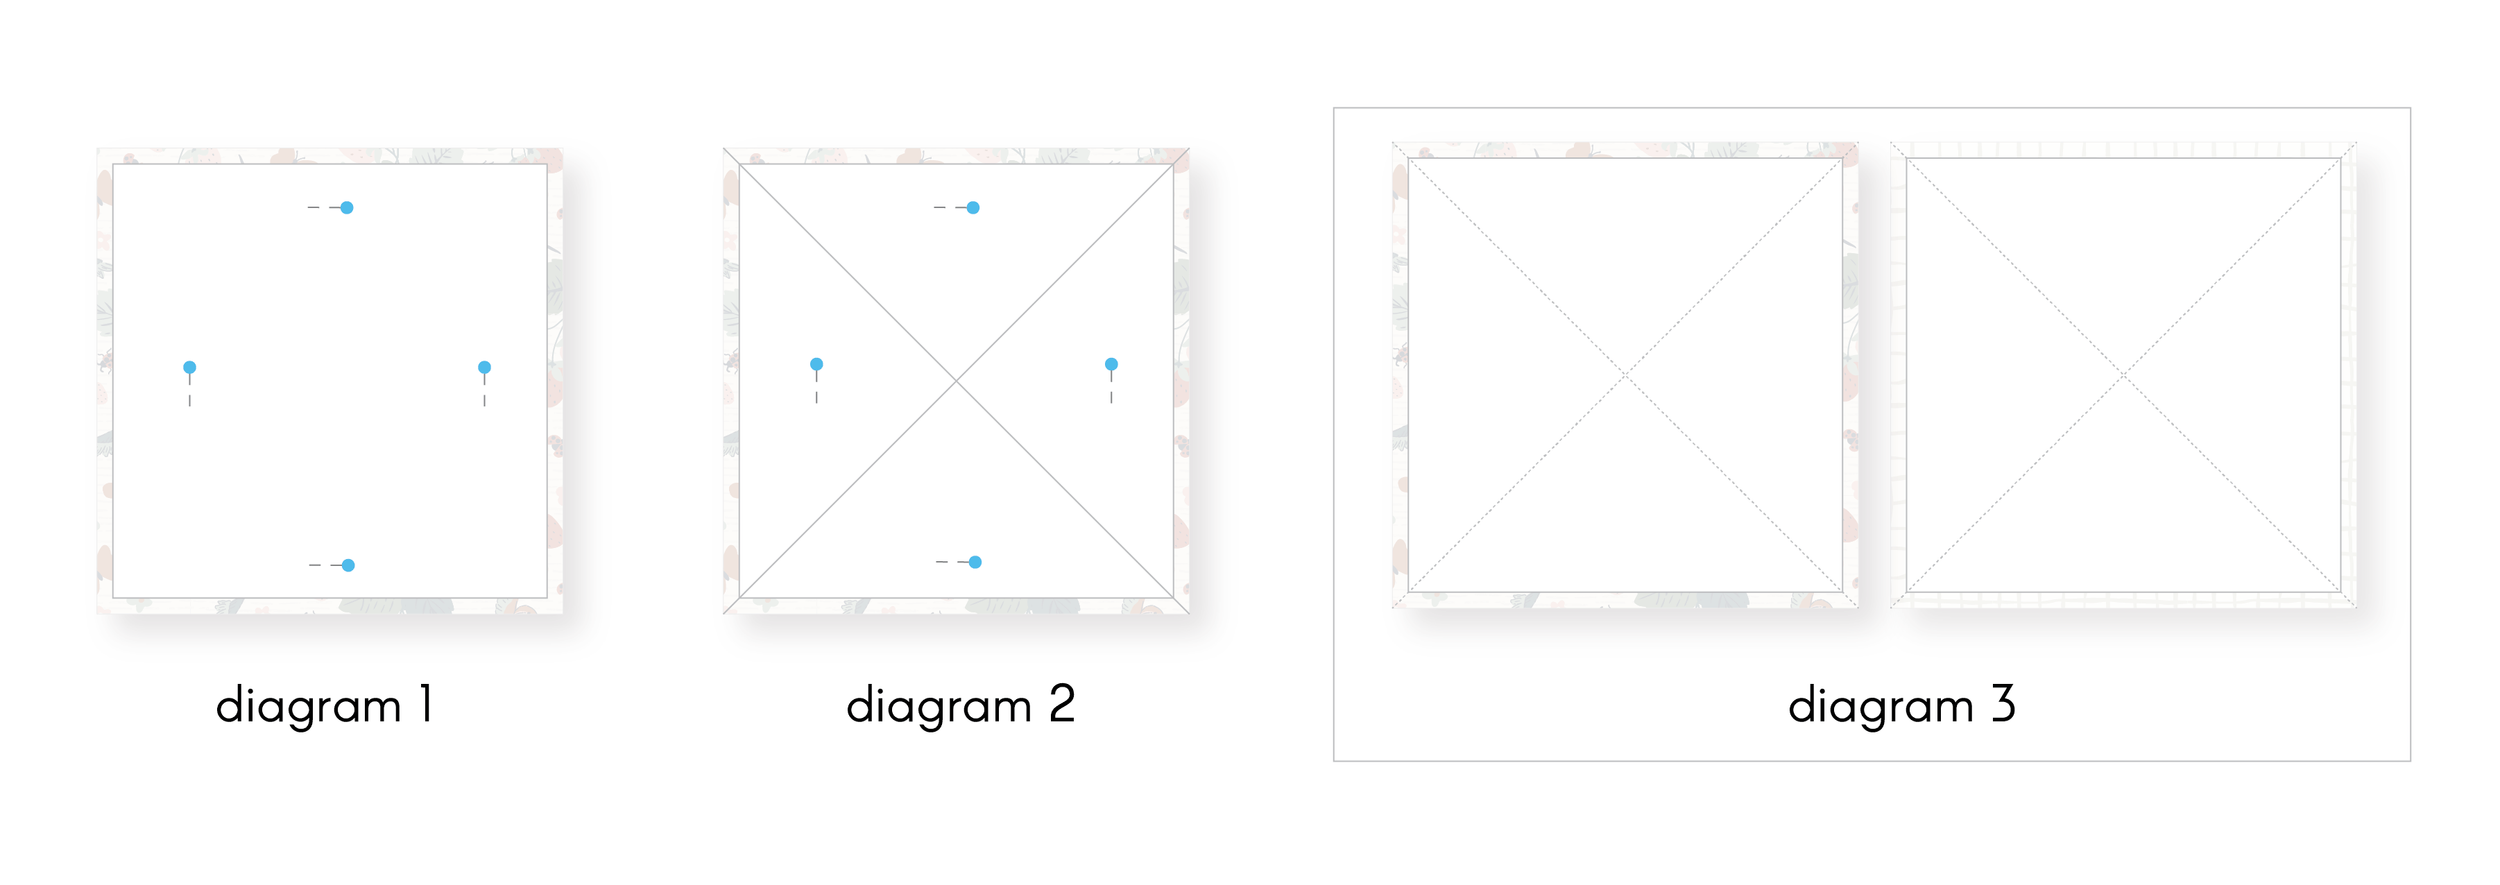
Then place one cut piece of batting on top centered and pin or clip together. (diagram 1 and photo below)
Use a fabric marker, chalk or pencil to draw two diagonal lines from corner to corner on the batting. This will form an "X". (diagram 2)
Repeat for the other piece of fabric and batting.
The batting I used was from The Fat Quarter Shop. It is the softest batting I ever used. You can find it here. ( I’m not an affiliate, just a fan)
It’s called Simply Natural Happy Cloud🥰
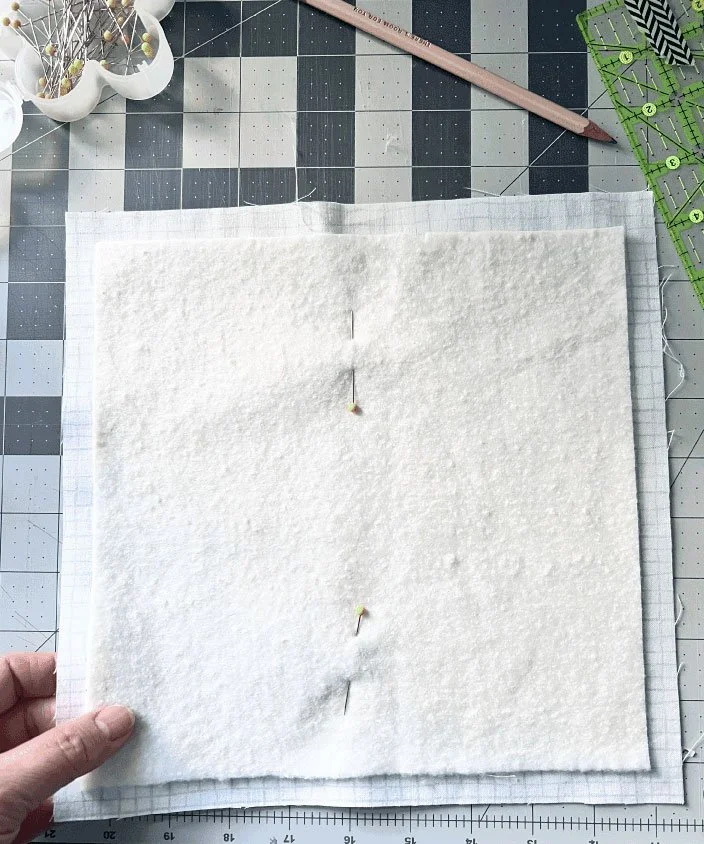
Quick Tip
Place the pins in the center of the batting and fabric unit, as shown above. This way, the pins won’t get in the way when marking the diagonal sewing lines.
Step 2: Quilt the Fabric and Batting
Sew along the drawn X using a long stitch length (3.0mm) on both pieces. (diagram 3)
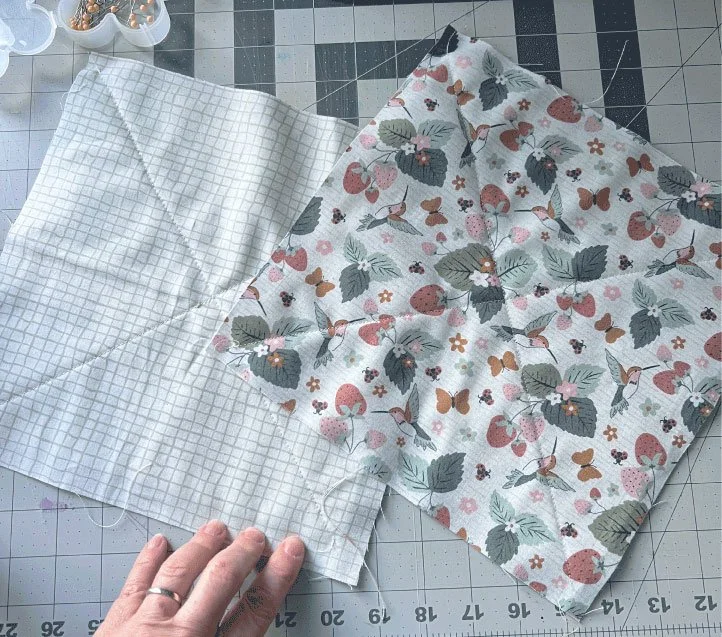
Your front and back of your bowl cozy should look like this.
Step 3: Create the Dart Marks
Darts are necessary to give this bowl cozy it’s shape.
Fold each fabric and batting unit in half, right sides together, to form a rectangle. (diagram 4)
Measure and mark 1 inch from the fold along the shorter edges. (diagram 5)
Measure and mark 2 inches across from the outer edges on the fold. (diagram 5)
Draw a line connecting these marks to form a dart. (diagram 6)
Unfold and refold on the opposite side of the rectangle and repeat to mark the other 2 darts.
Repeat this process for the second square.
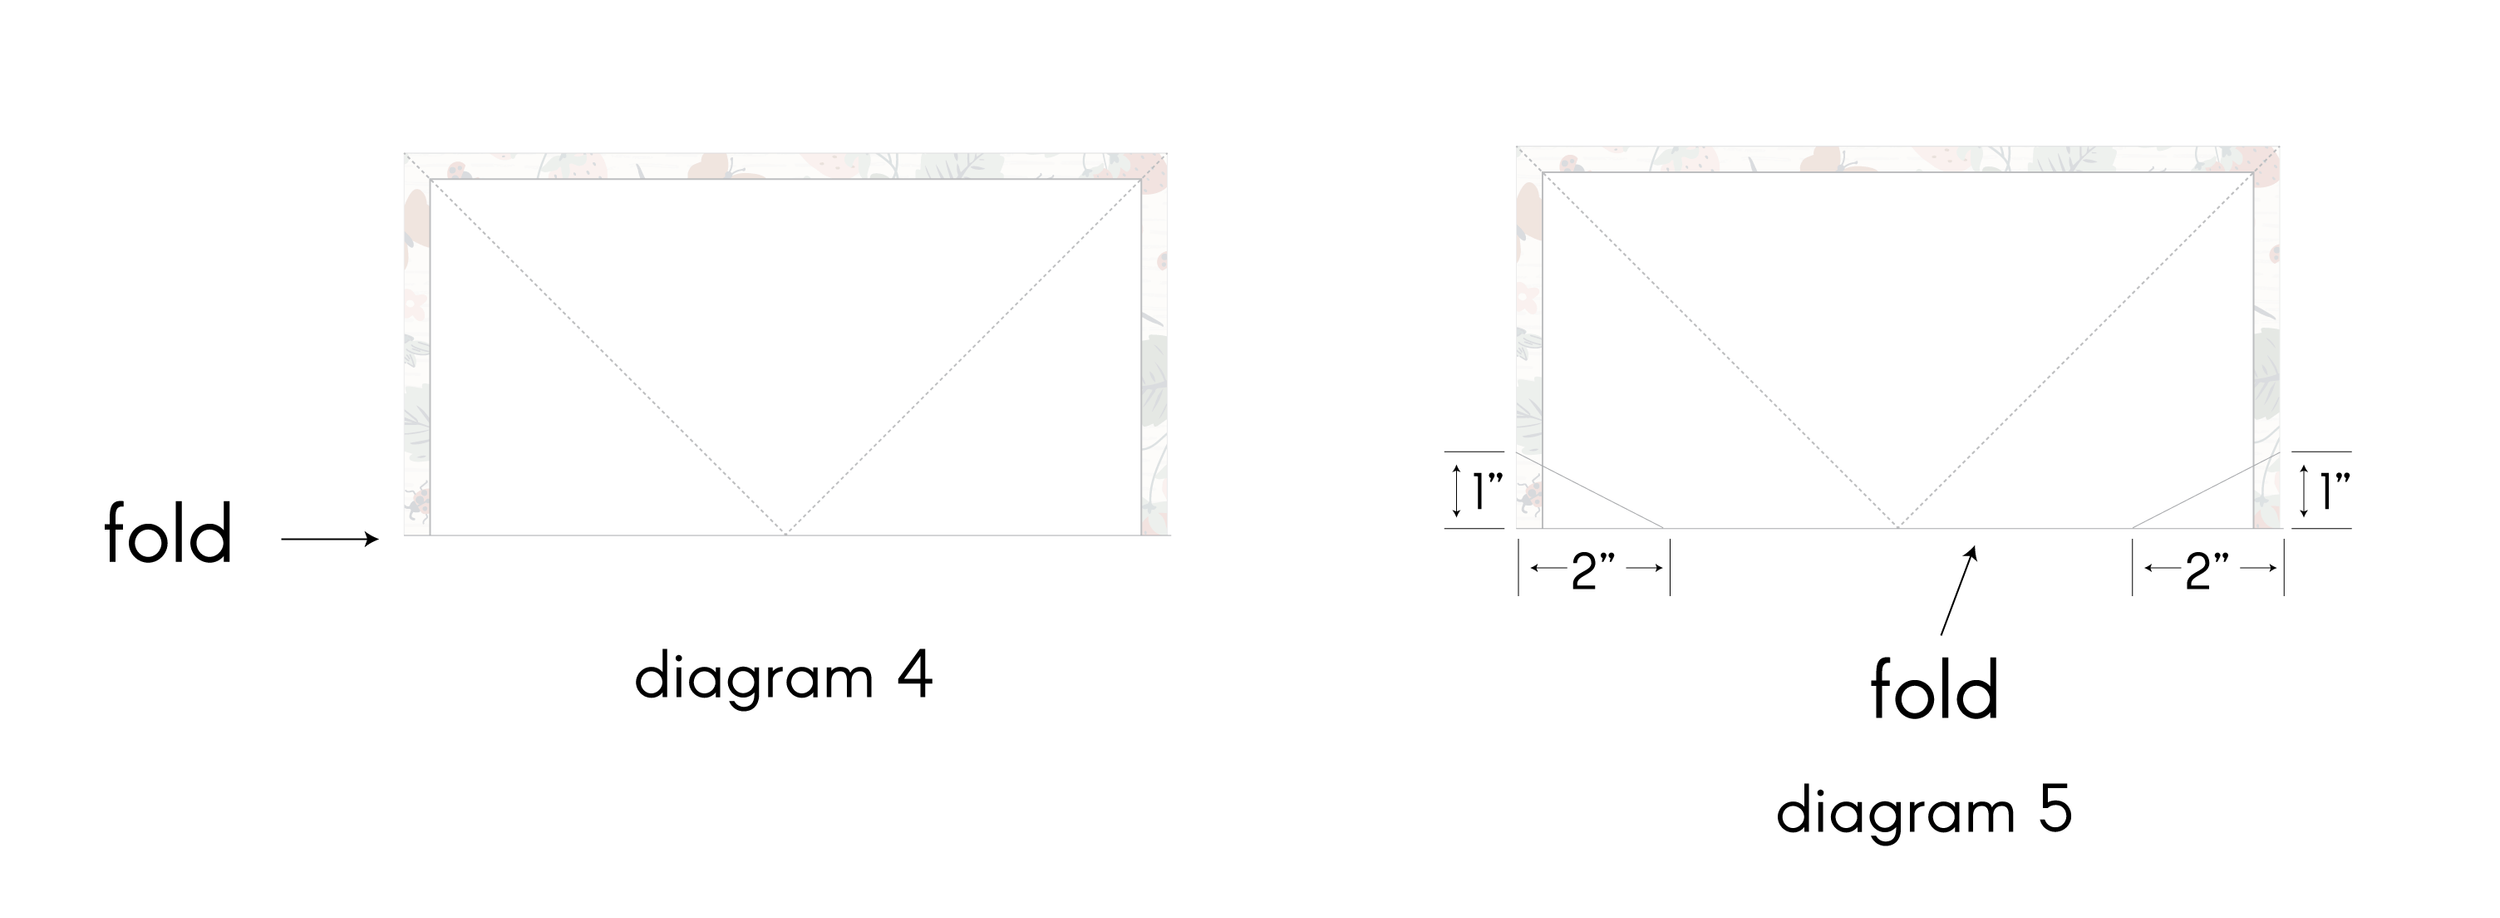
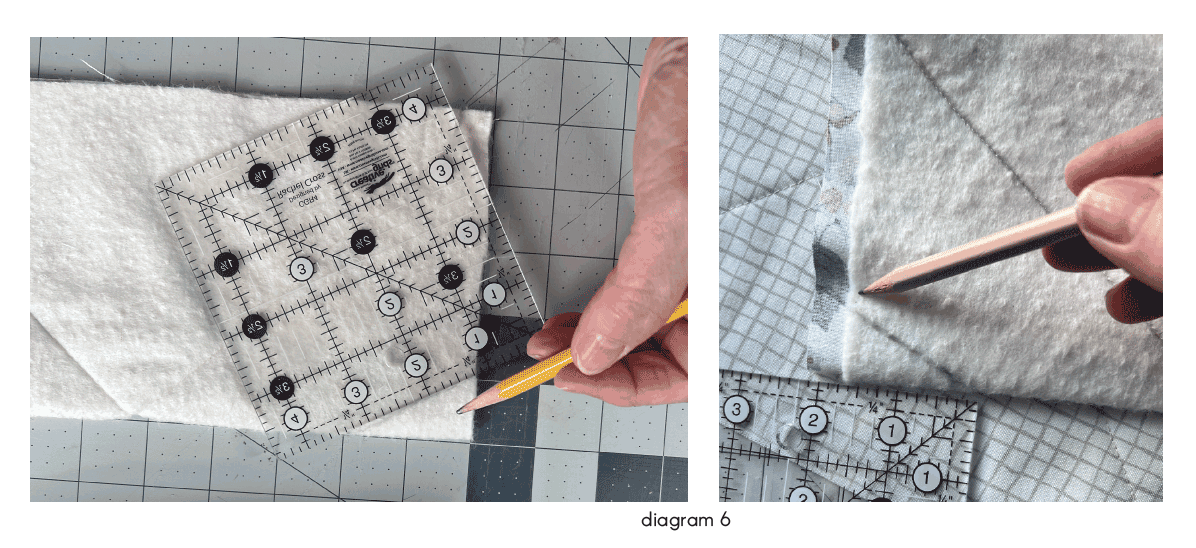
Diagram 6
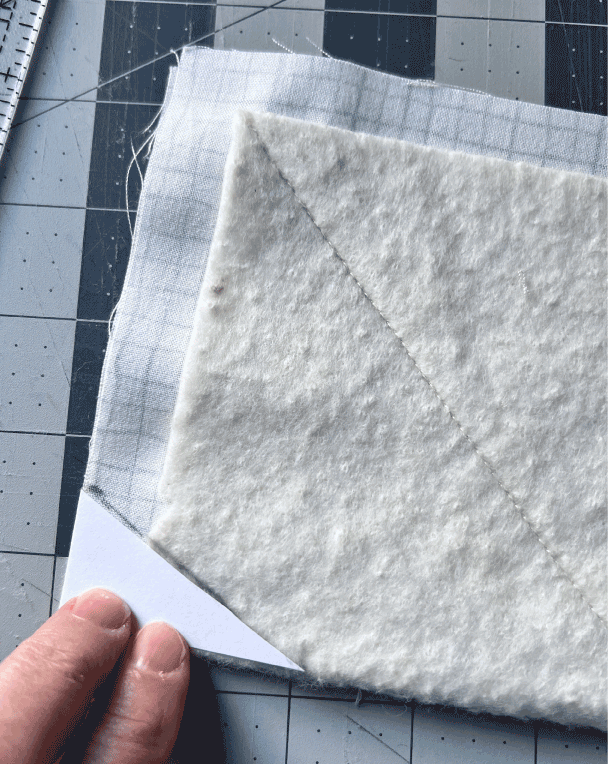
Worth Considering
If you plan on making a lot of these (I know you will 😁), do yourself a favor and make a tiny cardstock template of the dart area.
Let me explain…
See the photo below👇🏻, I made this teeny tiny template, so that I no longer have to keep measuring where to sew the darts. Use an old folder or cereal box so that this template holds up to use.
Your welcome😁
Step 4: Sew the Darts
Sew along the dart lines you drew, backstitching at the beginning and end to secure the stitches.
Trim the excess fabric from the darts, leaving a 1/4-inch seam allowance. (diagram 7)
Repeat for the second square.
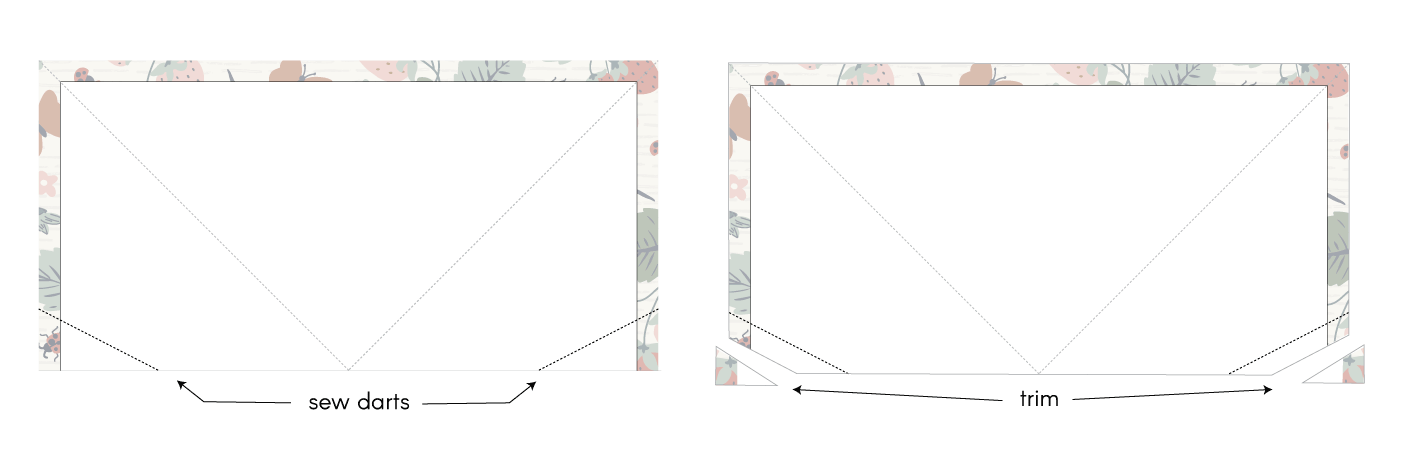
Diagram 7
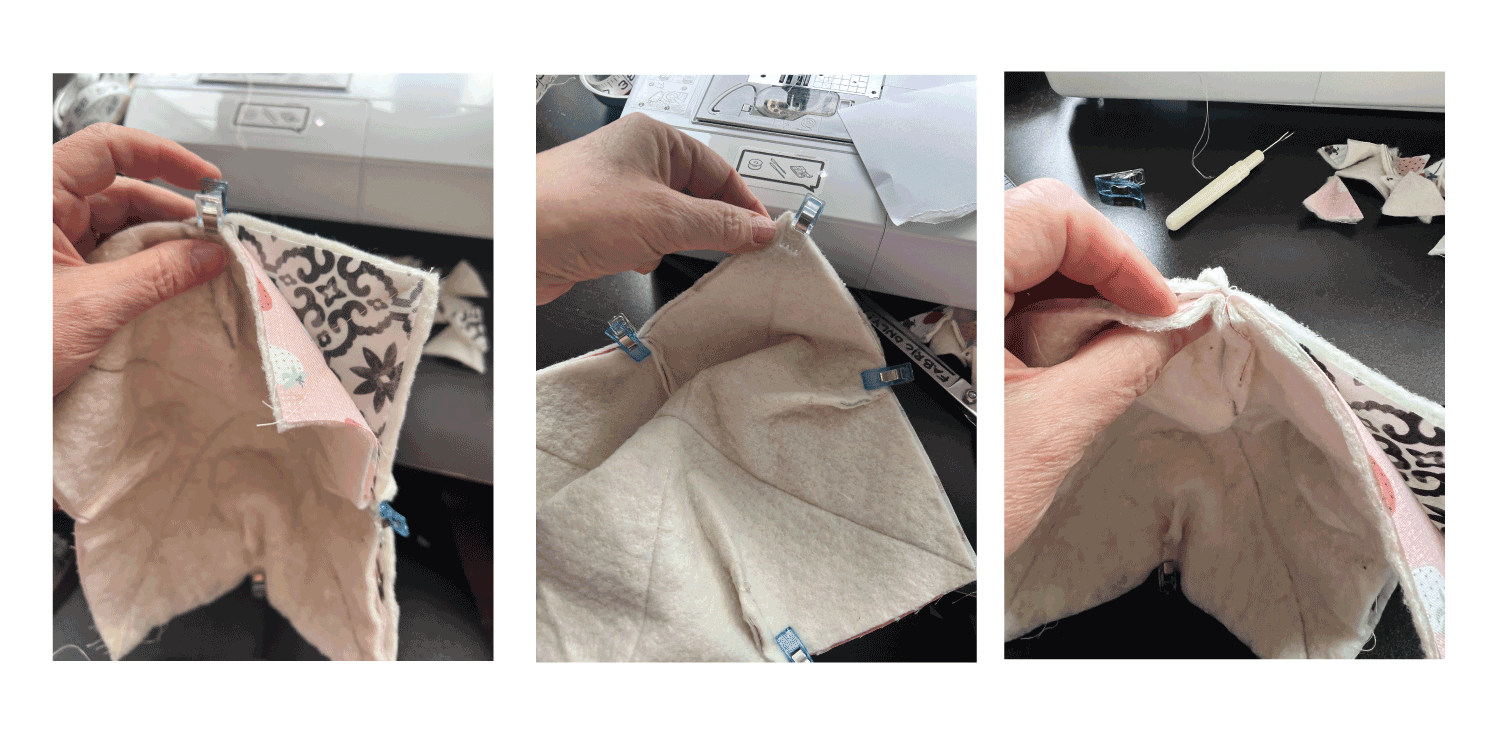
Step 5: Join the Two Halves
Place the two sewn fabric pieces right sides together, aligning all edges and seams. Nest seams for less bulk when sewing. (see photo below) Nesting is when two seams meet, finger press one to the right and one to the left and clip in place. They almost seem to lock together.
Pin or clip all around, leaving a 2-3-inch gap open for turning.
Sew around the edges with a 1/4-inch seam allowance, making sure to backstitch at the beginning and end, and leaving the gap unsewn.
Step 6: Turn and Topstitch
Turn the cozy right side out through the opening you left.
Gently push out the corners with a chopstick or blunt object.
Press the cozy with an iron to flatten the seams.
Topstitch around the entire edge of the cozy, about 1/8 inch from the edge, closing the gap as you sew.
You can add a second row of stitching 3/8” from the edge if you like this look. (see photo below)

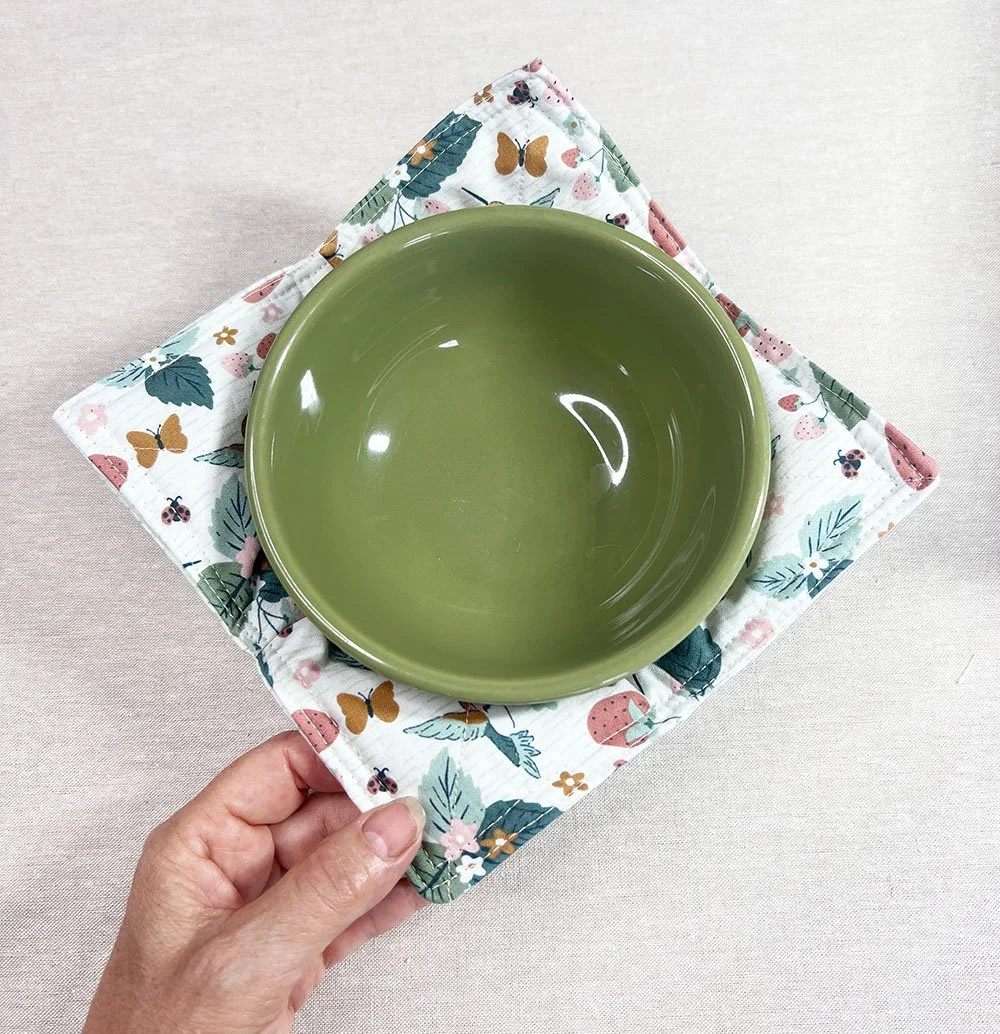
Step 7: Enjoy Your Bowl Cozy!
Your bowl cozy is now complete and ready to use.
Place your bowl inside, and enjoy your hot or cold meals with ease!
Yay you! Aren’t you proud of yourself?
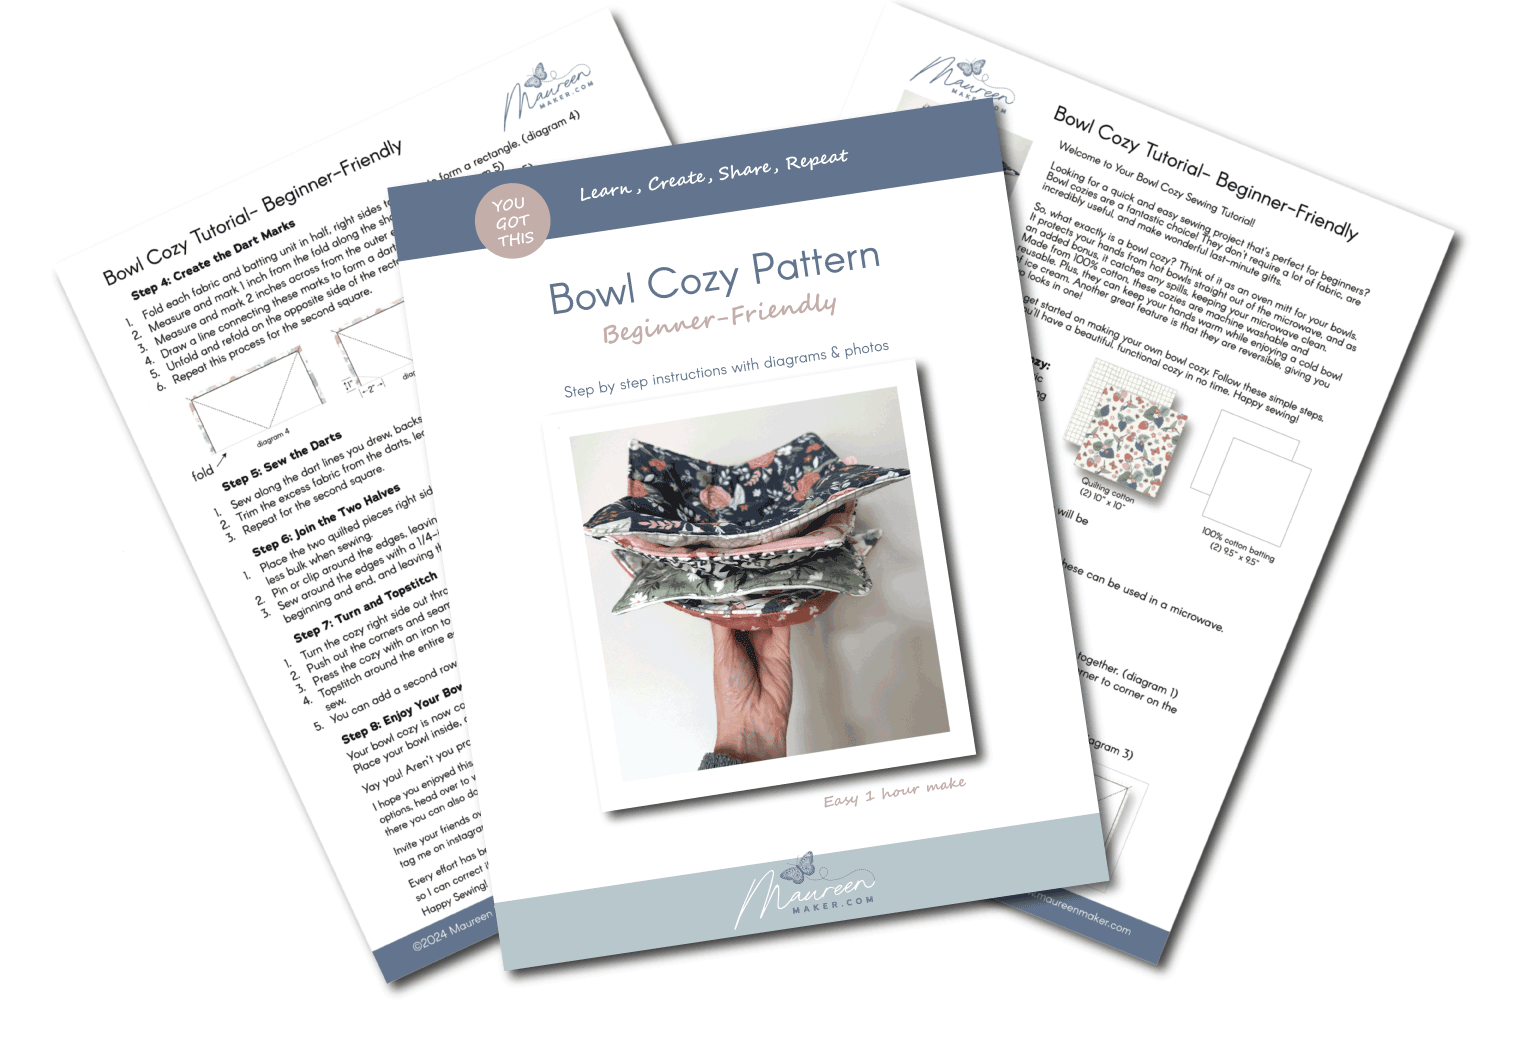
Want a printable pdf of this project?
I hope you enjoyed this project. If you would like a printable version of this project, click here.
Invite your friends over and host a bowl cozy party, now that you know how to make these.
My new crafty friends over at www.sewhotuk are making up project kits of these just for you. Isn’t that nice of them? Grab them while you can!
Every effort has been made to assure this pattern is correct. If you do find an error, please let me know asap so I can correct it.
Happy Sewing!
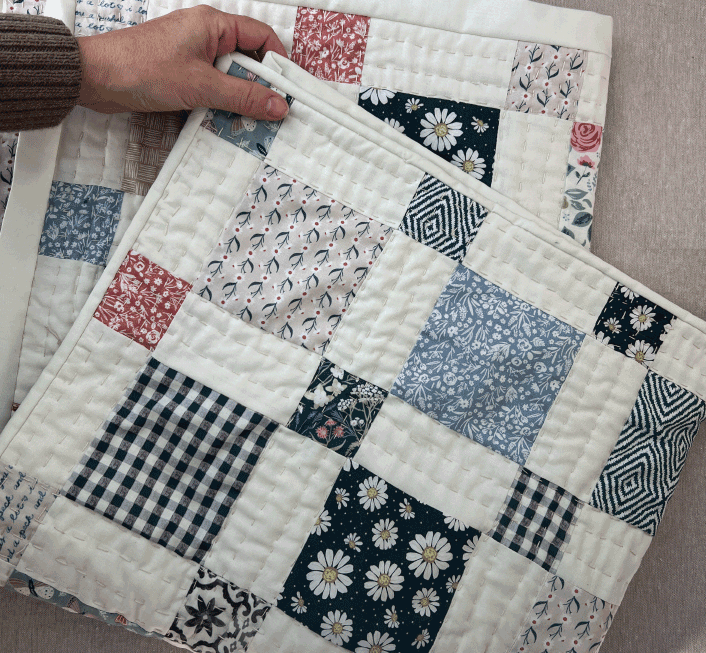
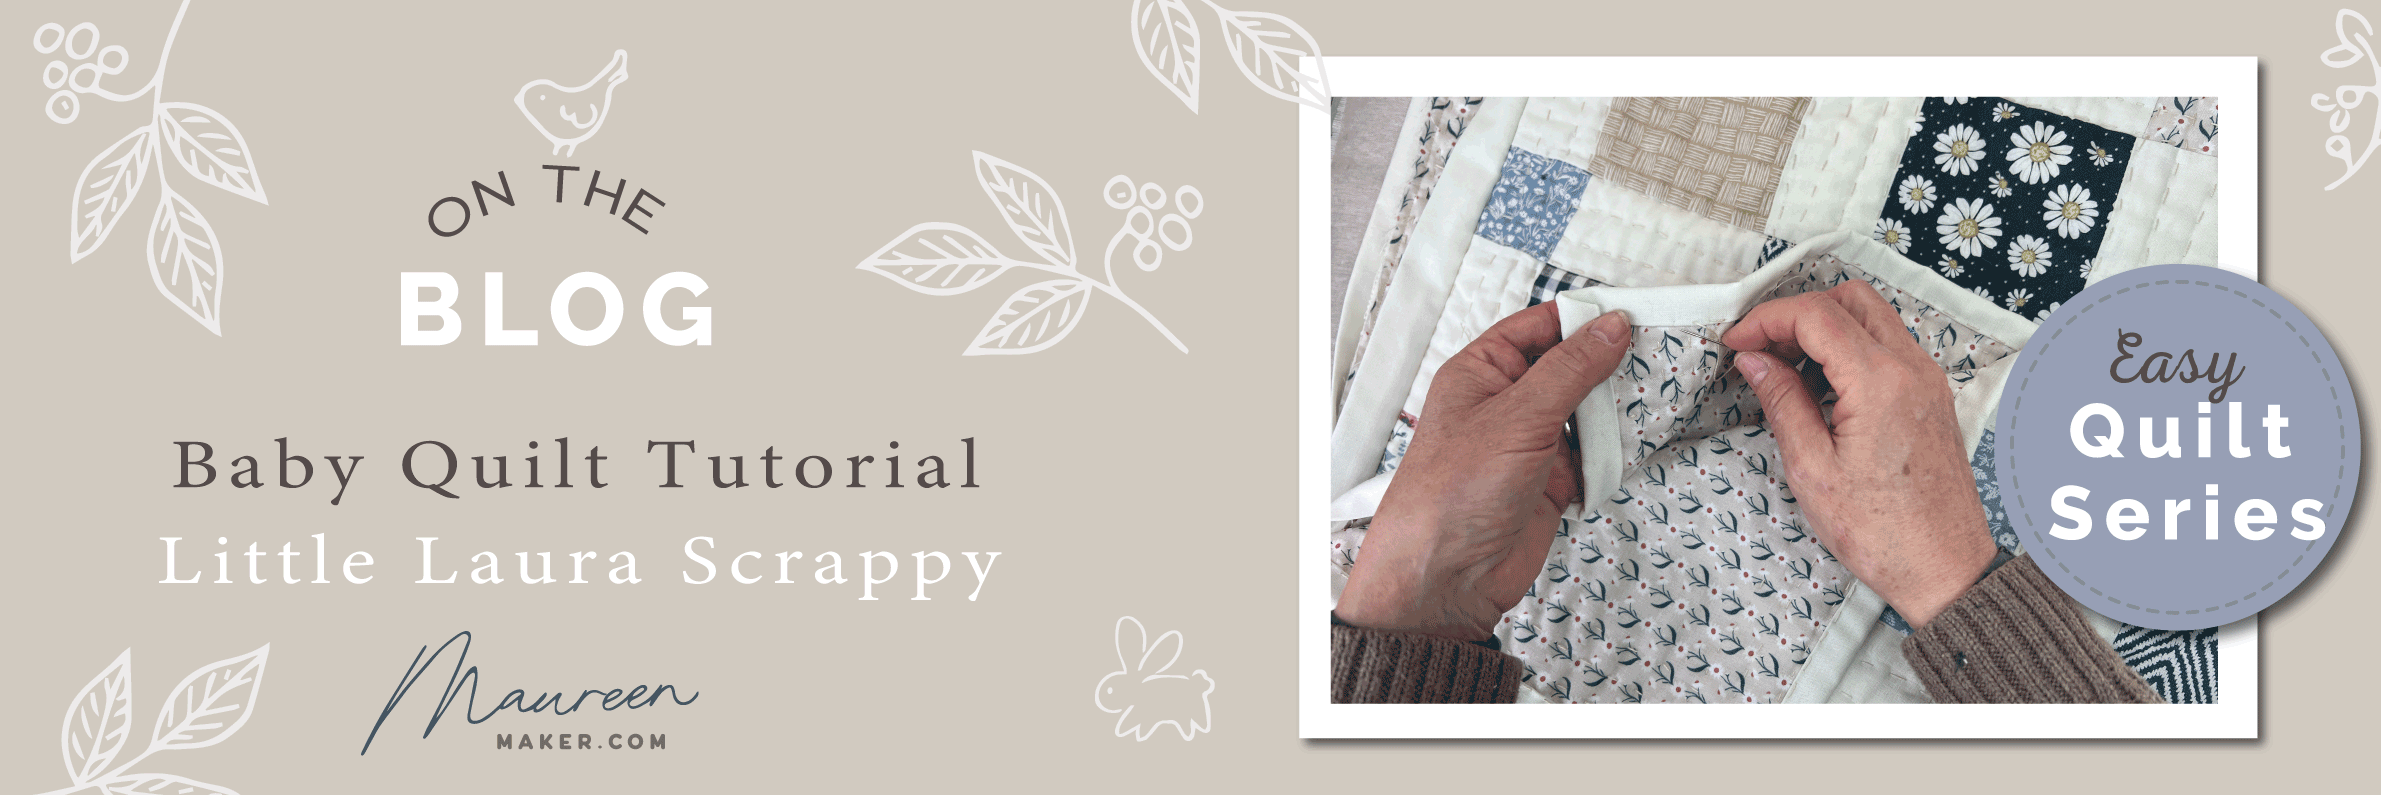
Want another free sewing project?
I have the sweetest little baby quilt tutorial for you. You can read all about it here. I broke it down into manageable steps so as not to overwhelm the beginner quilter.
More experienced quilters tell me they love it because it is such a quick. make, go check it out.
Not ready for a quilt project yet?
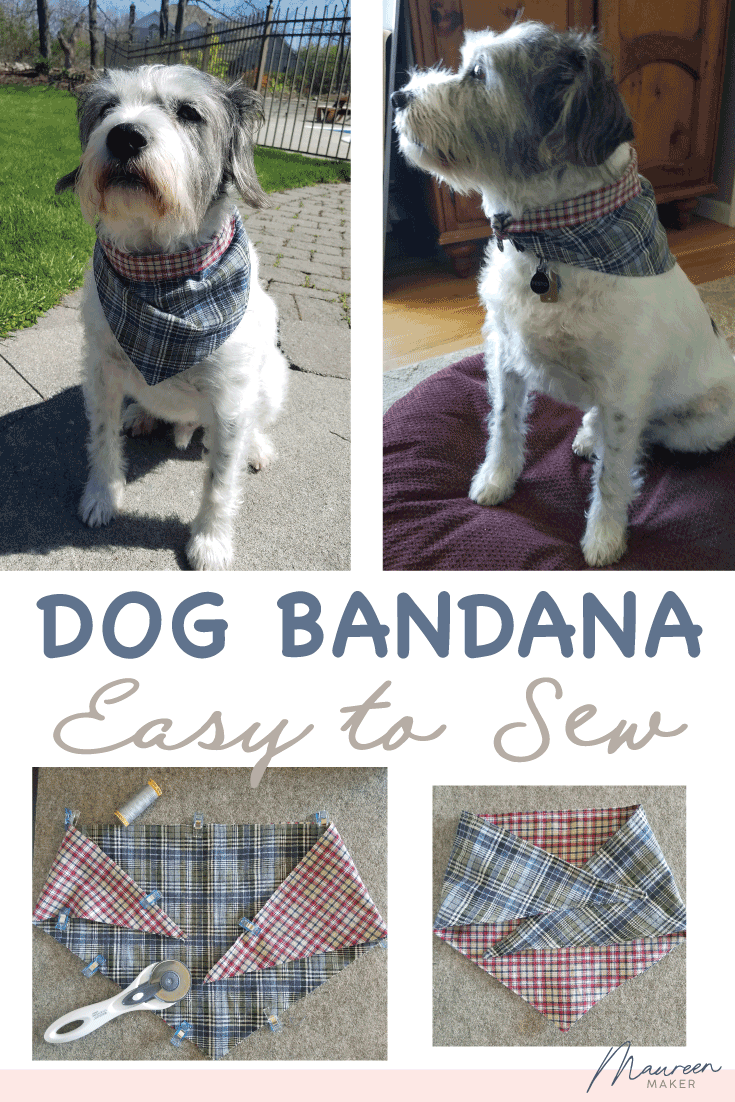
I hear you. My most popular blog post is a simple pet bandana.
You can find it here, or click on the image below.
Did you like this bowl cozy project?
If so, please do me a solid. Pin any of the images on this post (by right clicking) to Pinterest so you (and other crafty friends) can find it when ready to get crafty 👍🏻
I would love to hear from you. Feel free to reply and say hi👋🏻 or share your bowl cozy. I respond to every comment.