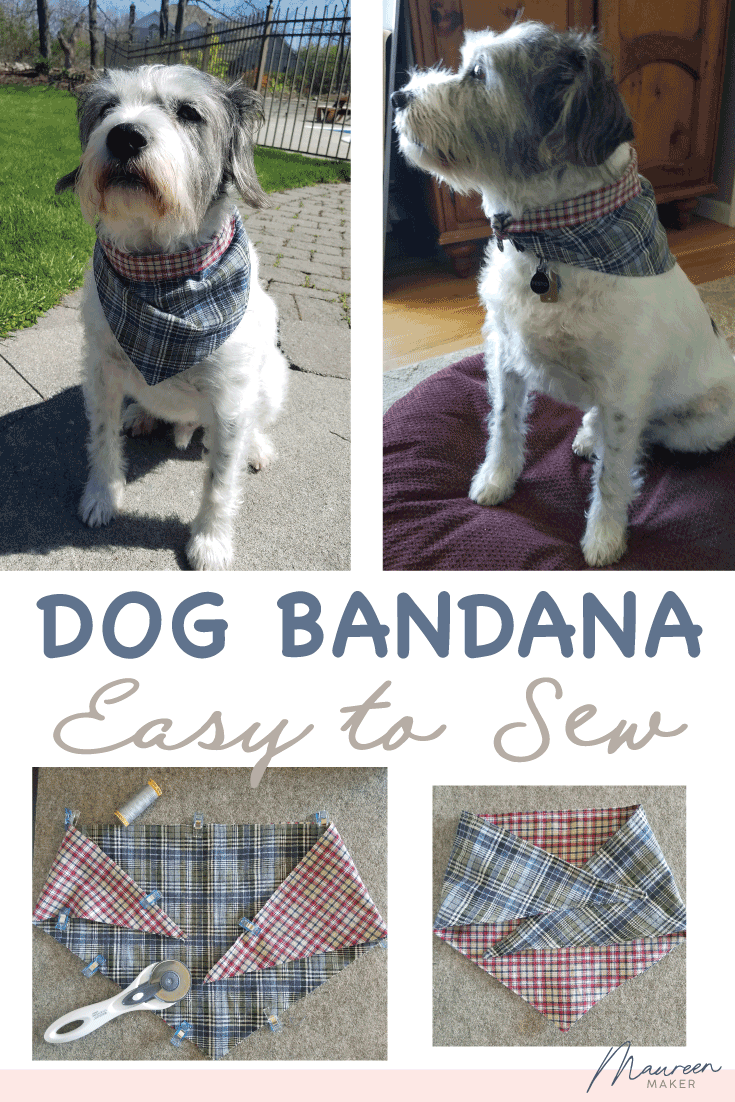
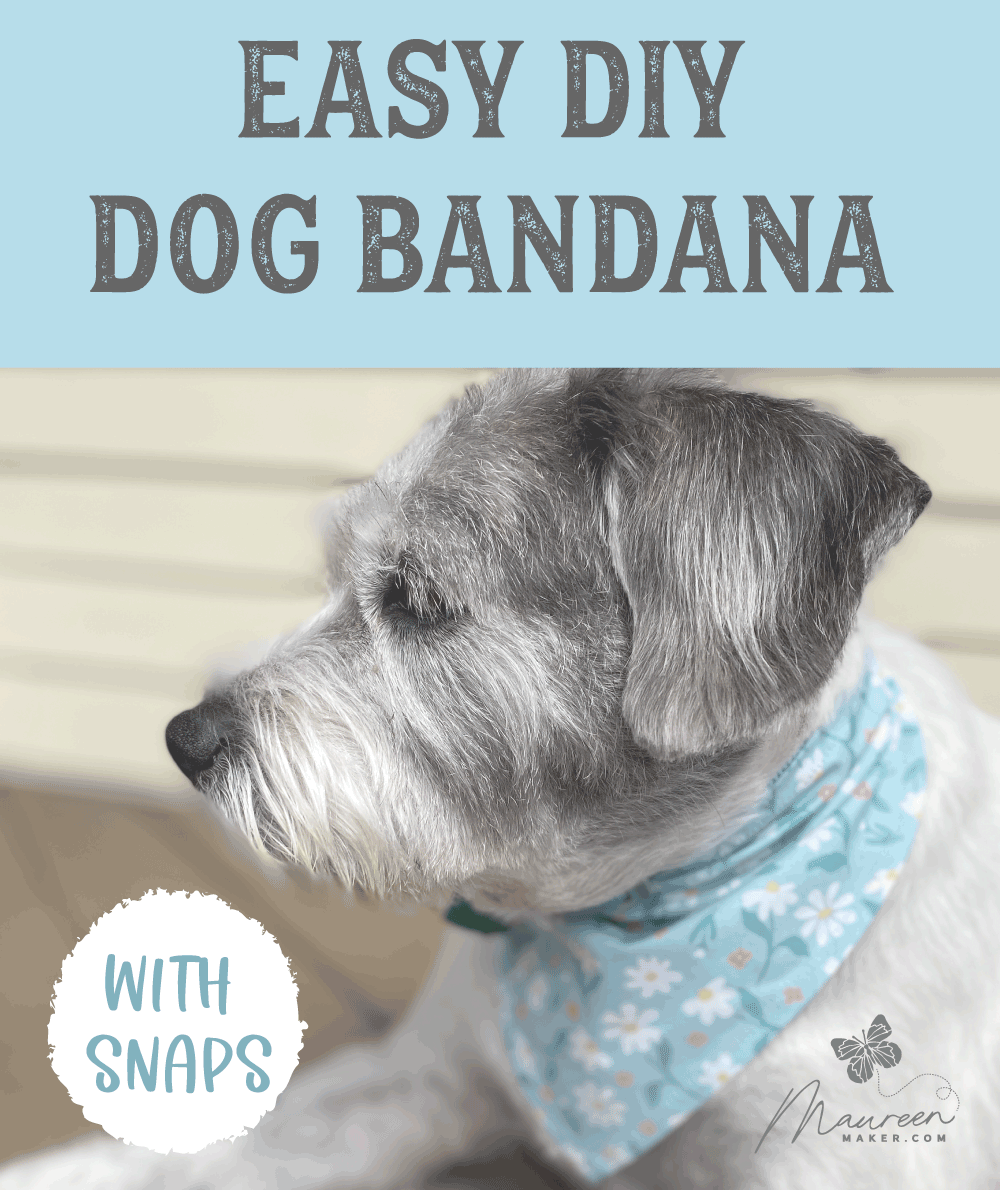
Easy DIY Reversible Dog Bandana Tutorial
EASY DIY REVERSIBLE BANDANA PATTERN FOR DOGS
Be the envy of every dog on your block.
Make this super simple reversible bandana for your other baby today.🐶😍
A perfect sewing project perfect for beginners.
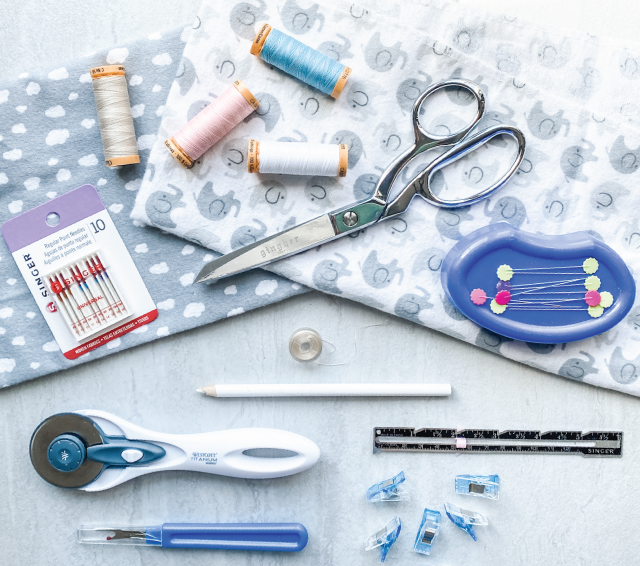
Minimal supplies are required, about a yard of fabric (depending on the size you choose), and a sewing machine. Choose 2 different fabrics if you want, or use the same fabric for front and back.
You could even sew this by hand if you don’t have a sewing machine.🪡
SUPPLIES I LOVE
You can see a list of all of my favorite sewing products on another blog post by clicking here.
Joannes is a great option also, great coupons, and don’t forget your local brick and mortar store.
They may be a little more expensive, but they will make up for it in service.👍🏻
I am a member of Amazon affiliate program and I earn a small percent of whatever
you purchase from Amazon through my links at no extra cost to you.
I only recommend products I actually use, pinky promise.
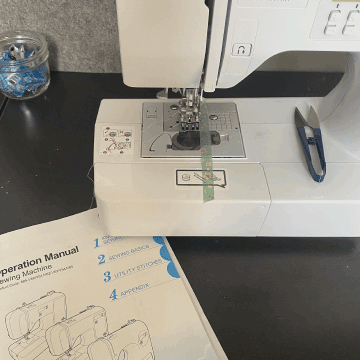
Your sewing machine manual is your best friend :)
Pro Tip. Read your sewing machine manual to learn to thread your machine and bobbin properly.
Most sewing problems arise from improperly threaded machines.
Trust me here! Go read your manual, it will only take a few minutes and it will save you lots of time from ripping out your project and having to start over.
Search online with your sewing machine model number and you should be able to find the manual online.
Visual learners? This Youtuber, April, has a great beginner tutorial to show you how to thread a sewing machine:
You can click here to watch her quick Youtube video.
Every model is a little different but the principal is the same.
Also, Melanie Hamm🥰has a great Learn to Sew series which you can watch here.
I love all of Melanie’s tutorials! If you are new to sewing you will love her channel.
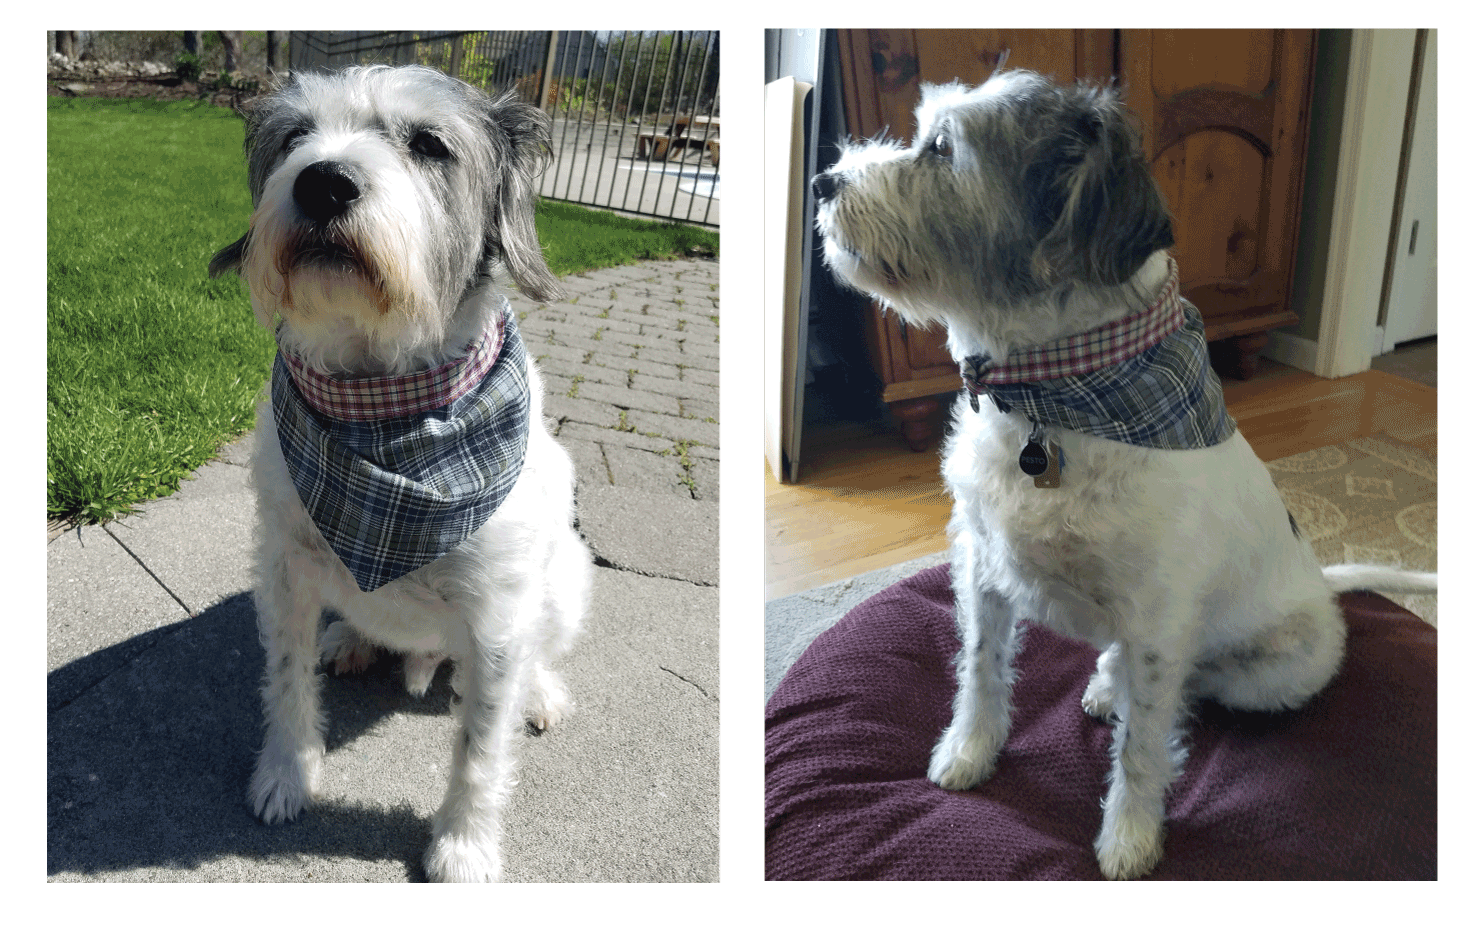
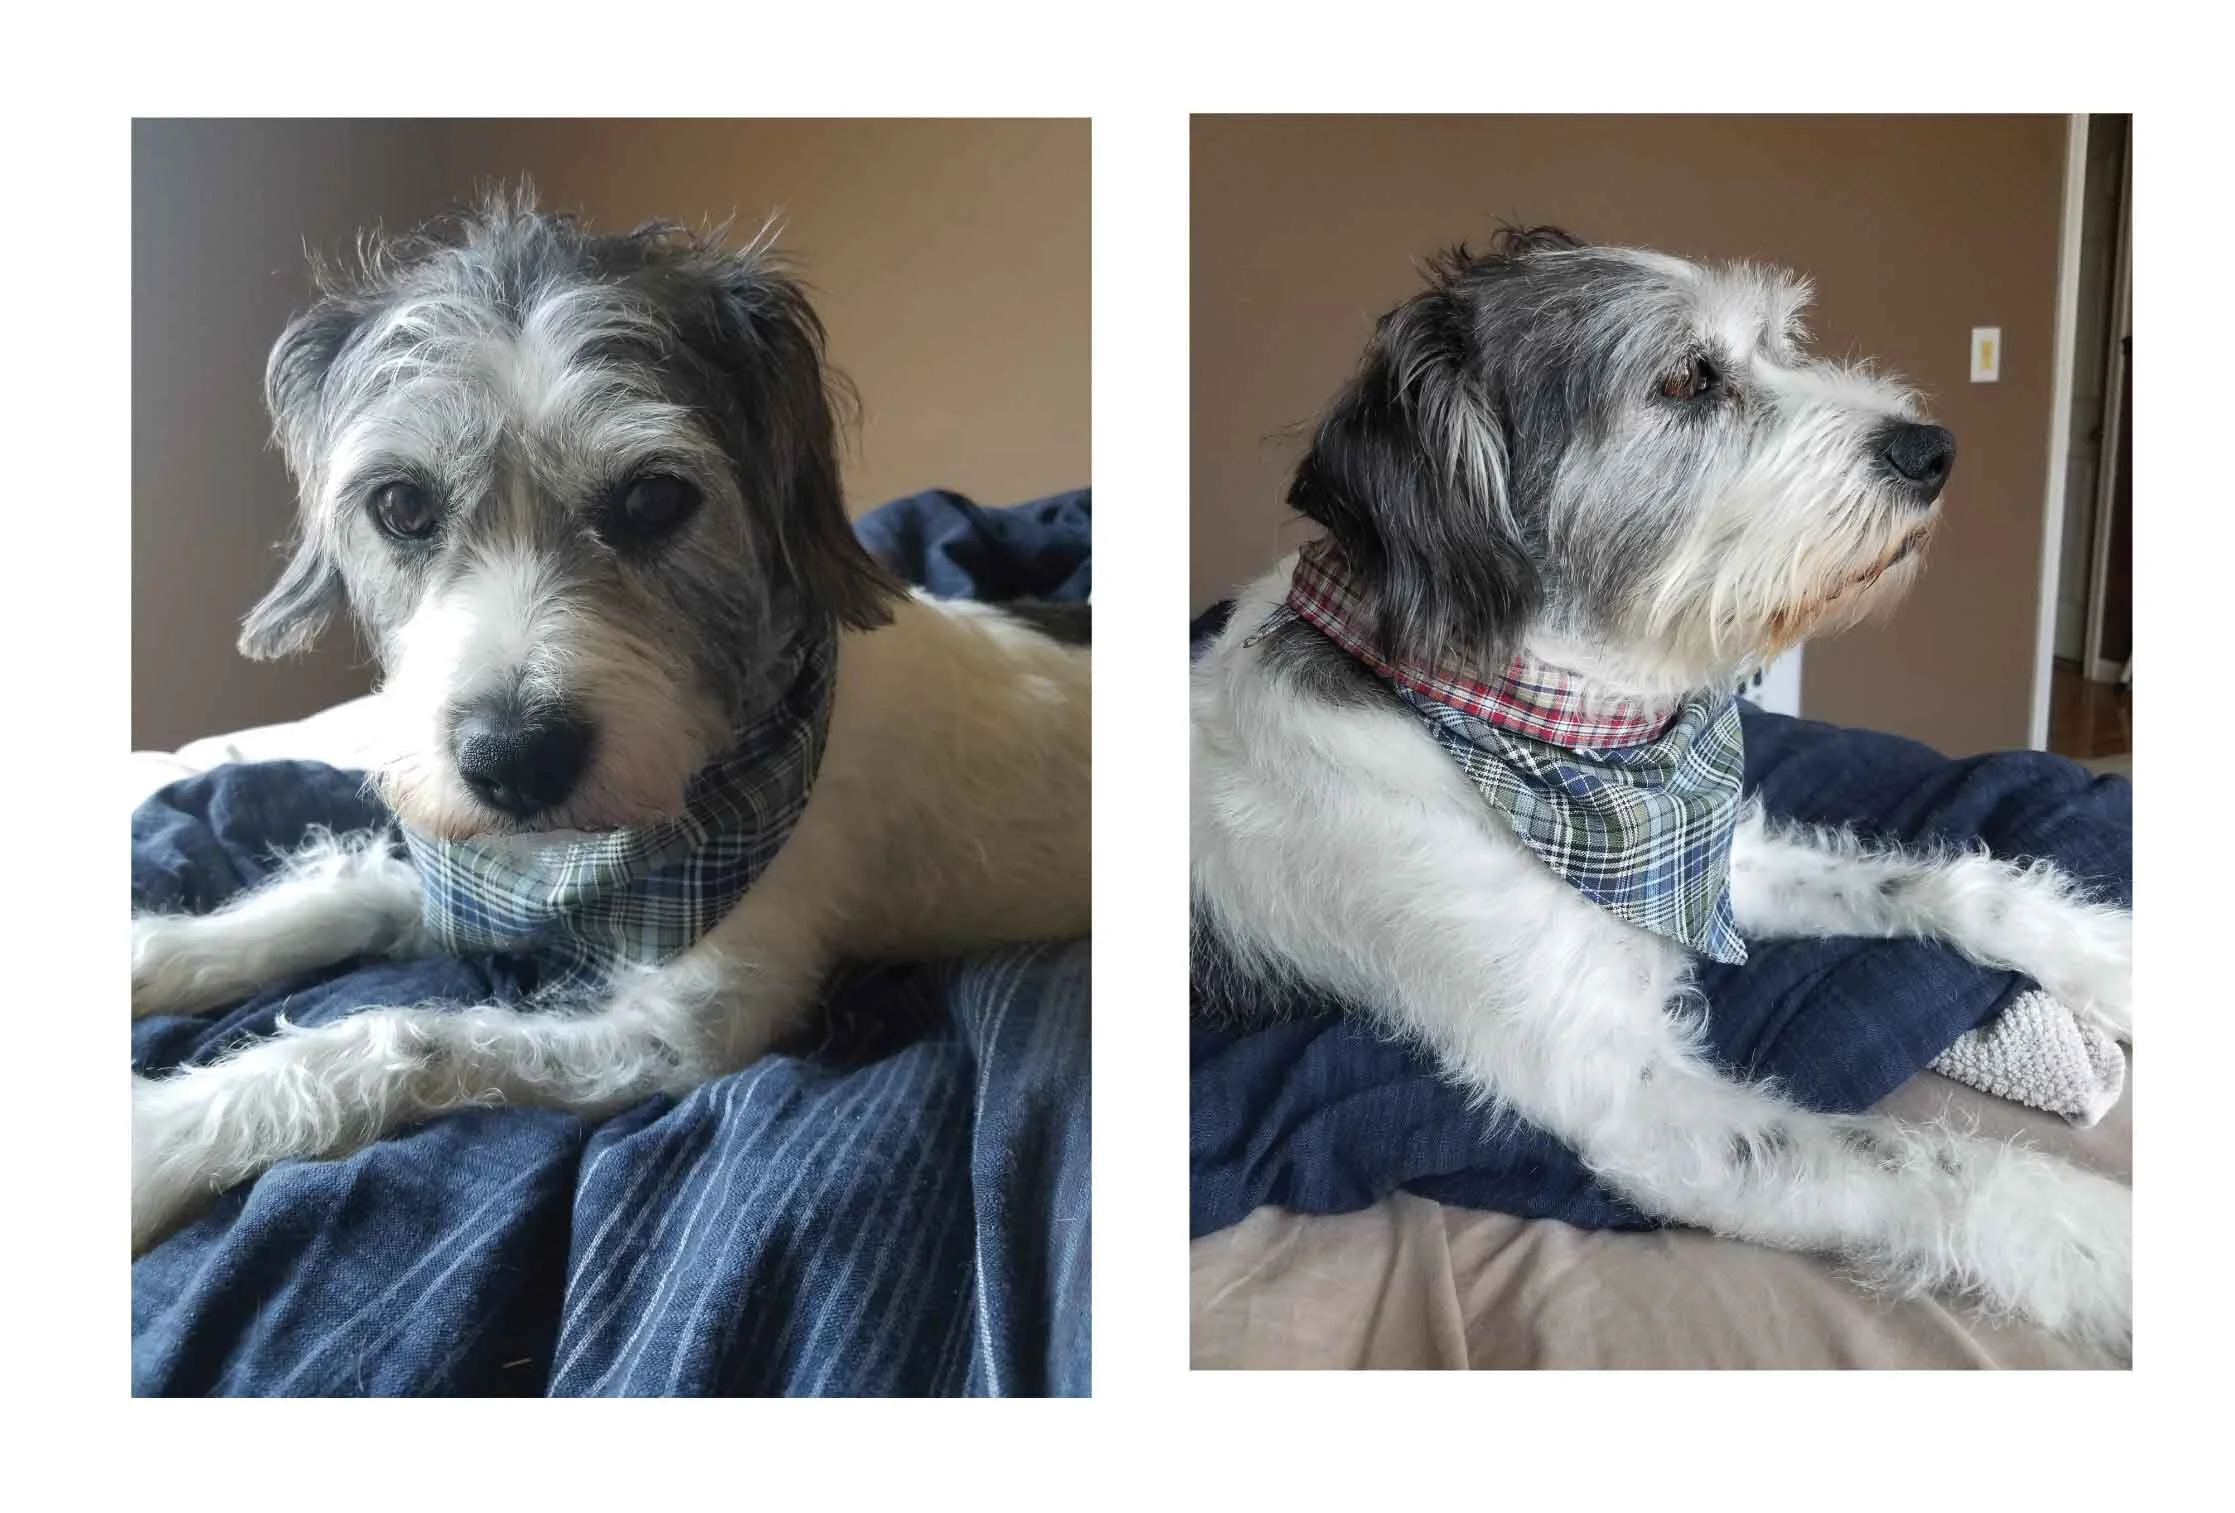
My dog hates to wear clothing like vests or sweaters, but he doesn’t mind wearing this bandana!
He looks so handsome in this plaid bandana, but I can’t wait to make seasonal ones and some fun ones too. Maybe a fabric with squirrels or bunnies, because he loves chasing them! I bet your pup does too!
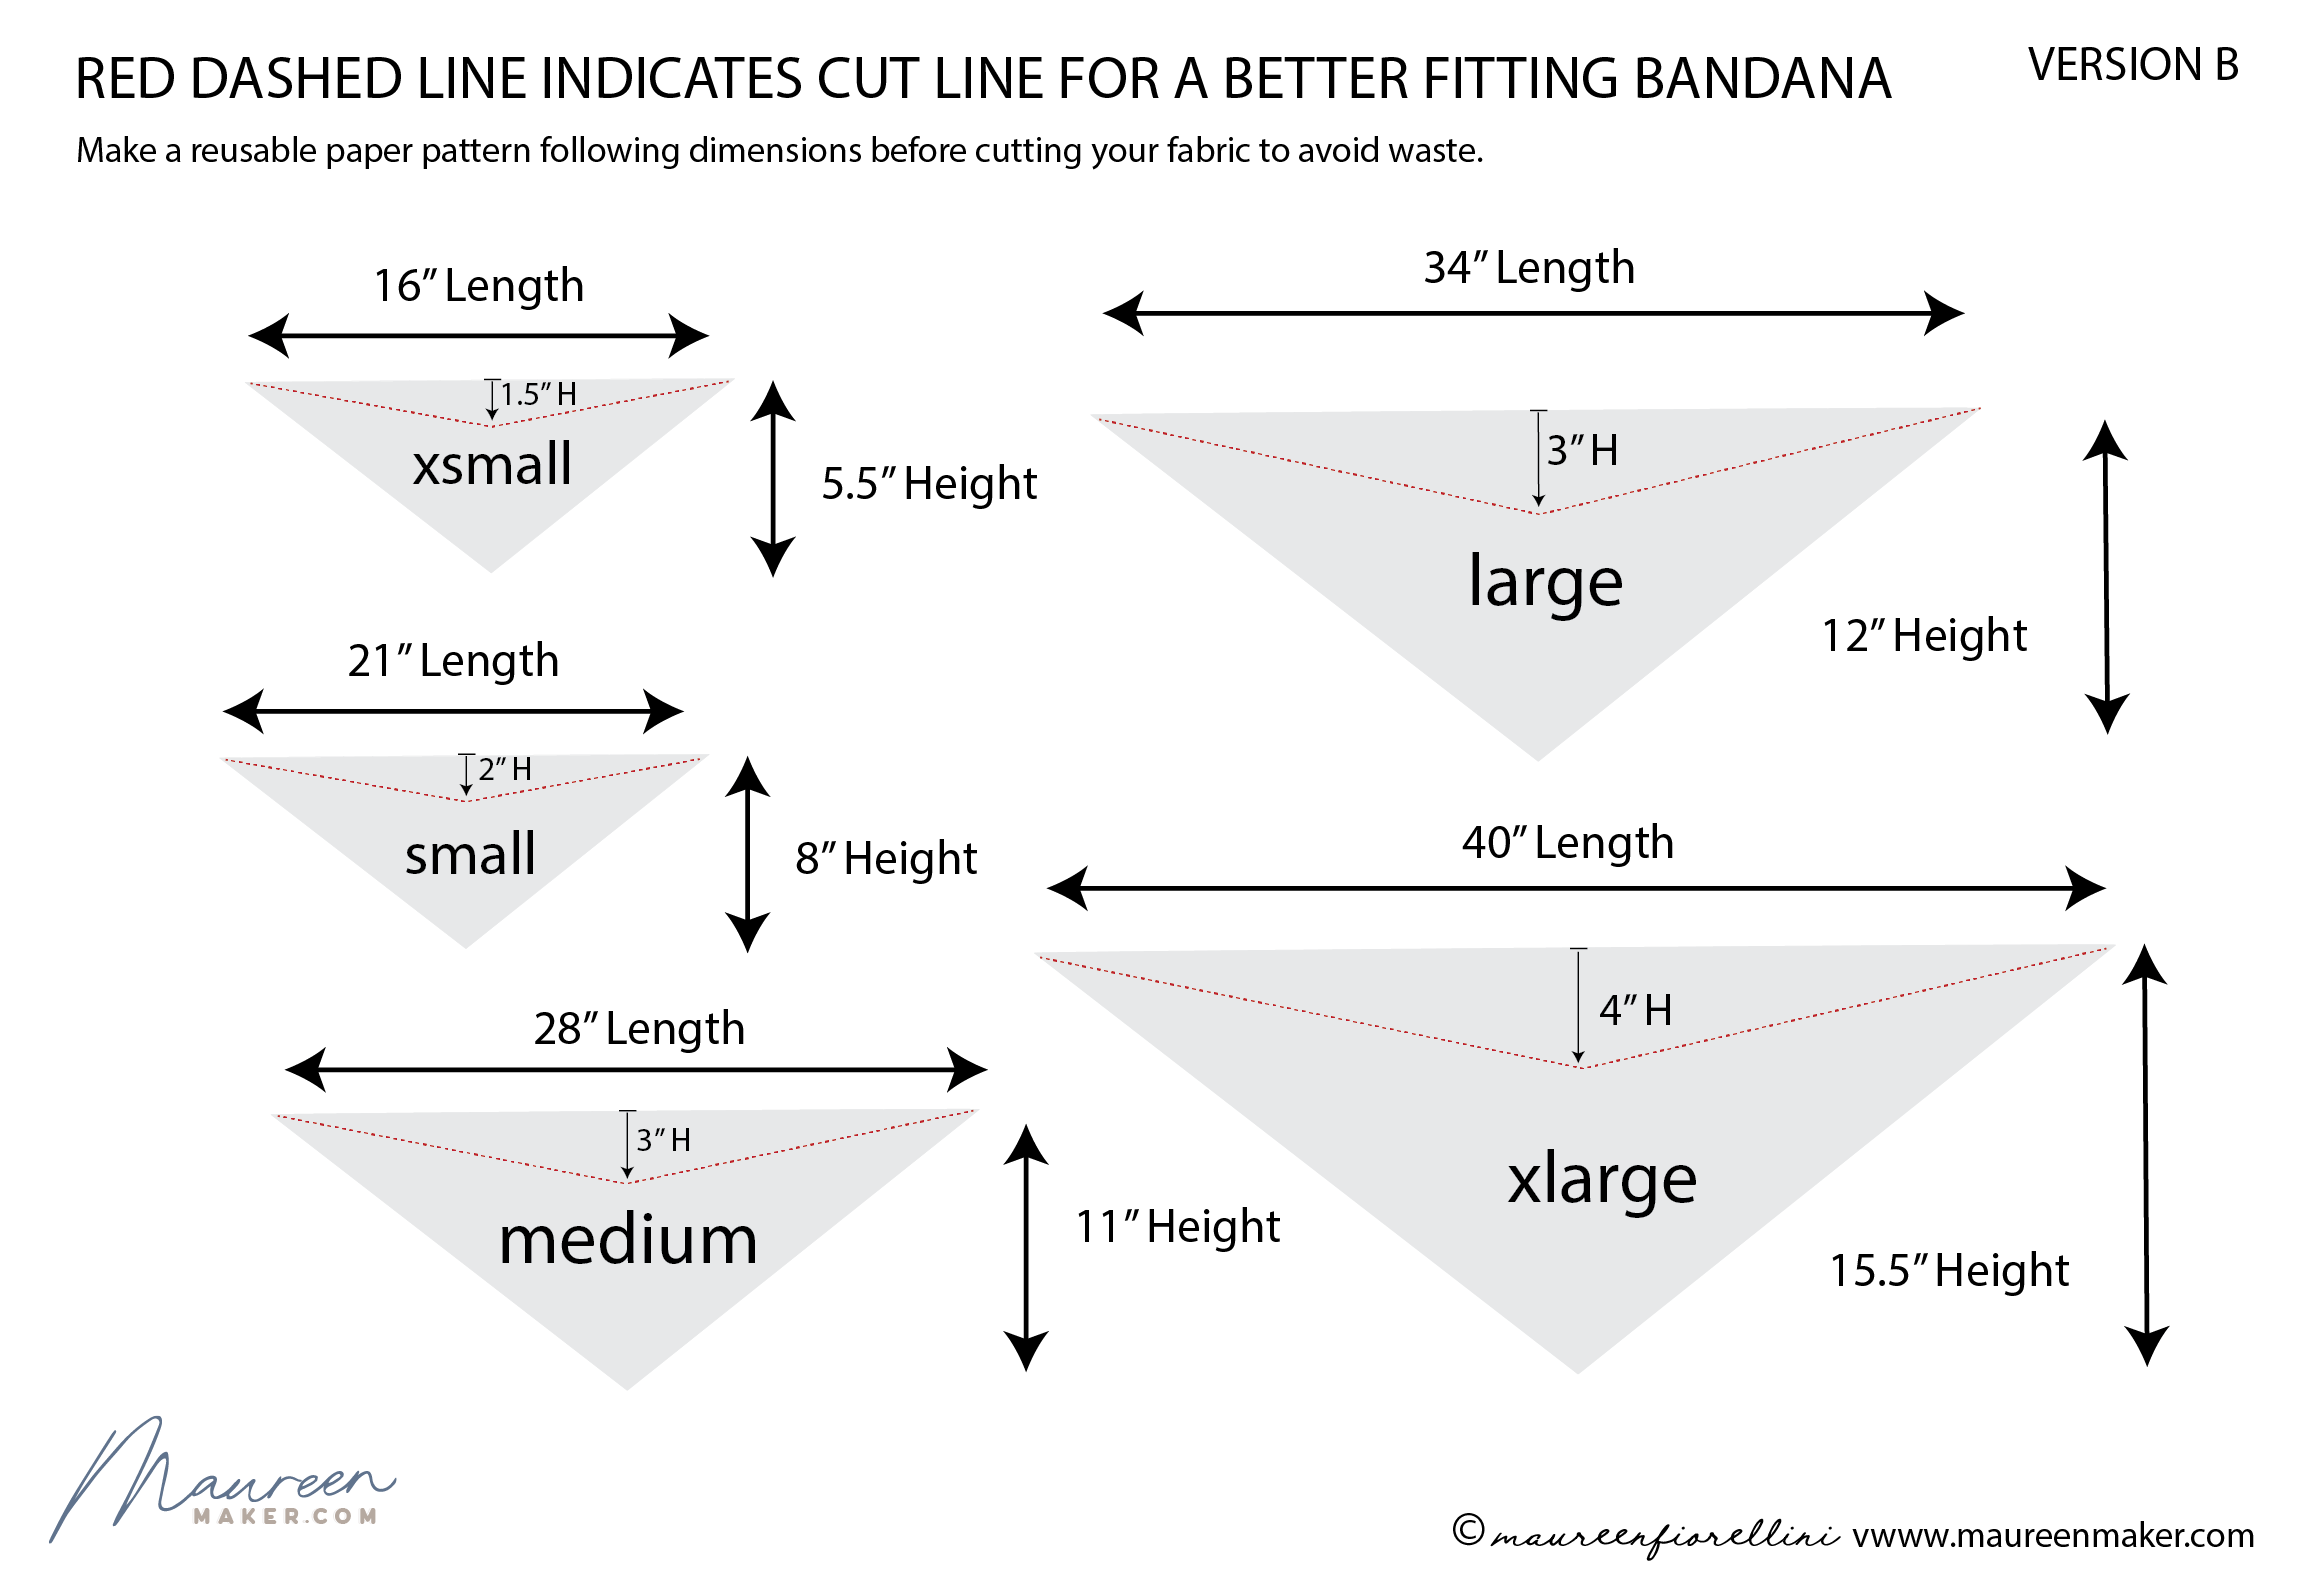
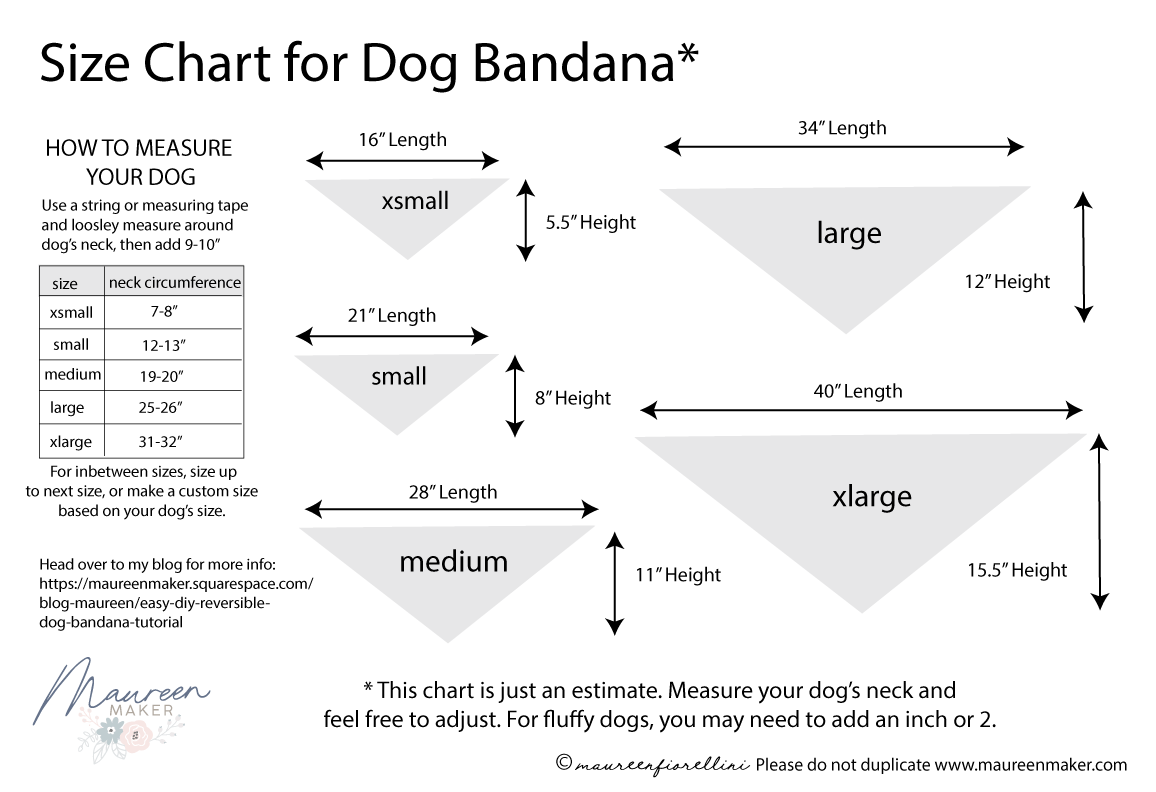
You don’t need a pattern for this, just follow the diagrams below. However, I made a handy size chart that you can reference when deciding what size to make.
How to get the correct size for your bandana:
Use a tape measure, or a piece of string, to loosely measure around your dog’s neck.
Add 9-10 inches approximately to this measurement.
This number is the width of your bandana pattern triangle at the widest part.
For the height, this is personal preference, but I make mine 10 inches. I have a 40 lb beagle/ terrier mix, my final rectangle size was 28 inches wide by 10 inches in height. His neck circumference is 17”.
Based on your measurements, cut a large rectangle from your fabric.
Click the form below to get access to my growing vault of tutorials and printables, so you can print this chart out and save it.

No Pattern Necessary
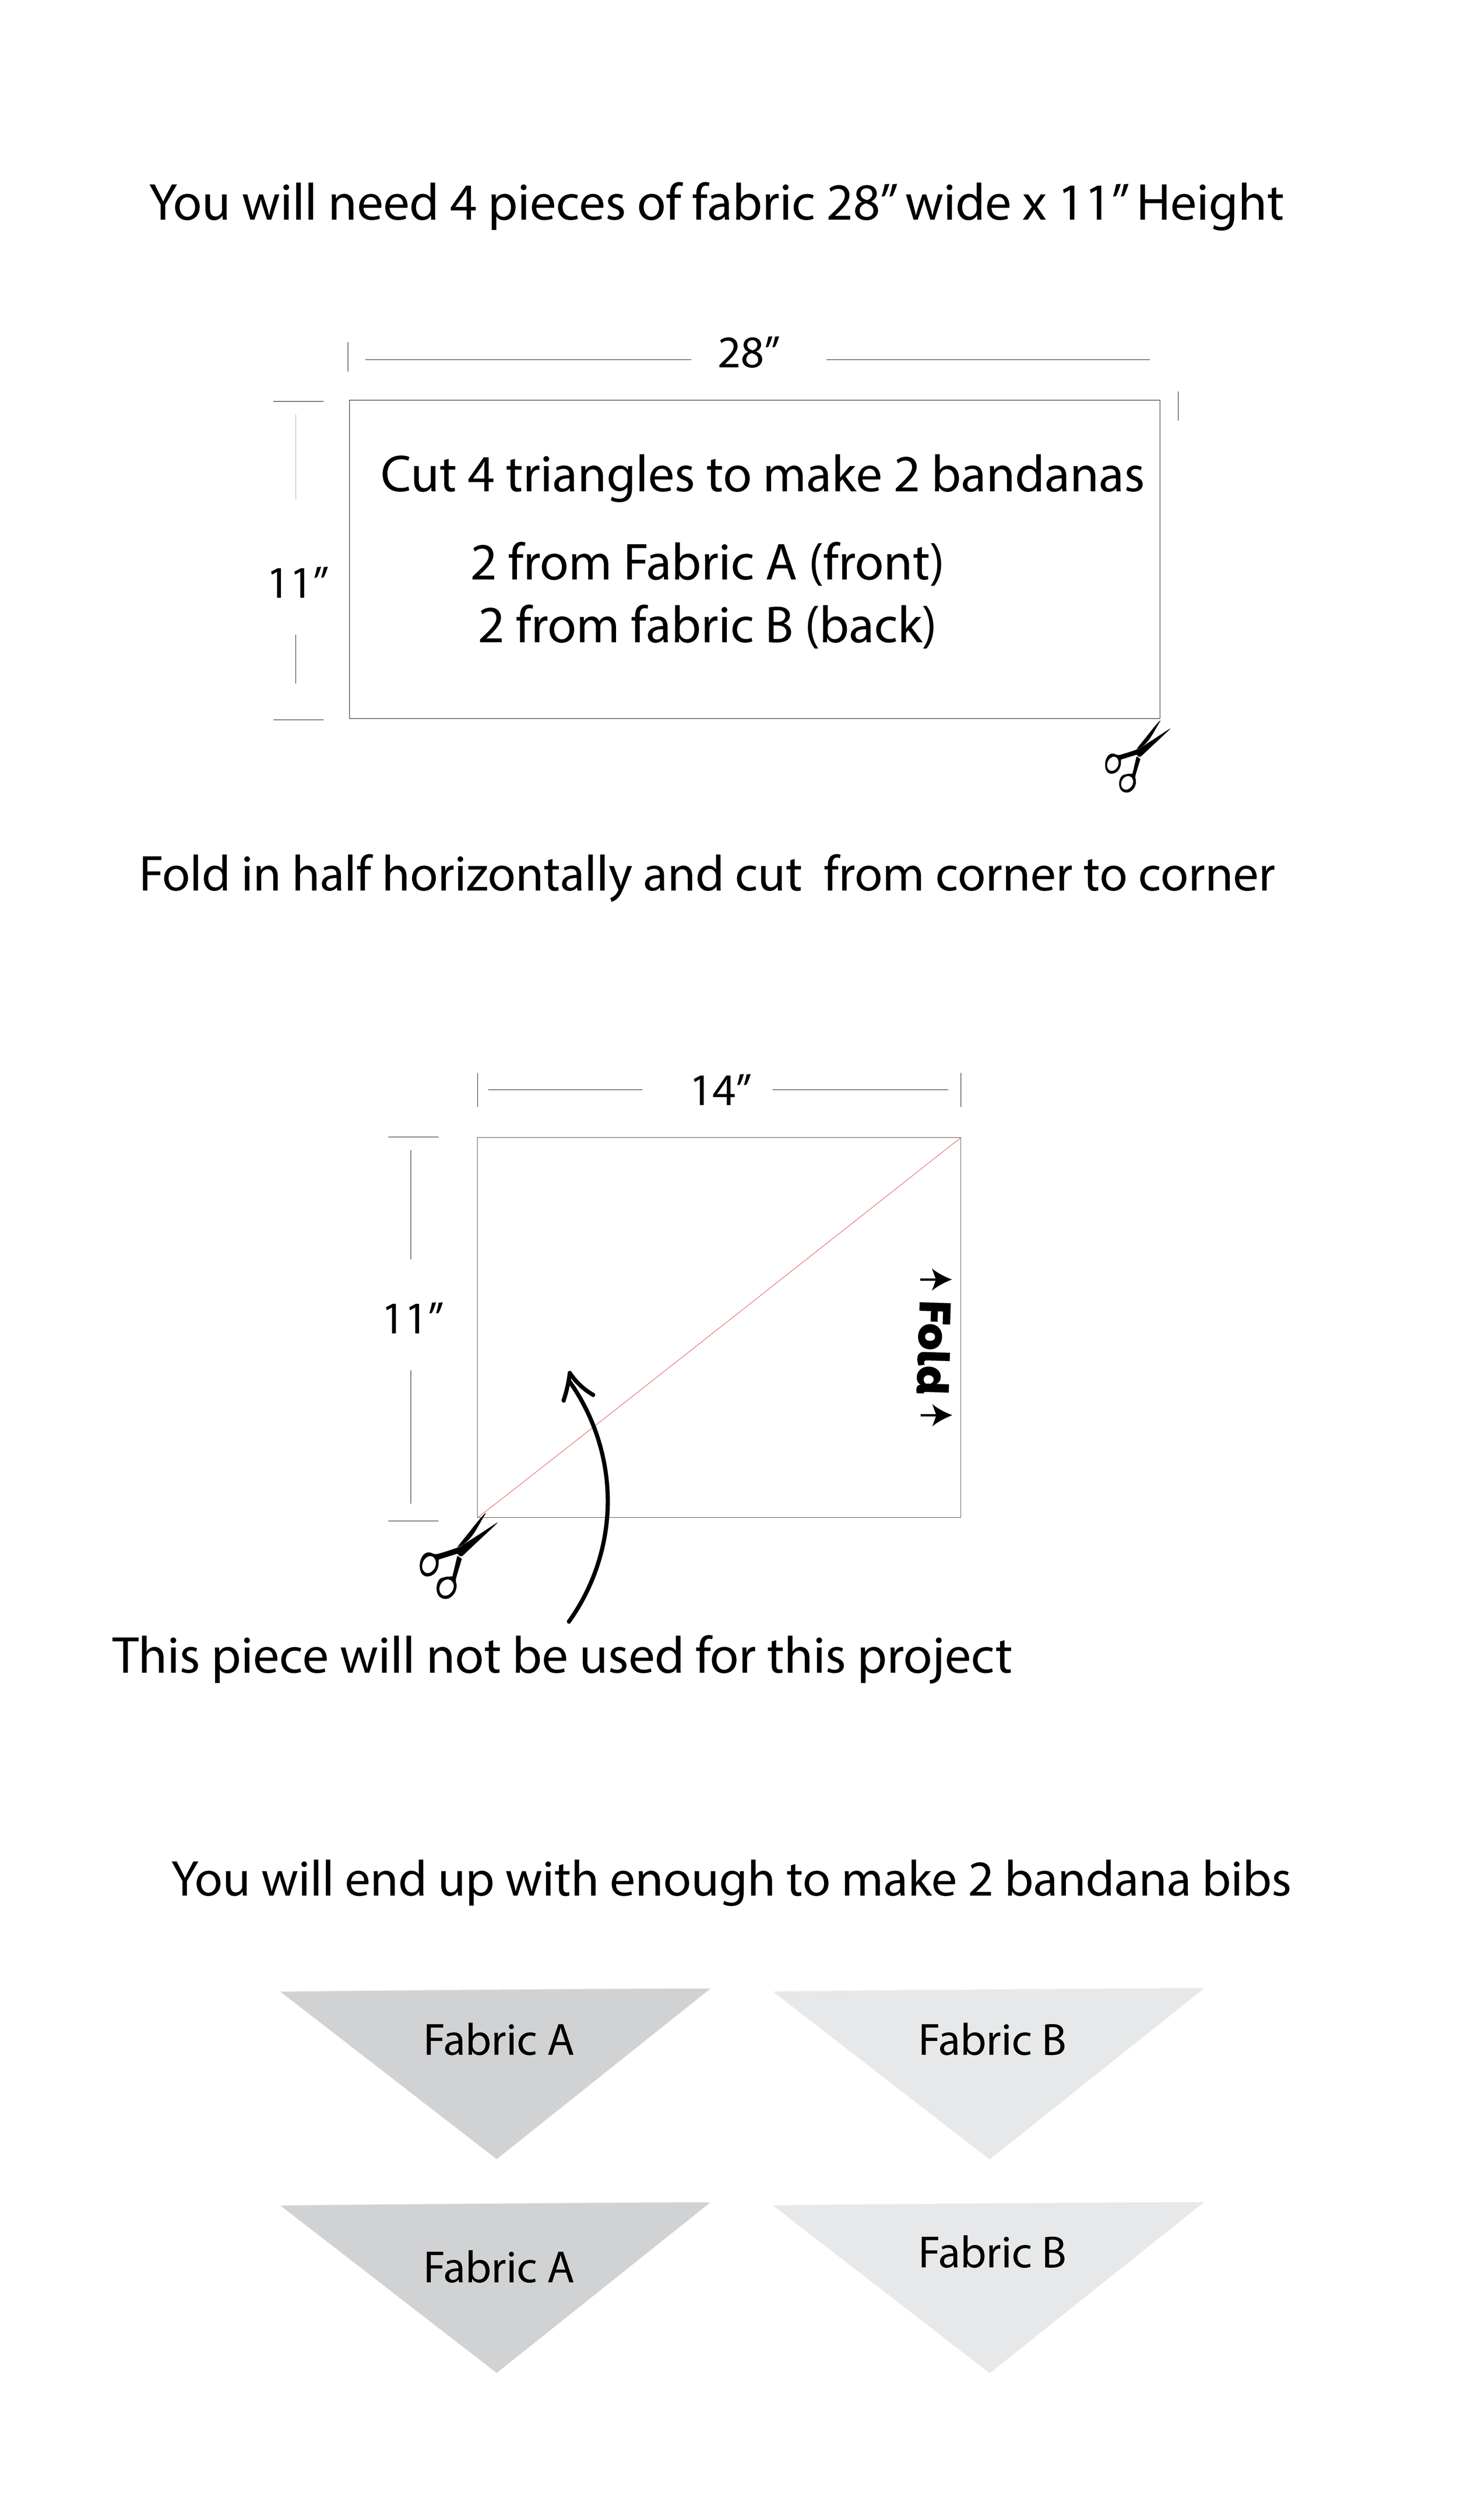
Follow the diagrams below to cut out the bandana pattern pieces.
You will need one piece for the front and one for the back.
Using this method you will be able to make 2 bandanas, one to keep and one to give to a friend.
There will be some leftover triangles, use them for another project.
This diagram is to make 2 medium size bandanas
(Refer to the size chart for other dimensions)
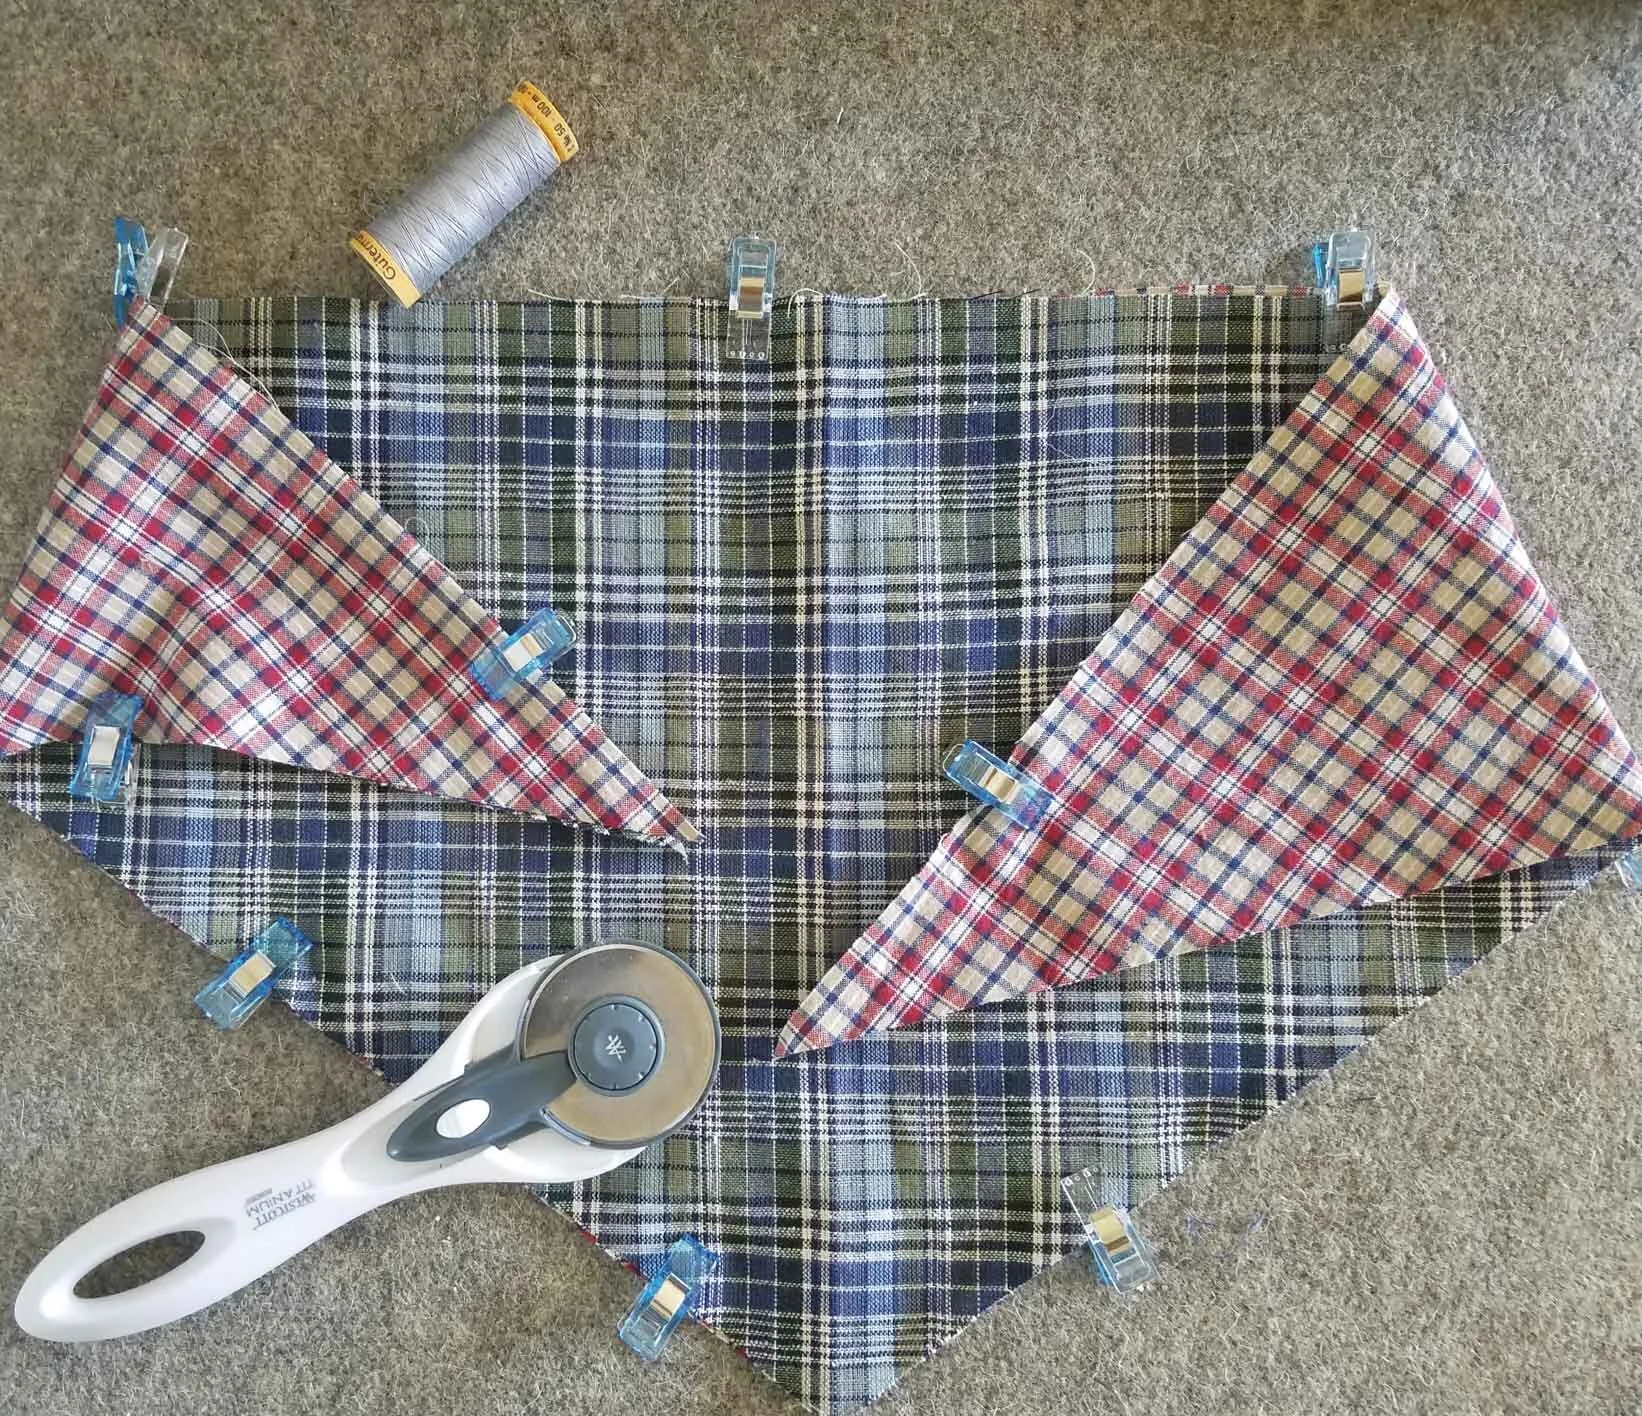
Place fabric triangles right sides together and pin or clip together.
I just discovered sewing clips and they are a game changer, no more pin pricks!
You can see the ones I use here: ( my favorite clips )
2. Sew all around using 1/4” seam allowance, leaving a 2-3” opening to turn
right-side out.
Don’t forget to leave an opening unsewn, so you can turn the bib right-side out.
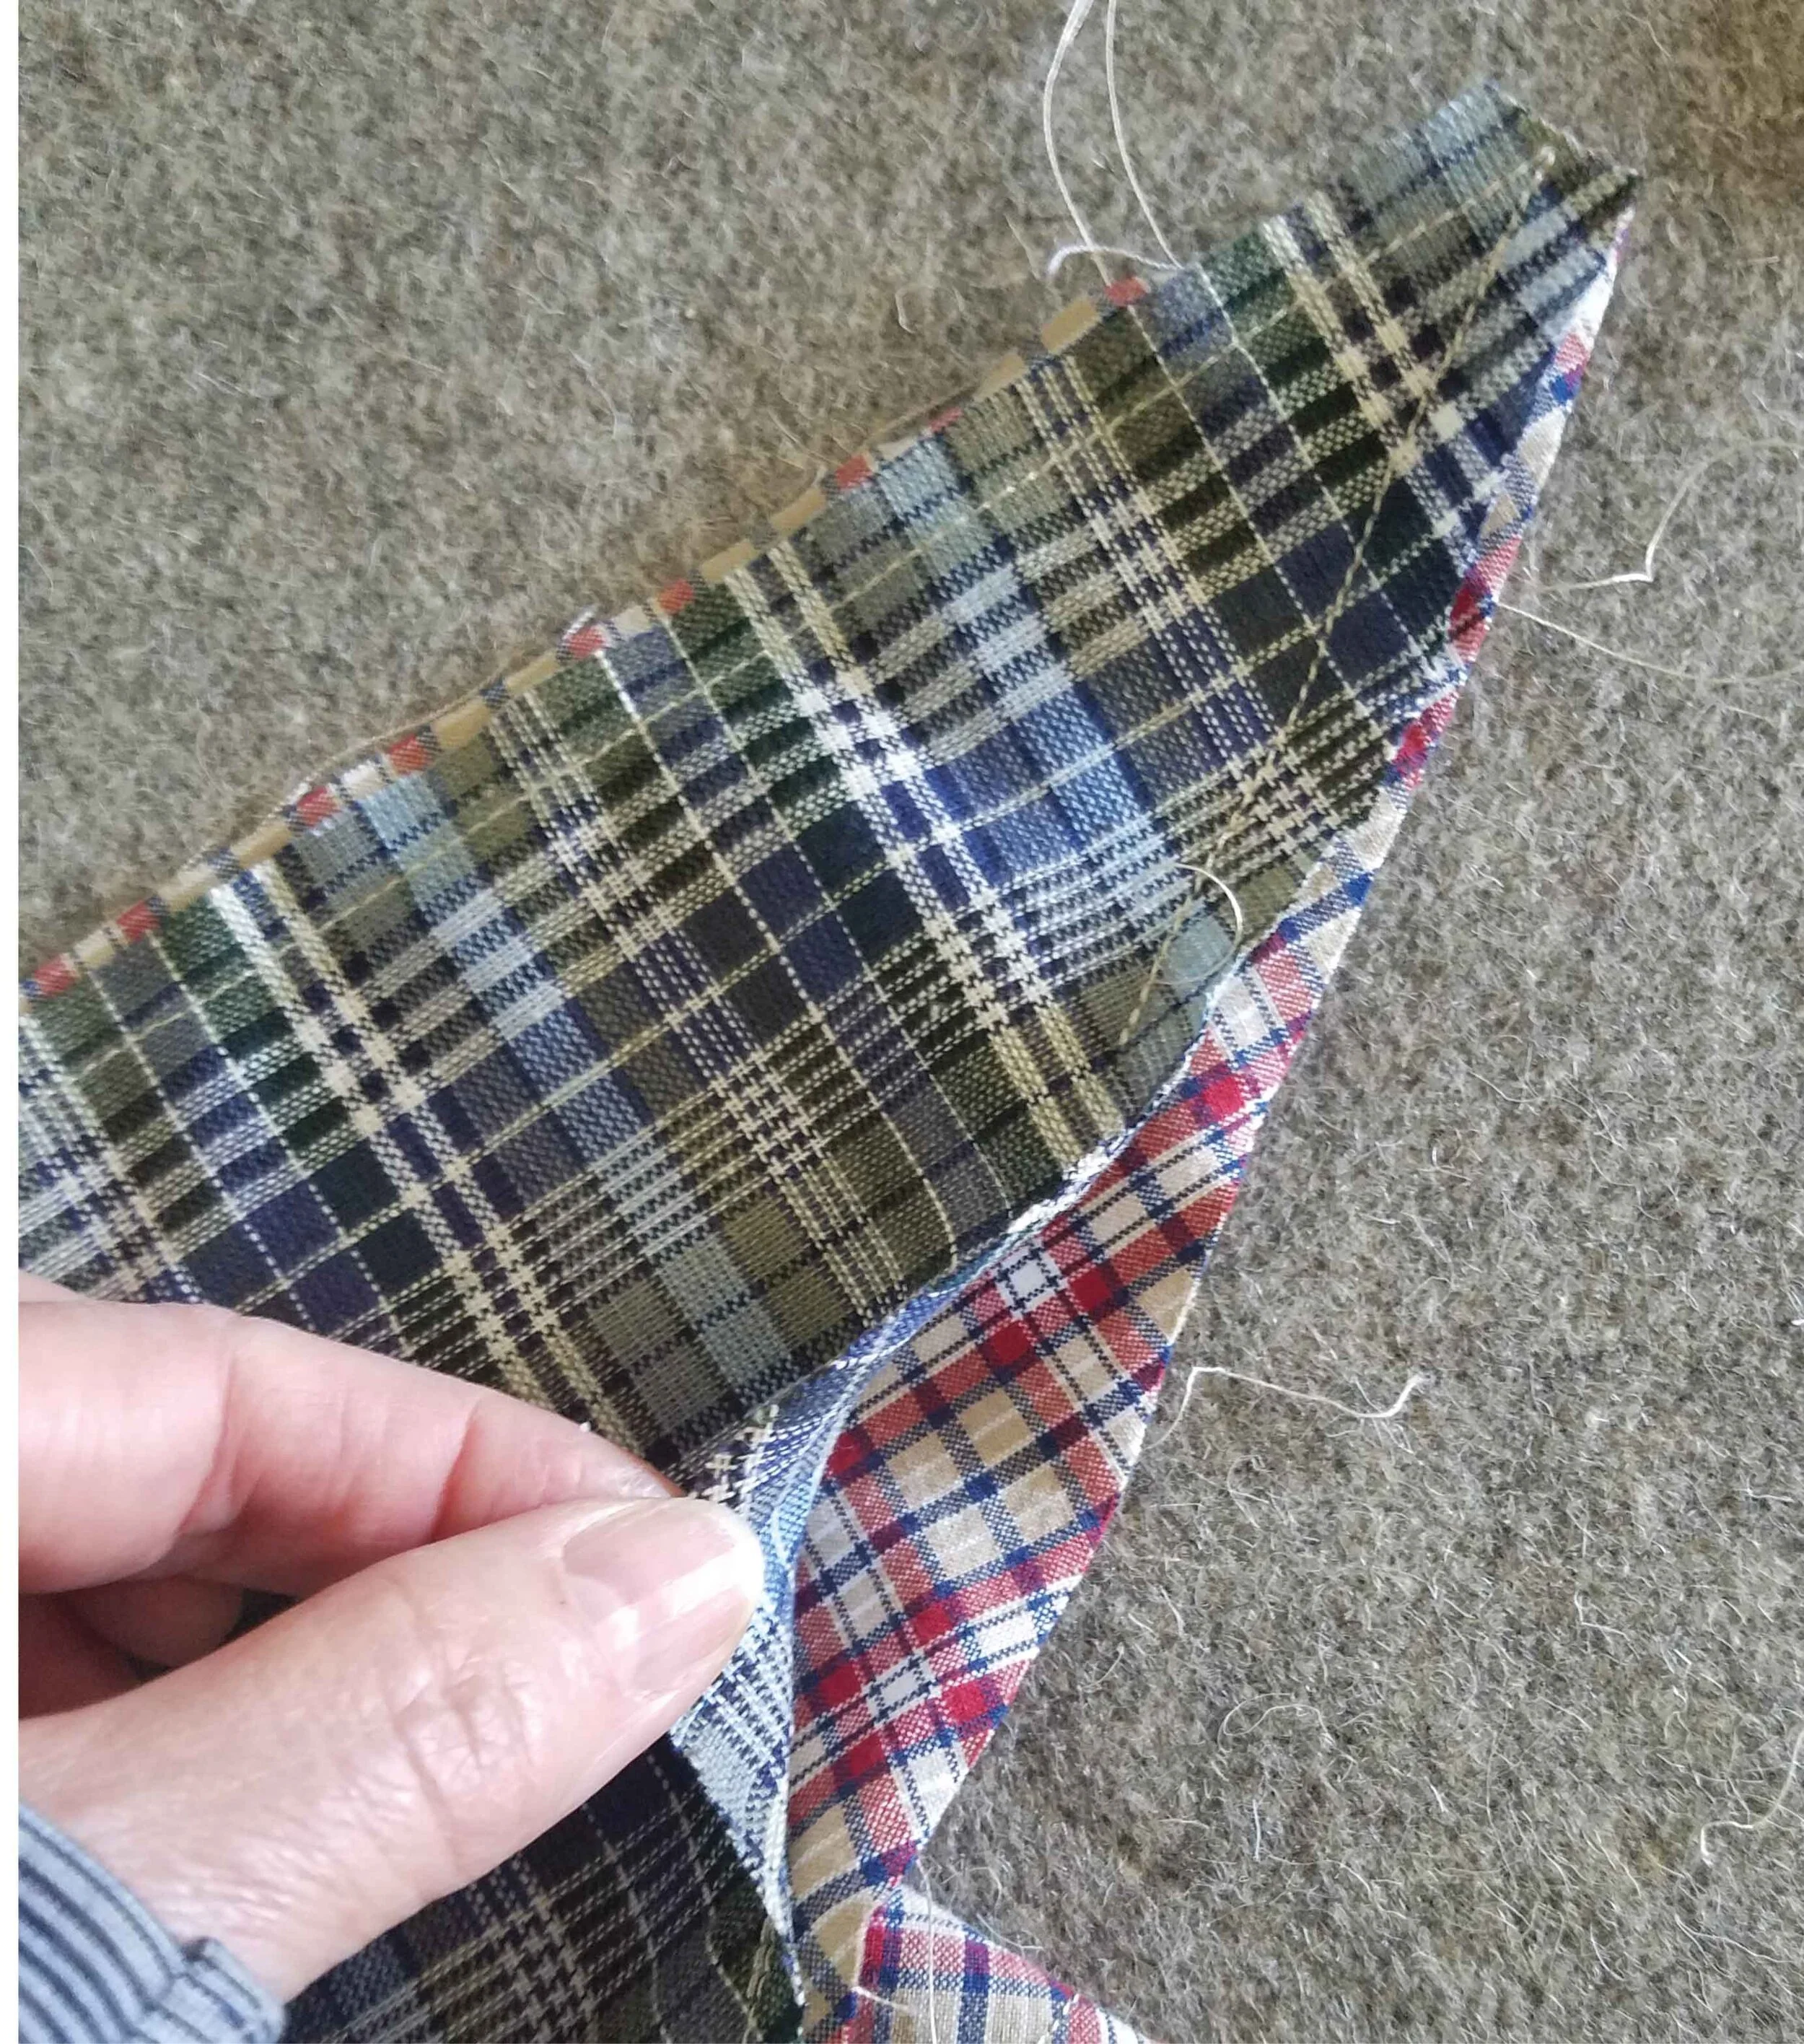
3. Carefully clip the corners before you turn this right-side out.
It will give you less bulky corners. Be careful not to cut too close to your stitching.
4. Turn right-side out and press.
5. Sew all around and close the open seam.
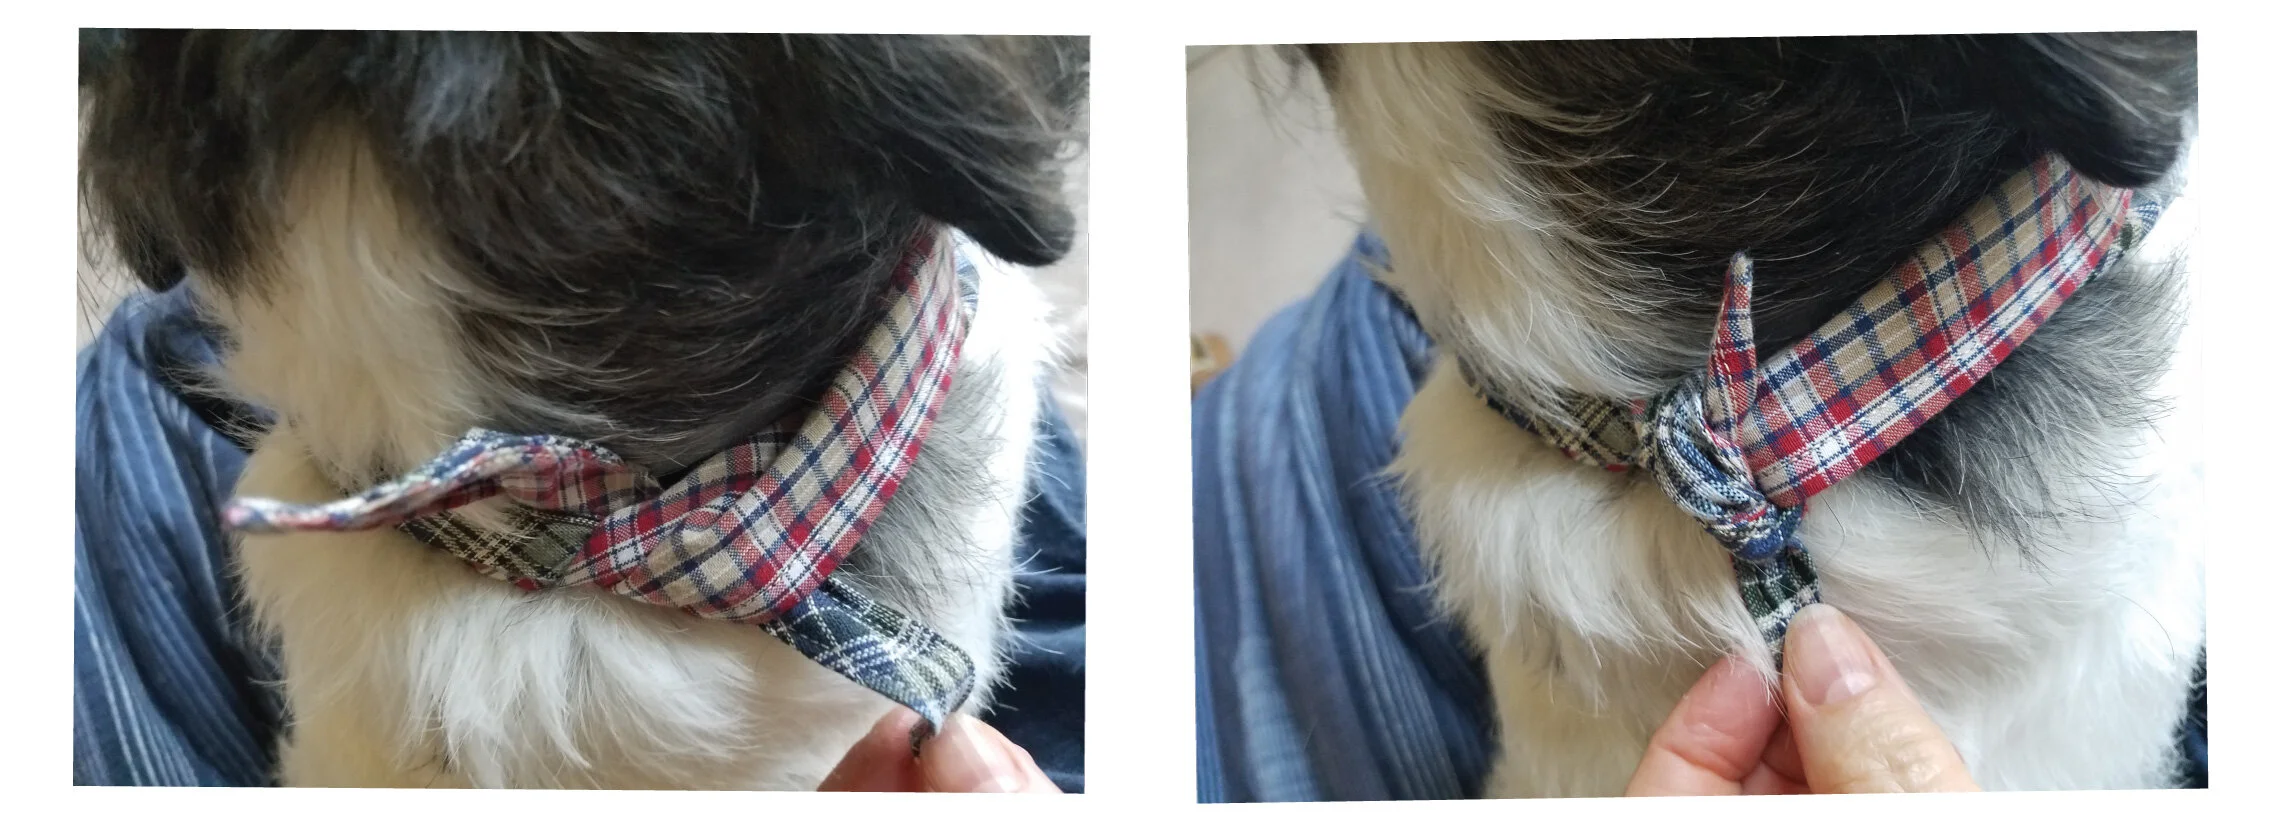
That’s it! You are done.
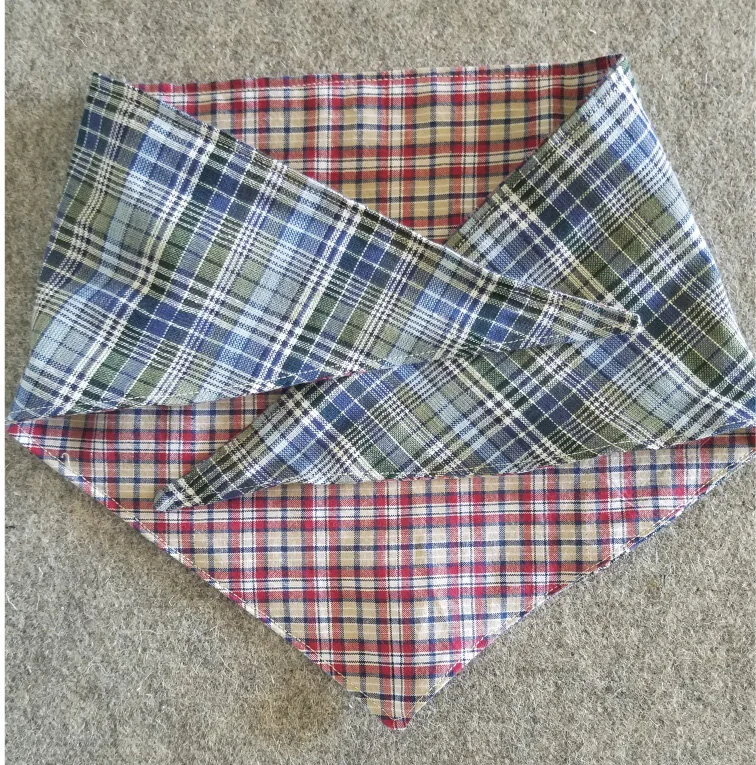
You can just tie around your dog’s neck like this:
ALTERNATE BANDANA SHAPE
After you make a few of these, you may like to experiment with more of a custom fit.
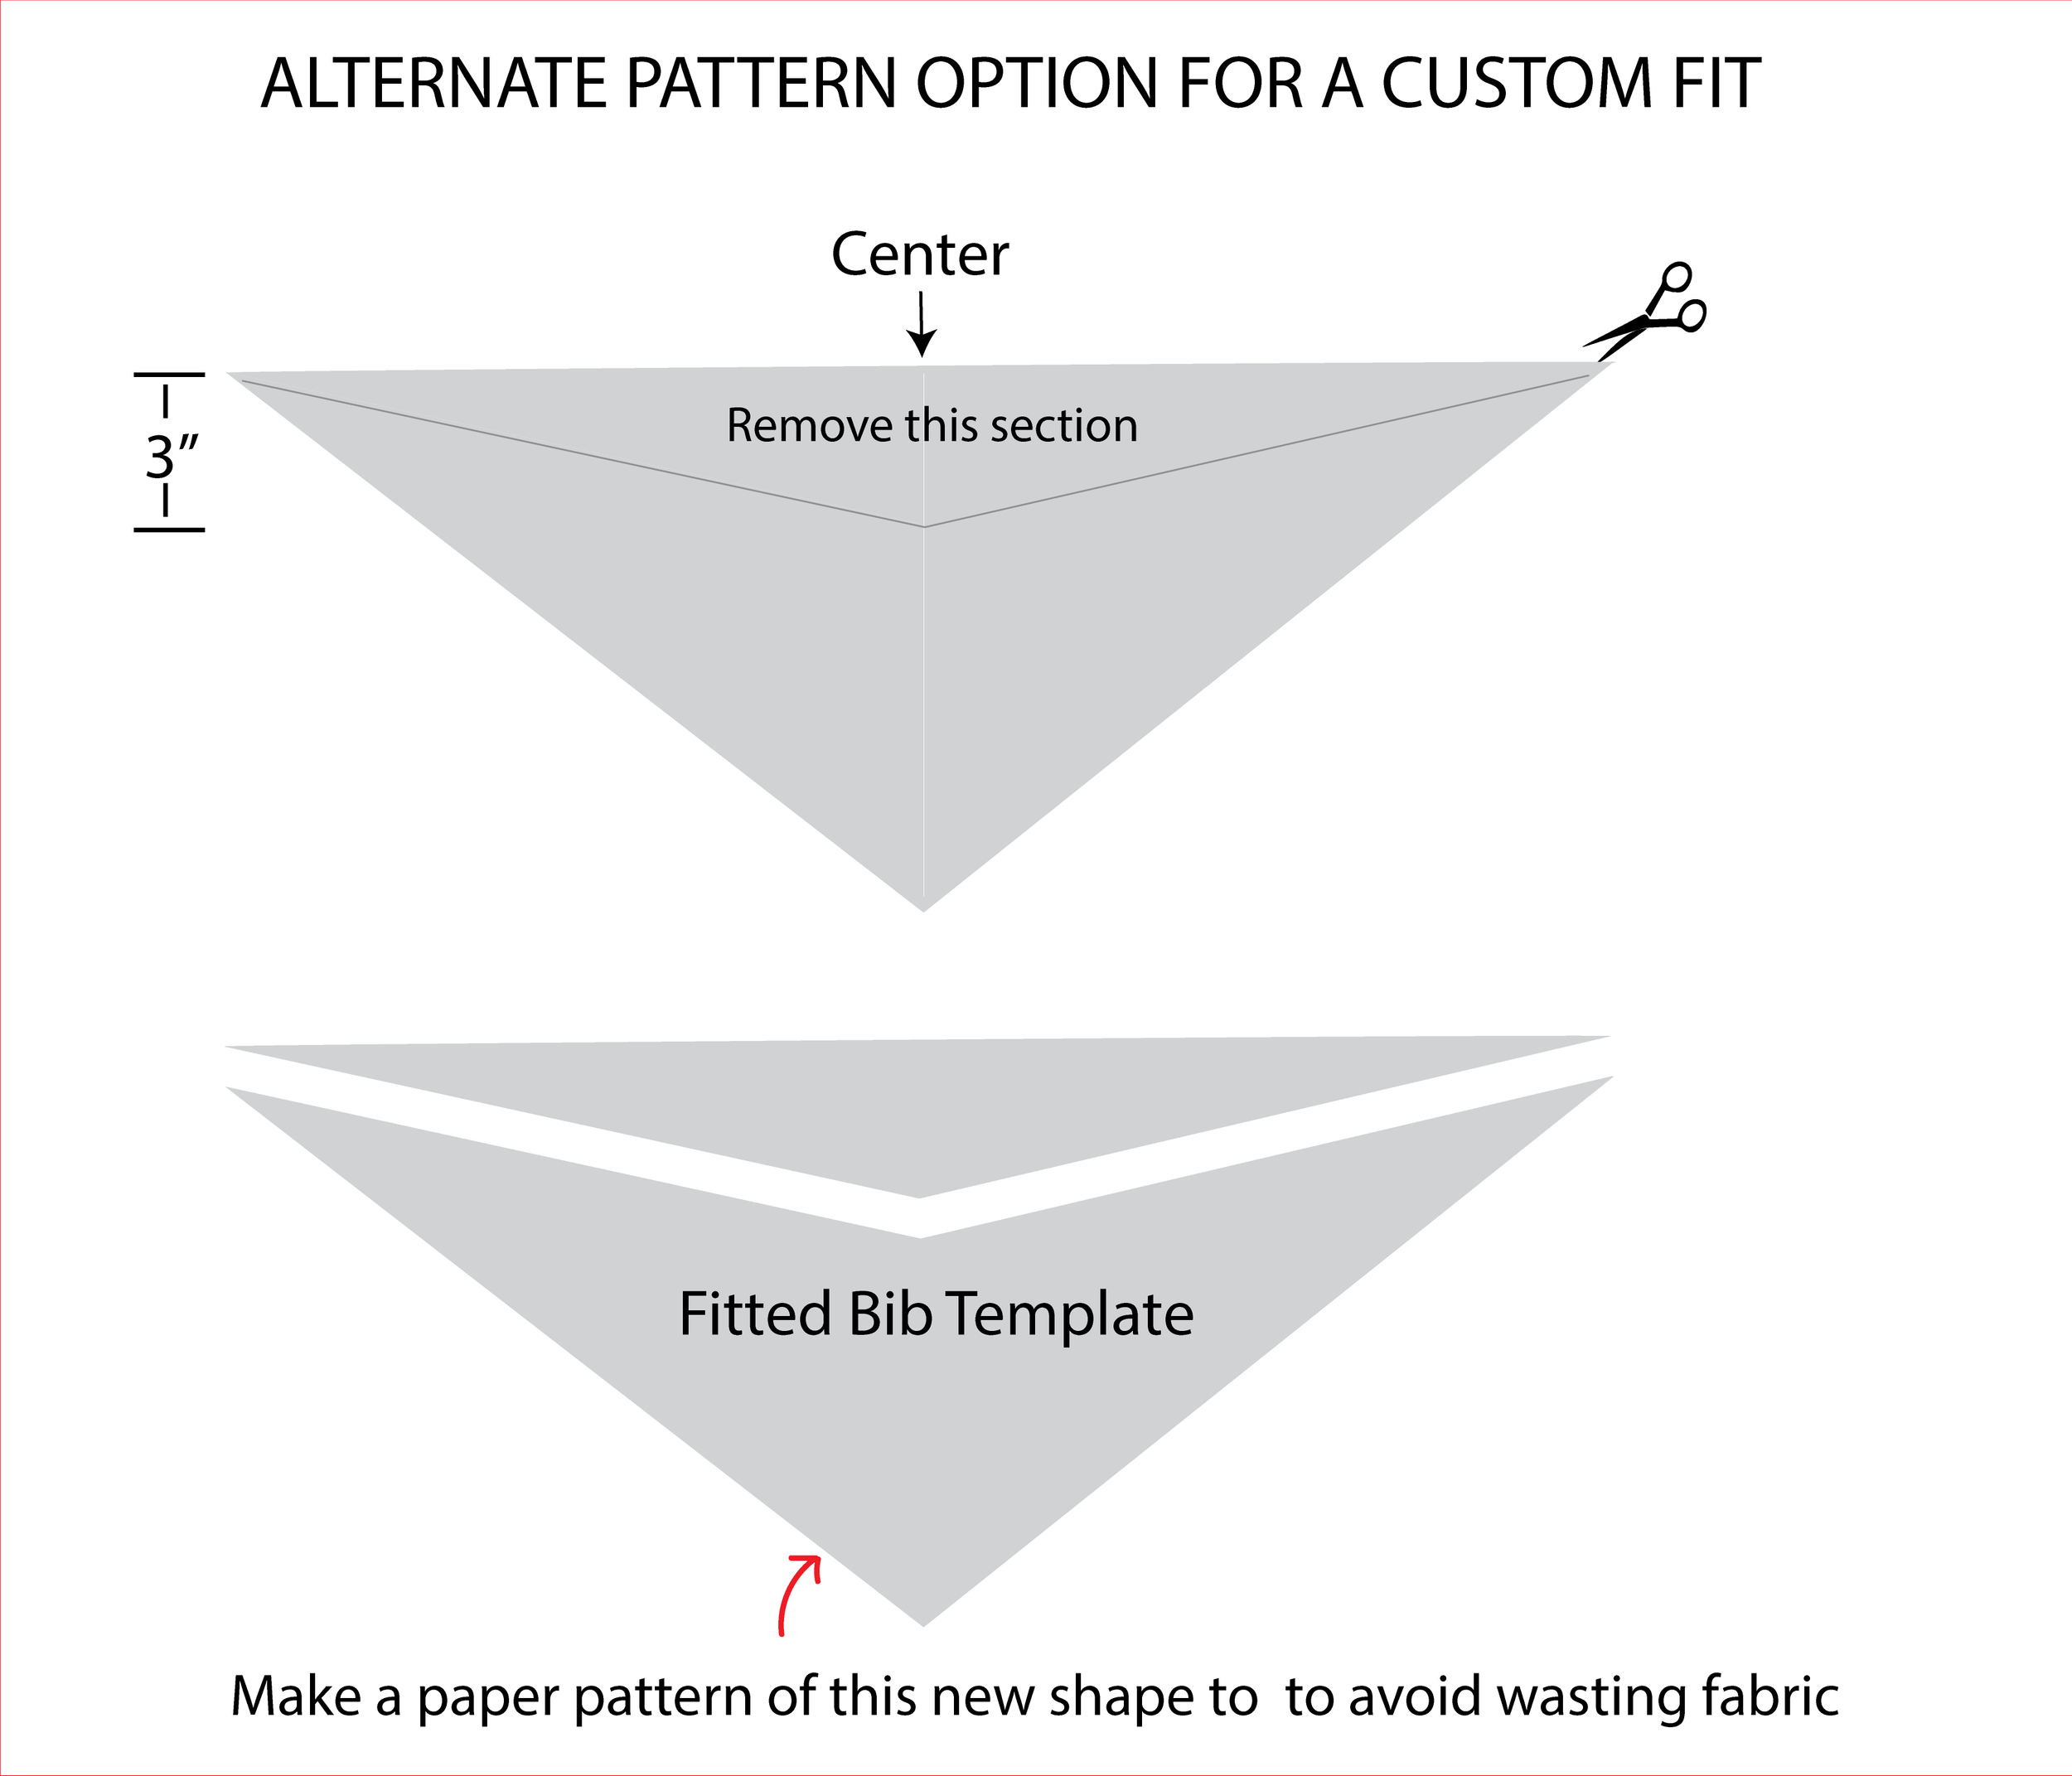
Although I have made many like shown above, cutting an angled notch at the top of the bandana avoids the fabric bunching around your pup’s neck, and uses less fabric.
All you have to do is fold your cut triangle in half vertically to find the center and finger press.
For the medium size, measure about 3 inches from top center fold and make a mark.
Now draw a straight line from that mark to the outer points of the triangle as shown below.
Remove this fabric.
(Refer to diagram below)
For the smaller sizes, measure less than 3 inches, for the larger sizes, you may need to add an inch.
Experiment with scrap fabric or paper to get the right size for your dog, then use it as a template.
MAKE A PAPER PATTERN
Make yourself a paper pattern to maximize how many pieces you will fit on your chosen fabric.
You will need to do this with each pattern size.
Let me know if you like this version or the previous one.
What size to make?
My dog is a 38-pound beagle terrier mix. I used the medium size dimensions.
Use a tape measure and loosely measure your dog’s neck size and add 9 inches.
Match that number with the length dimensions listed below for best fit.
It may be a little trial and error to get the fit your dog prefers.
You can print the size chart out and put it in your sewing binder for easy reference when you are ready to make this.
The free download is in my freebies vault which you can get access to here.
Don’t have a sewing binder/folder?? You should start one.
Pinterest is great but I like to have physical copies of my project patterns to reference so I can get to my project faster when I am ready to sew.
No more poking around the internet to find it:)
Can you relate???
Now go make one and tag me on instagram @maureenmaker to show me how cute your pup looks in his/her new bandana.
Be prepared to get noticed at the dog park.
All of your dog’s friends will want one and now you can make them for everyone!
Make a Beginner-Friendly Baby Quilt
Now that you have mastered the bandana, how about stepping up your sewing game?
Your fur baby would love a custom quilt. I know this because mine sure does.
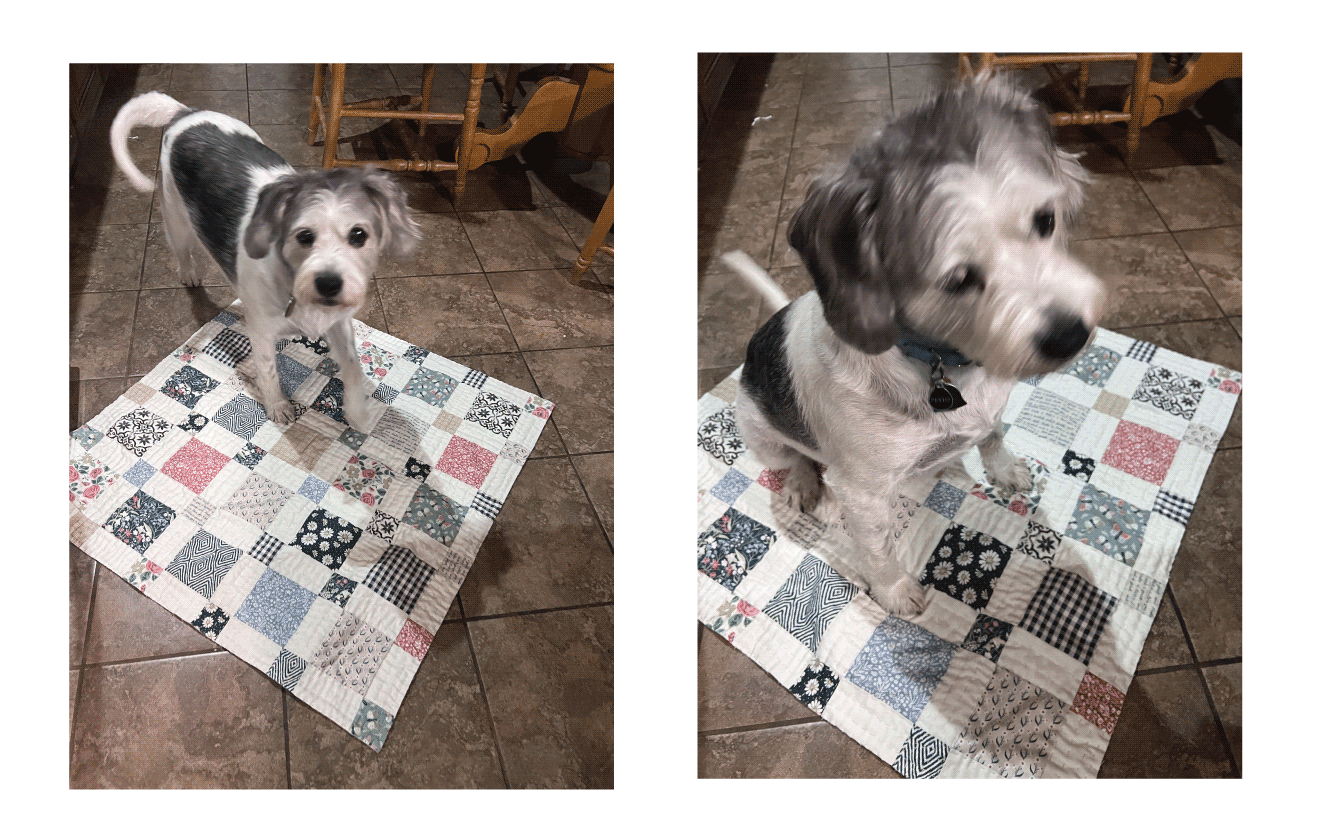
Check out my 6 part beginner baby quilt series and your furry friend will thank you🐶
I even added some videos of the tricky parts to help you along.
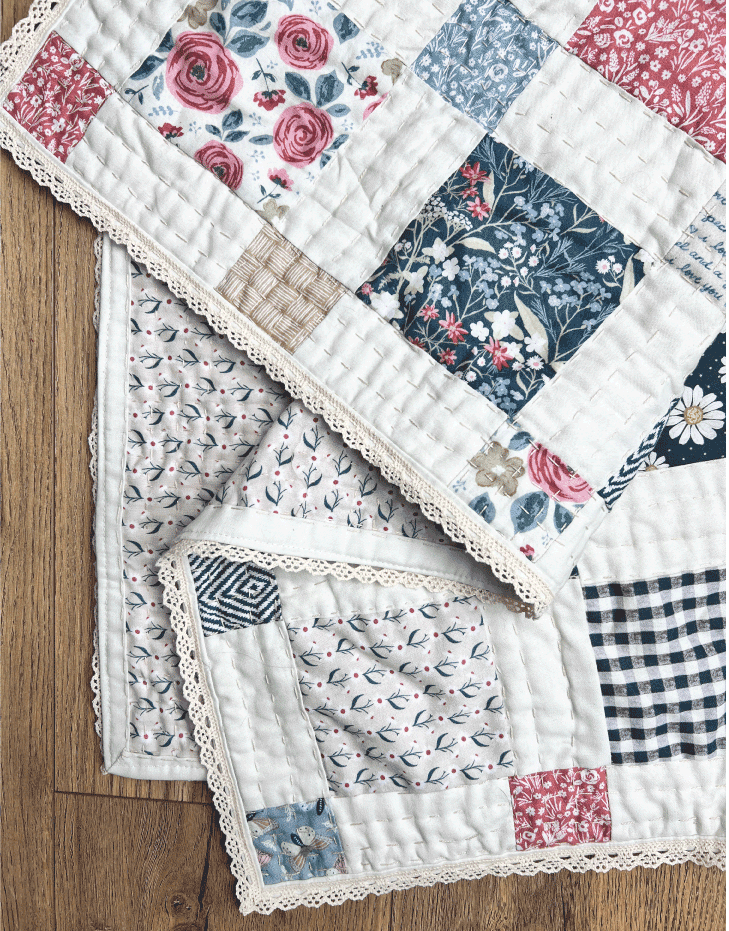
And if you’re feeling a little extra, you can add cotton lace trim to the binding like I did. Totally optional.
I HAVE ANOTHER BEGINNER-FRIENDLY single ply DOG BANDANA PATTERN THAT USES LESS FABRIC.
YOU CAN SEE IT HERE.
If you liked this project you may also like my burp cloth tutorial.
The process is very similar to this one, also beginner-friendly:)
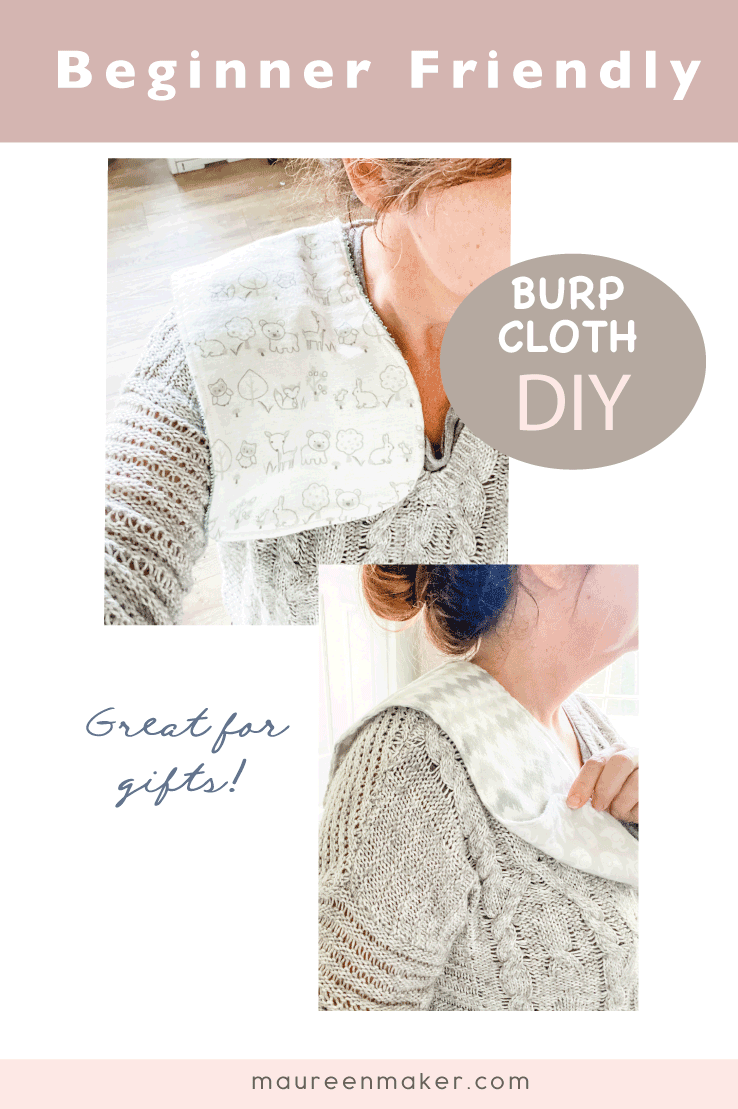
I love giving them to new parents, they are very practical and so much fun to pick out cute fabric.
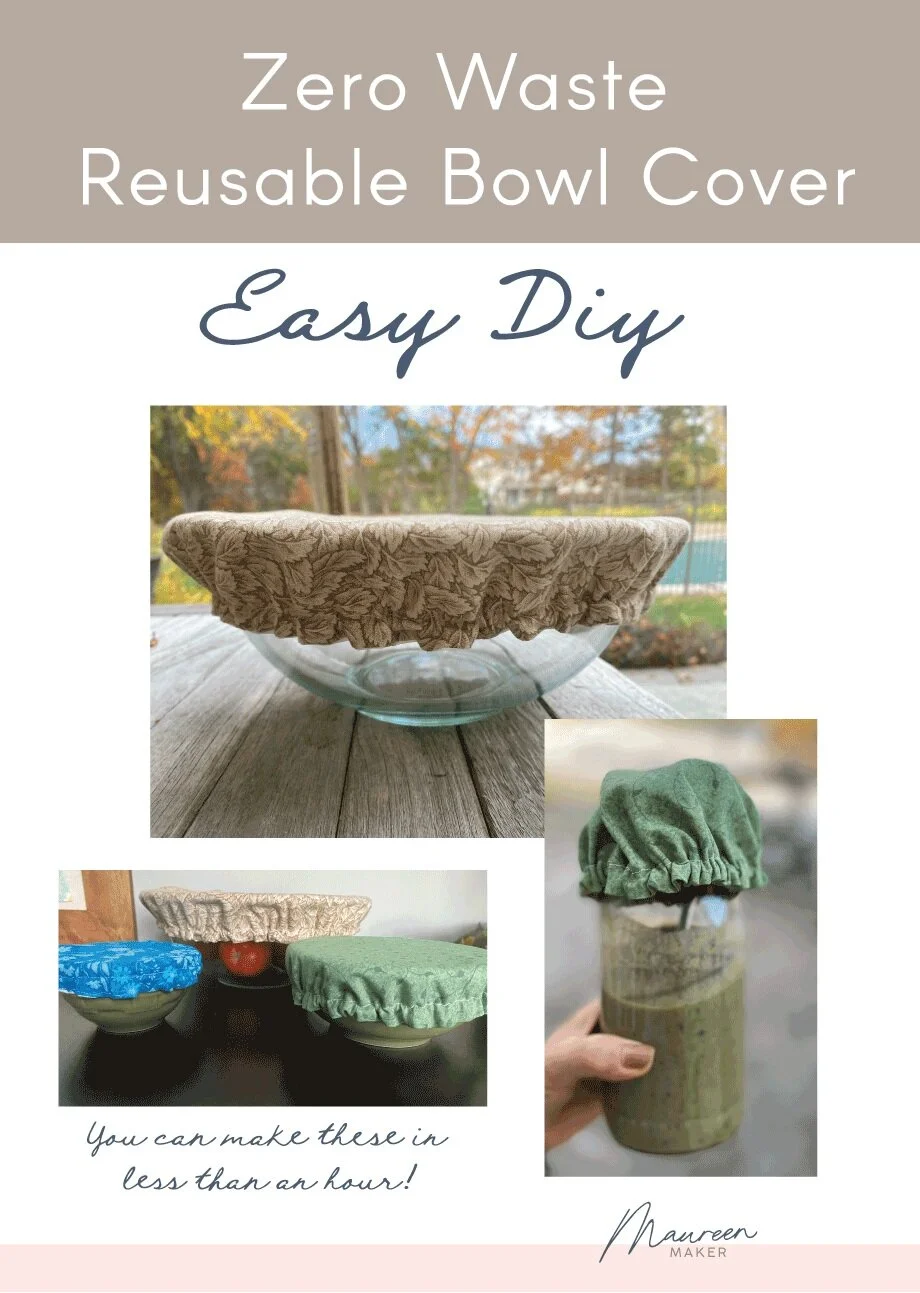
Trying to live a little more sustainably?
I’ve got you Covered :)
You may like my zero waste reusable bowl cover tutorial.
It has helped me to reduce the amount of plastic wrap I use in my kitchen to almost none:) ♻️
Let me know if you make this, I would love to see how you made out!
Please comment below and tell me what your favorite thing to sew is…
…and of course, please don’t hesitate to reach out if you have any trouble making any of my projects, or just want to chat. I respond to every email👋🏻