ZERO WASTE REUSABLE BOWL COVERS DIY
ZERO WASTE REUSABLE BOWL COVER TUTORIAL
Trying to live a little greener?
I’ve got you covered;)
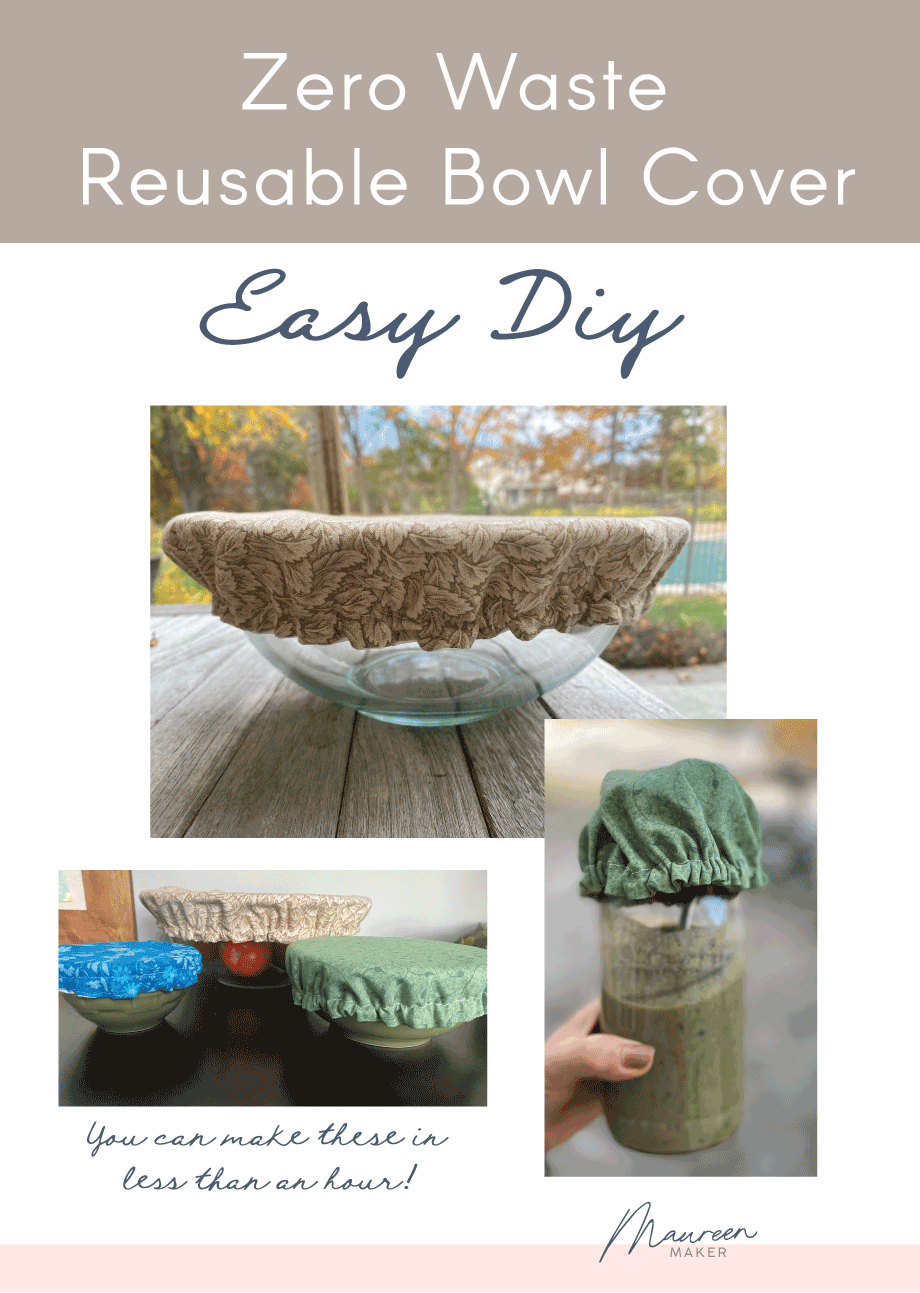
Whip up these reusable eco-friendly bowl covers in under an hour.
We all need to do our part to reduce our use of plastic.
This is an easy way to ditch the plastic wrap, you will never miss it and wonder why you didn’t make these sooner!
They make great gifts too!
I brought one to a potluck (on my salad bowl), and everyone wanted one.
You can help your friends and family by showing them that living a zero waste lifestyle doesn’t have to be hard.
Materials Needed:
Cotton fabric, fat quarters are perfect for this project
(I prefer to use organic fabric when the cover will come in contact with food)
2. Waterproof pul fabric for the lining (optional)
I got this one, it’s organic:)
3. Cotton thread any all purposes cotton thread will work.
4. Scissors or rotary cutter
5. Sewing machine
6. Elastic ( 1/8 or 1/4 inch. For each bowl cover, measure circumference of bowl and subtract about 3-5 inches.
7. Safety pin.
8. Pencil or fabric marker
9. Clips or pins.

TO LINE OR NOT TO LINE?
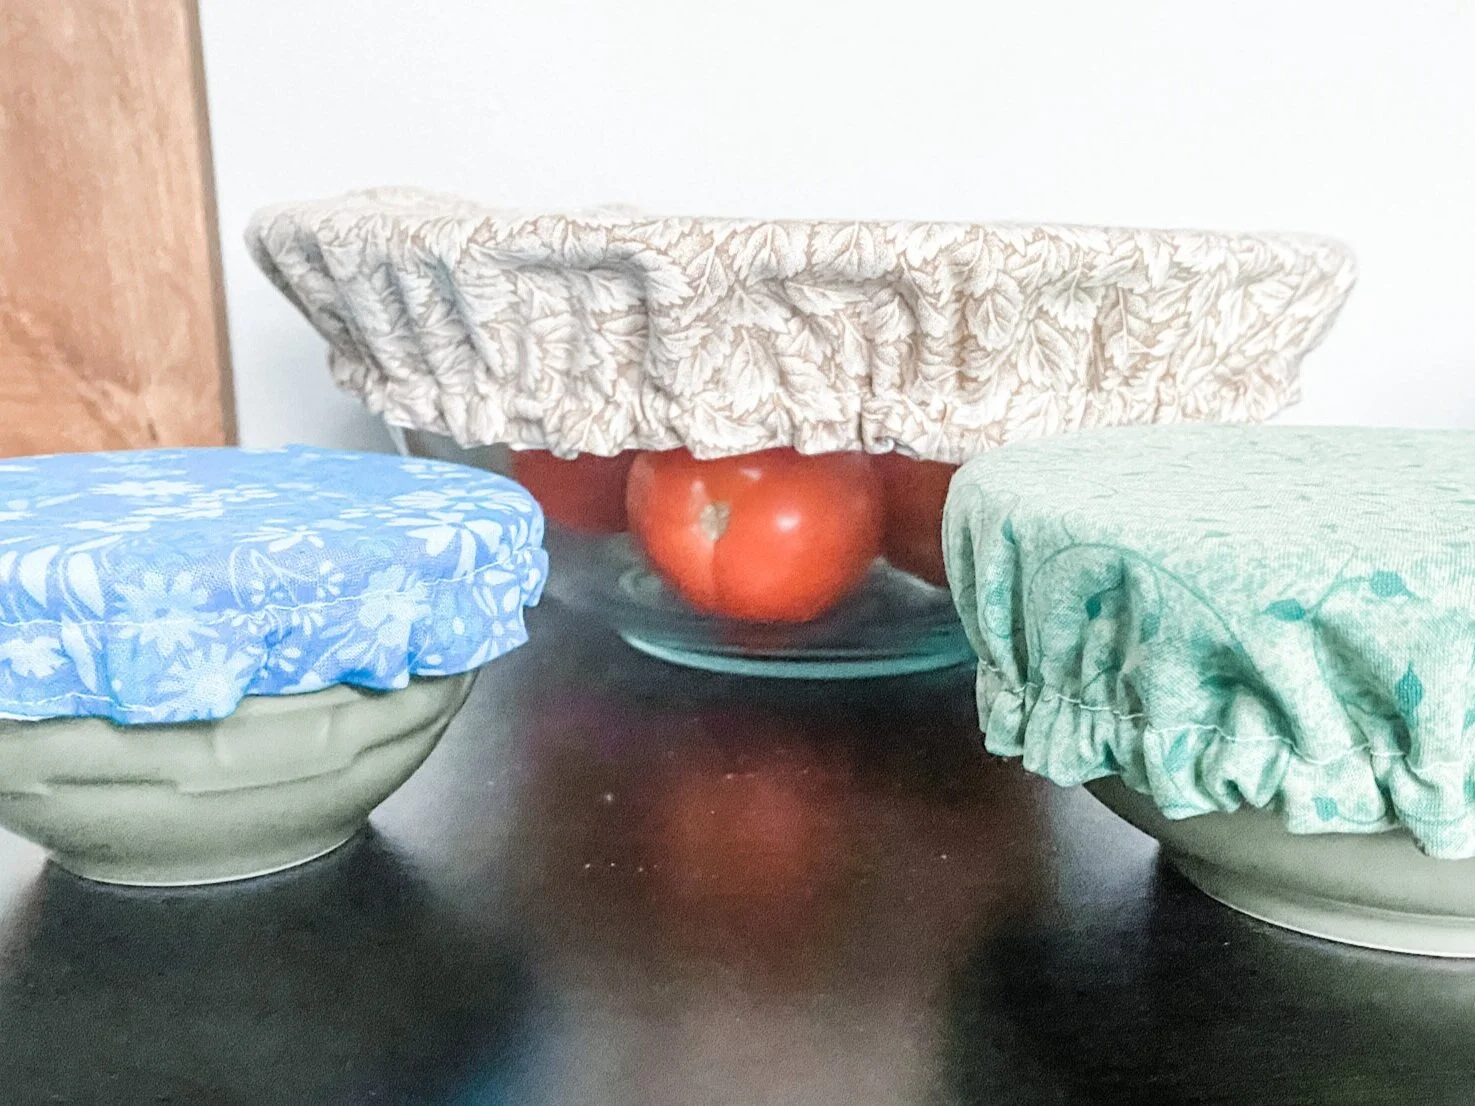
If you want to make them a little more airtight, you can use waterproof pul fabric for the lining. I made them with and without lining, and I find them both useful.
Lined is good when the food will touch the lining and for when you need a more airtight seal.
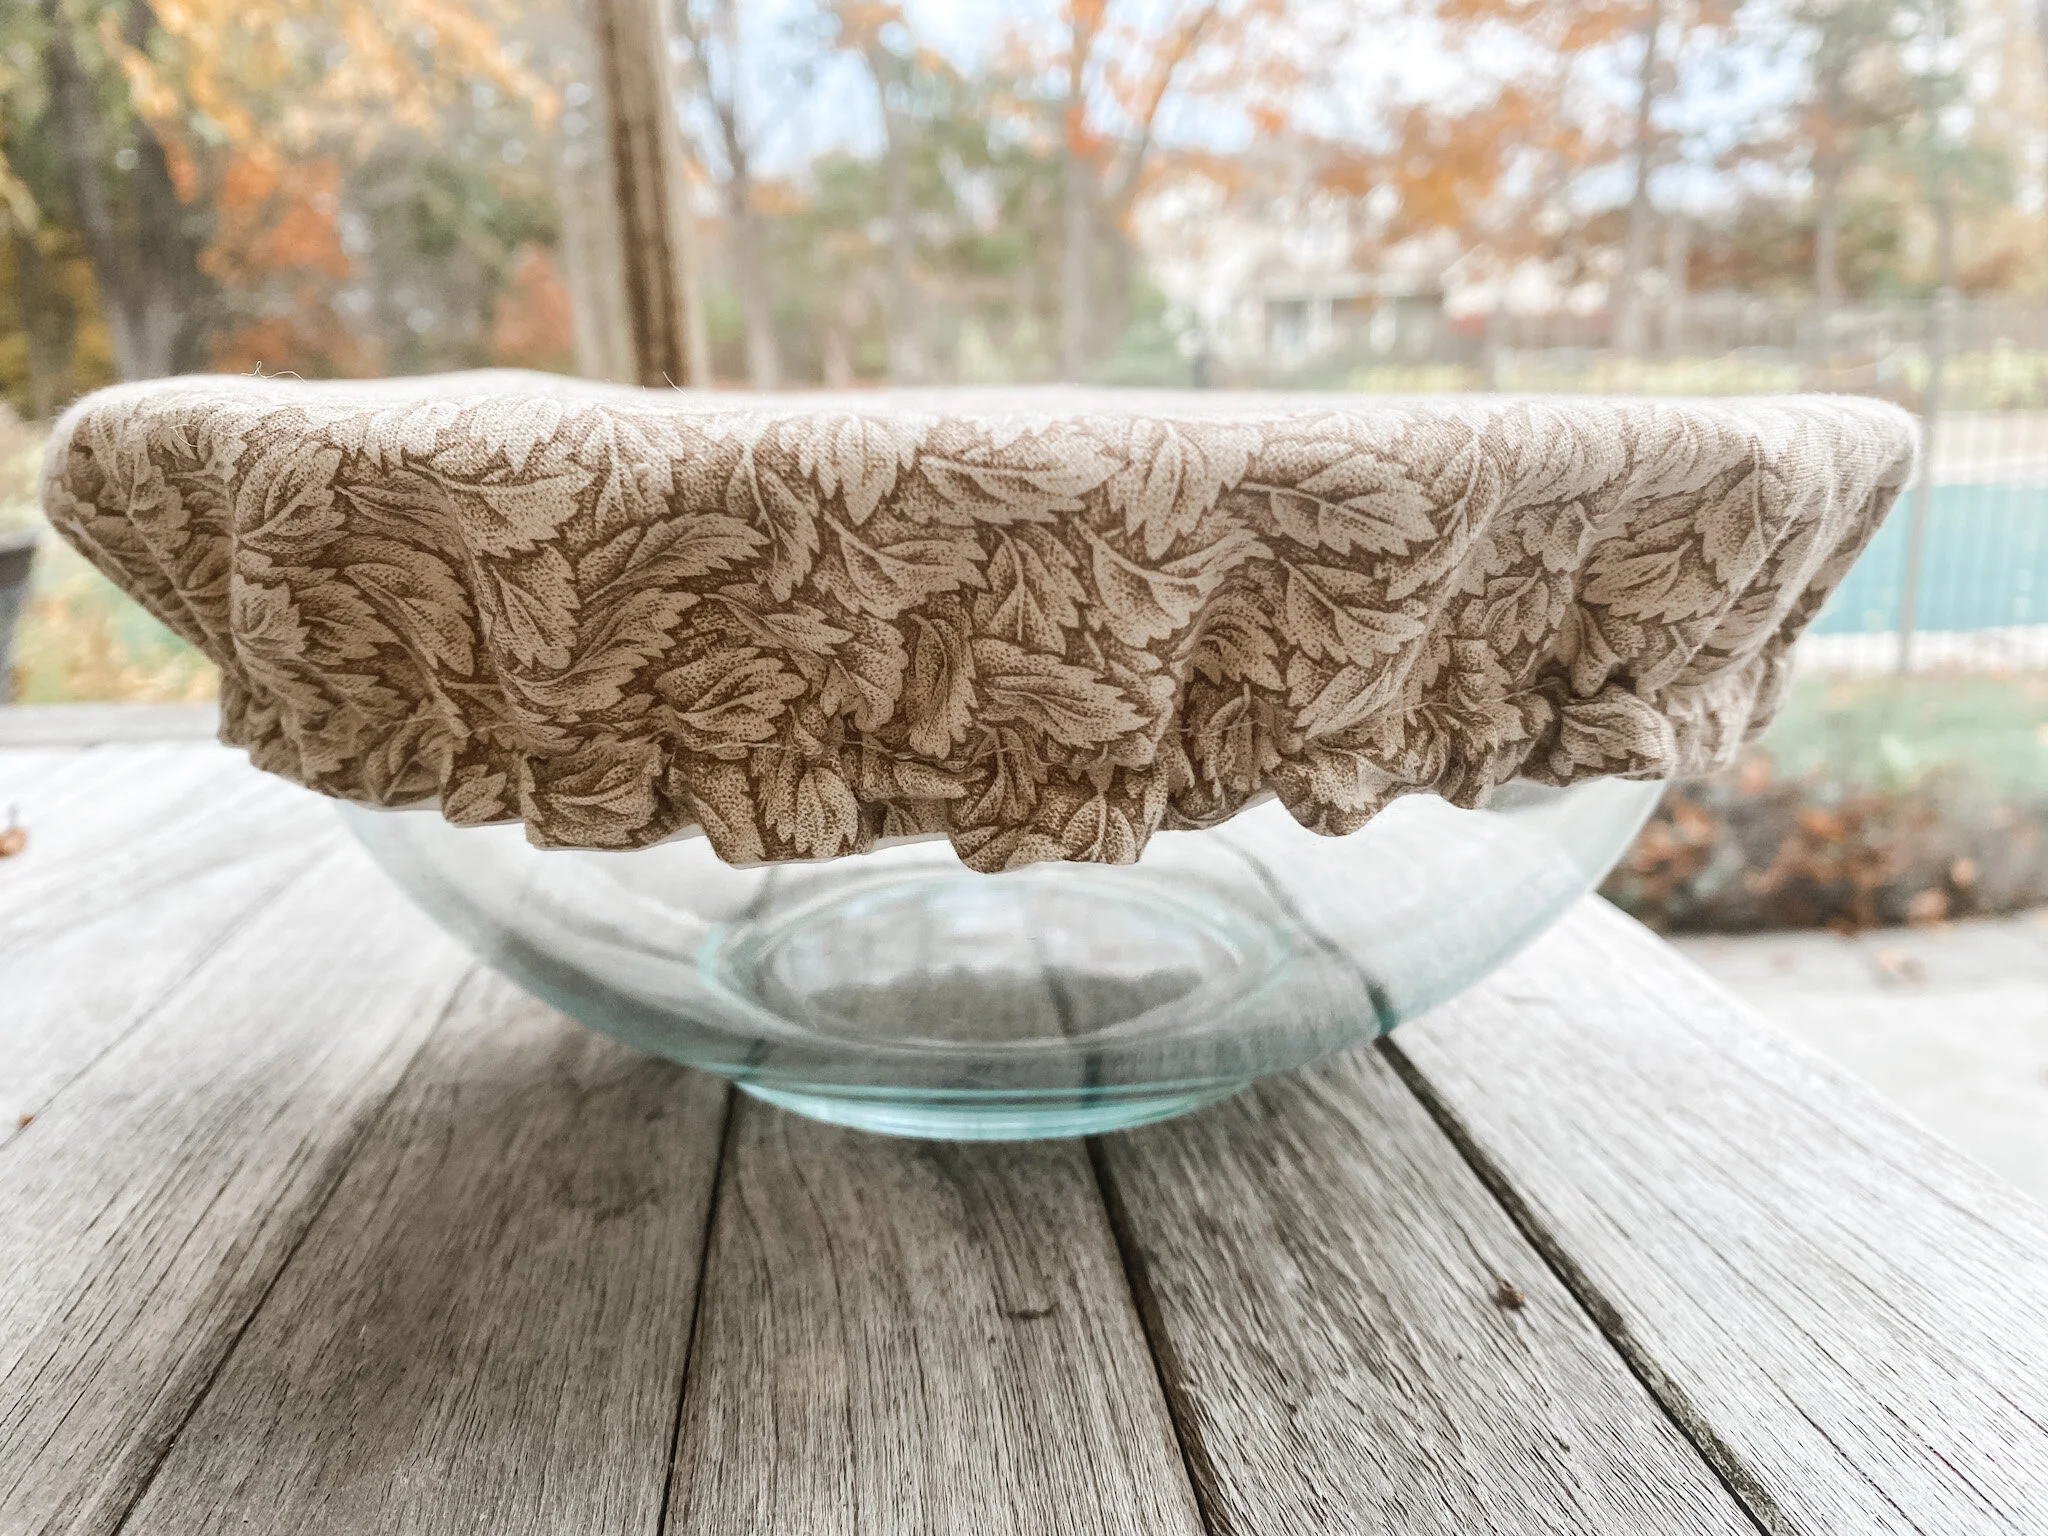
The unlined ones I use to cover my fruit bowl and when I’m proofing dough.
For the unlined version, just fold over edge 1/4”. press, then fold over again 3/8”, press again and sew a seam to enclose the elastic.
Don’t forget to leave an opening to feed your elastic through, then hand sew it shut.
WATERPROOF FABRIC
You can see the waterproof fabric I used by clicking here.
I liked that it is organic,100% CPSIA compliant and Food Safe tested.
It is long-lasting with a life-cycle of 300+ washings, and it is even dryer friendly to 130 degrees F.
However, I just hand wash mine in the kitchen sink with dish soap and air dry.
The manufacturer lists additional info here if you want more info.
LET’S MAKE THIS
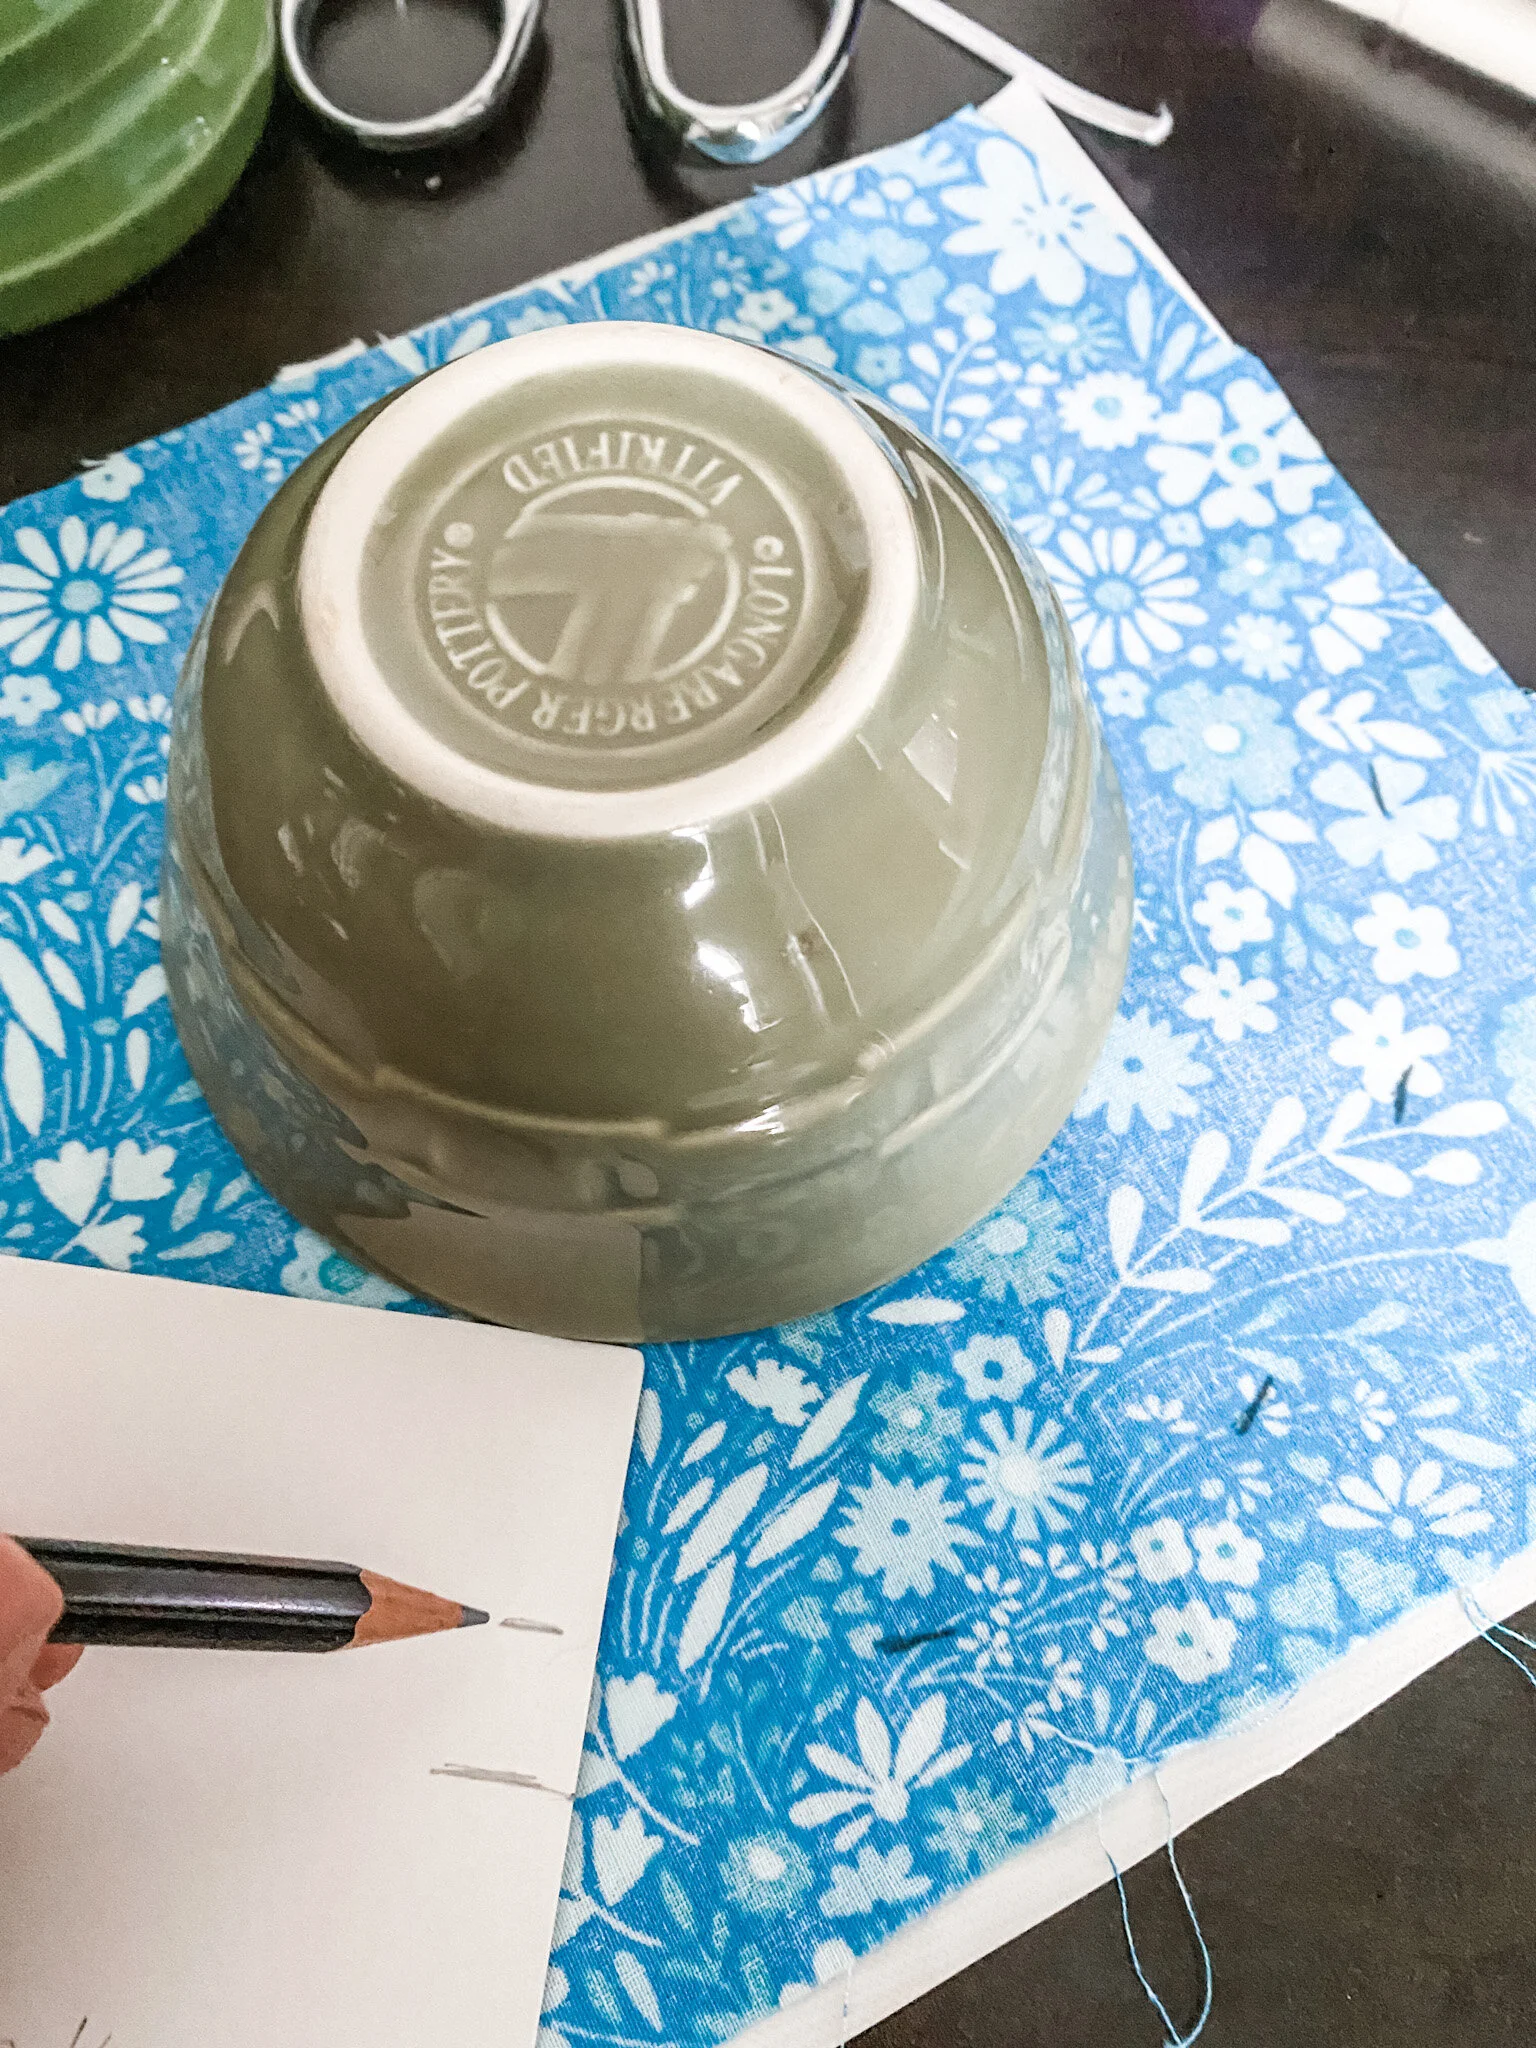
For each bowl you want to cut out a circle of fabric that is 2-3 inches larger in
diameter than the bowl. How to cut a circle?
Fold fabric and use washable fabric marker or pencil to make marks every few inches, (your bowl size plus 2-3 inches) and then connect them.
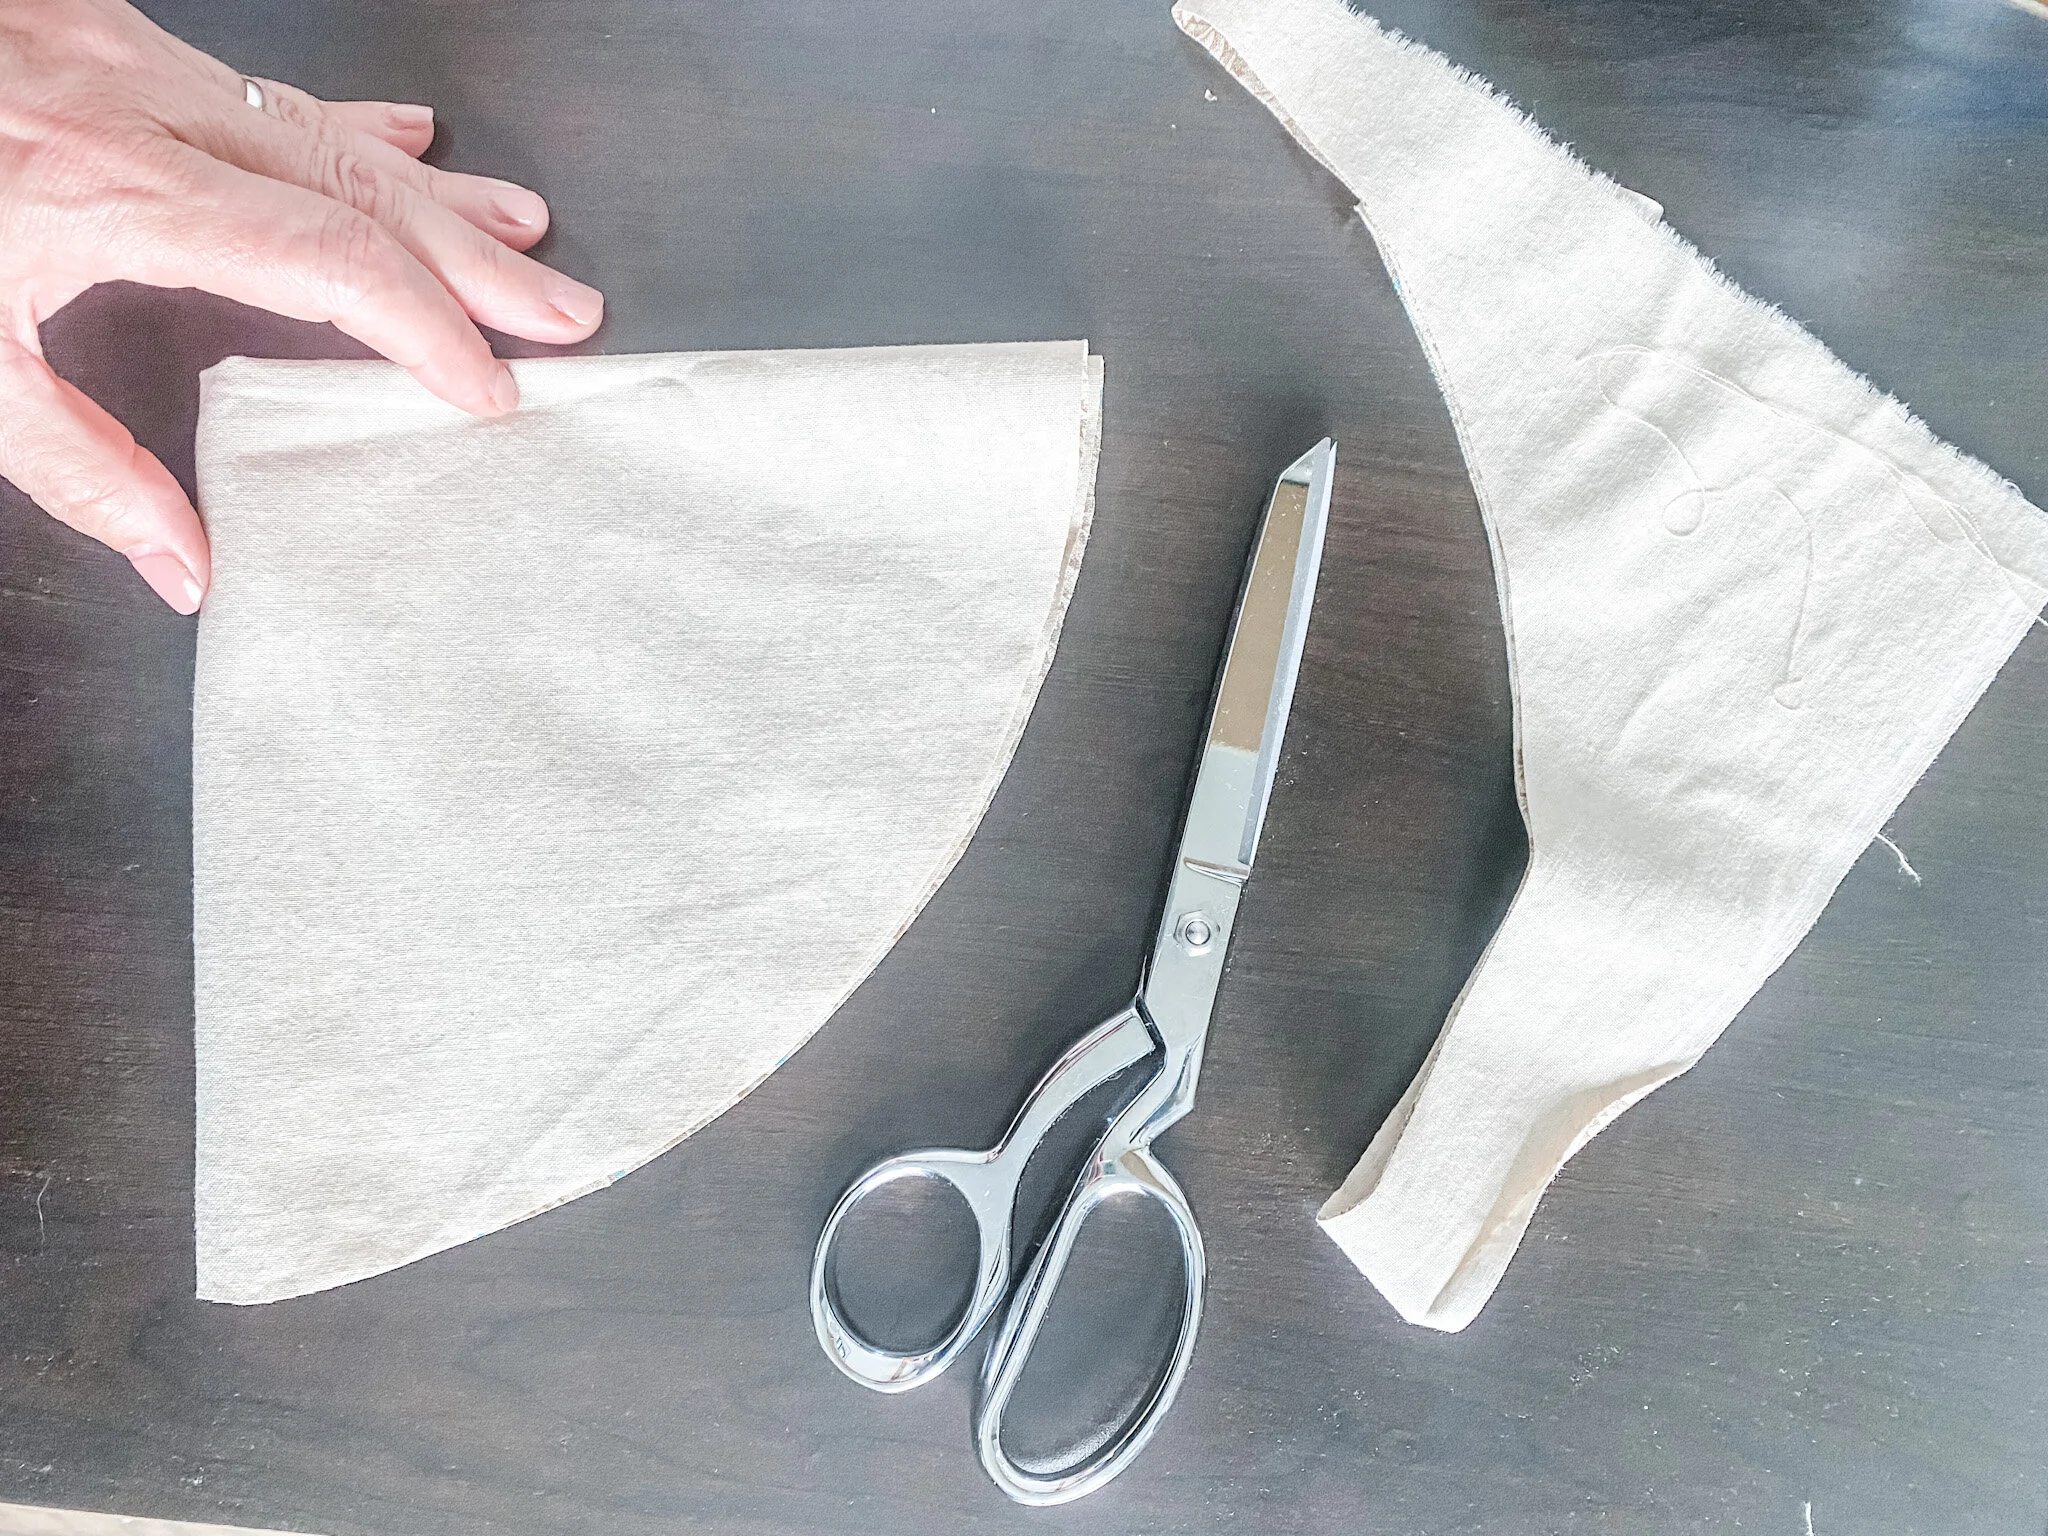
2. Cut out the circle, repeat the process if you want a lining, or use the first circle as a template.
3. Place fabric right sides together and pin or clip, the pul fabric has a smooth and a rough side.
The smooth side is the waterproof side and considered the right side of the fabric.
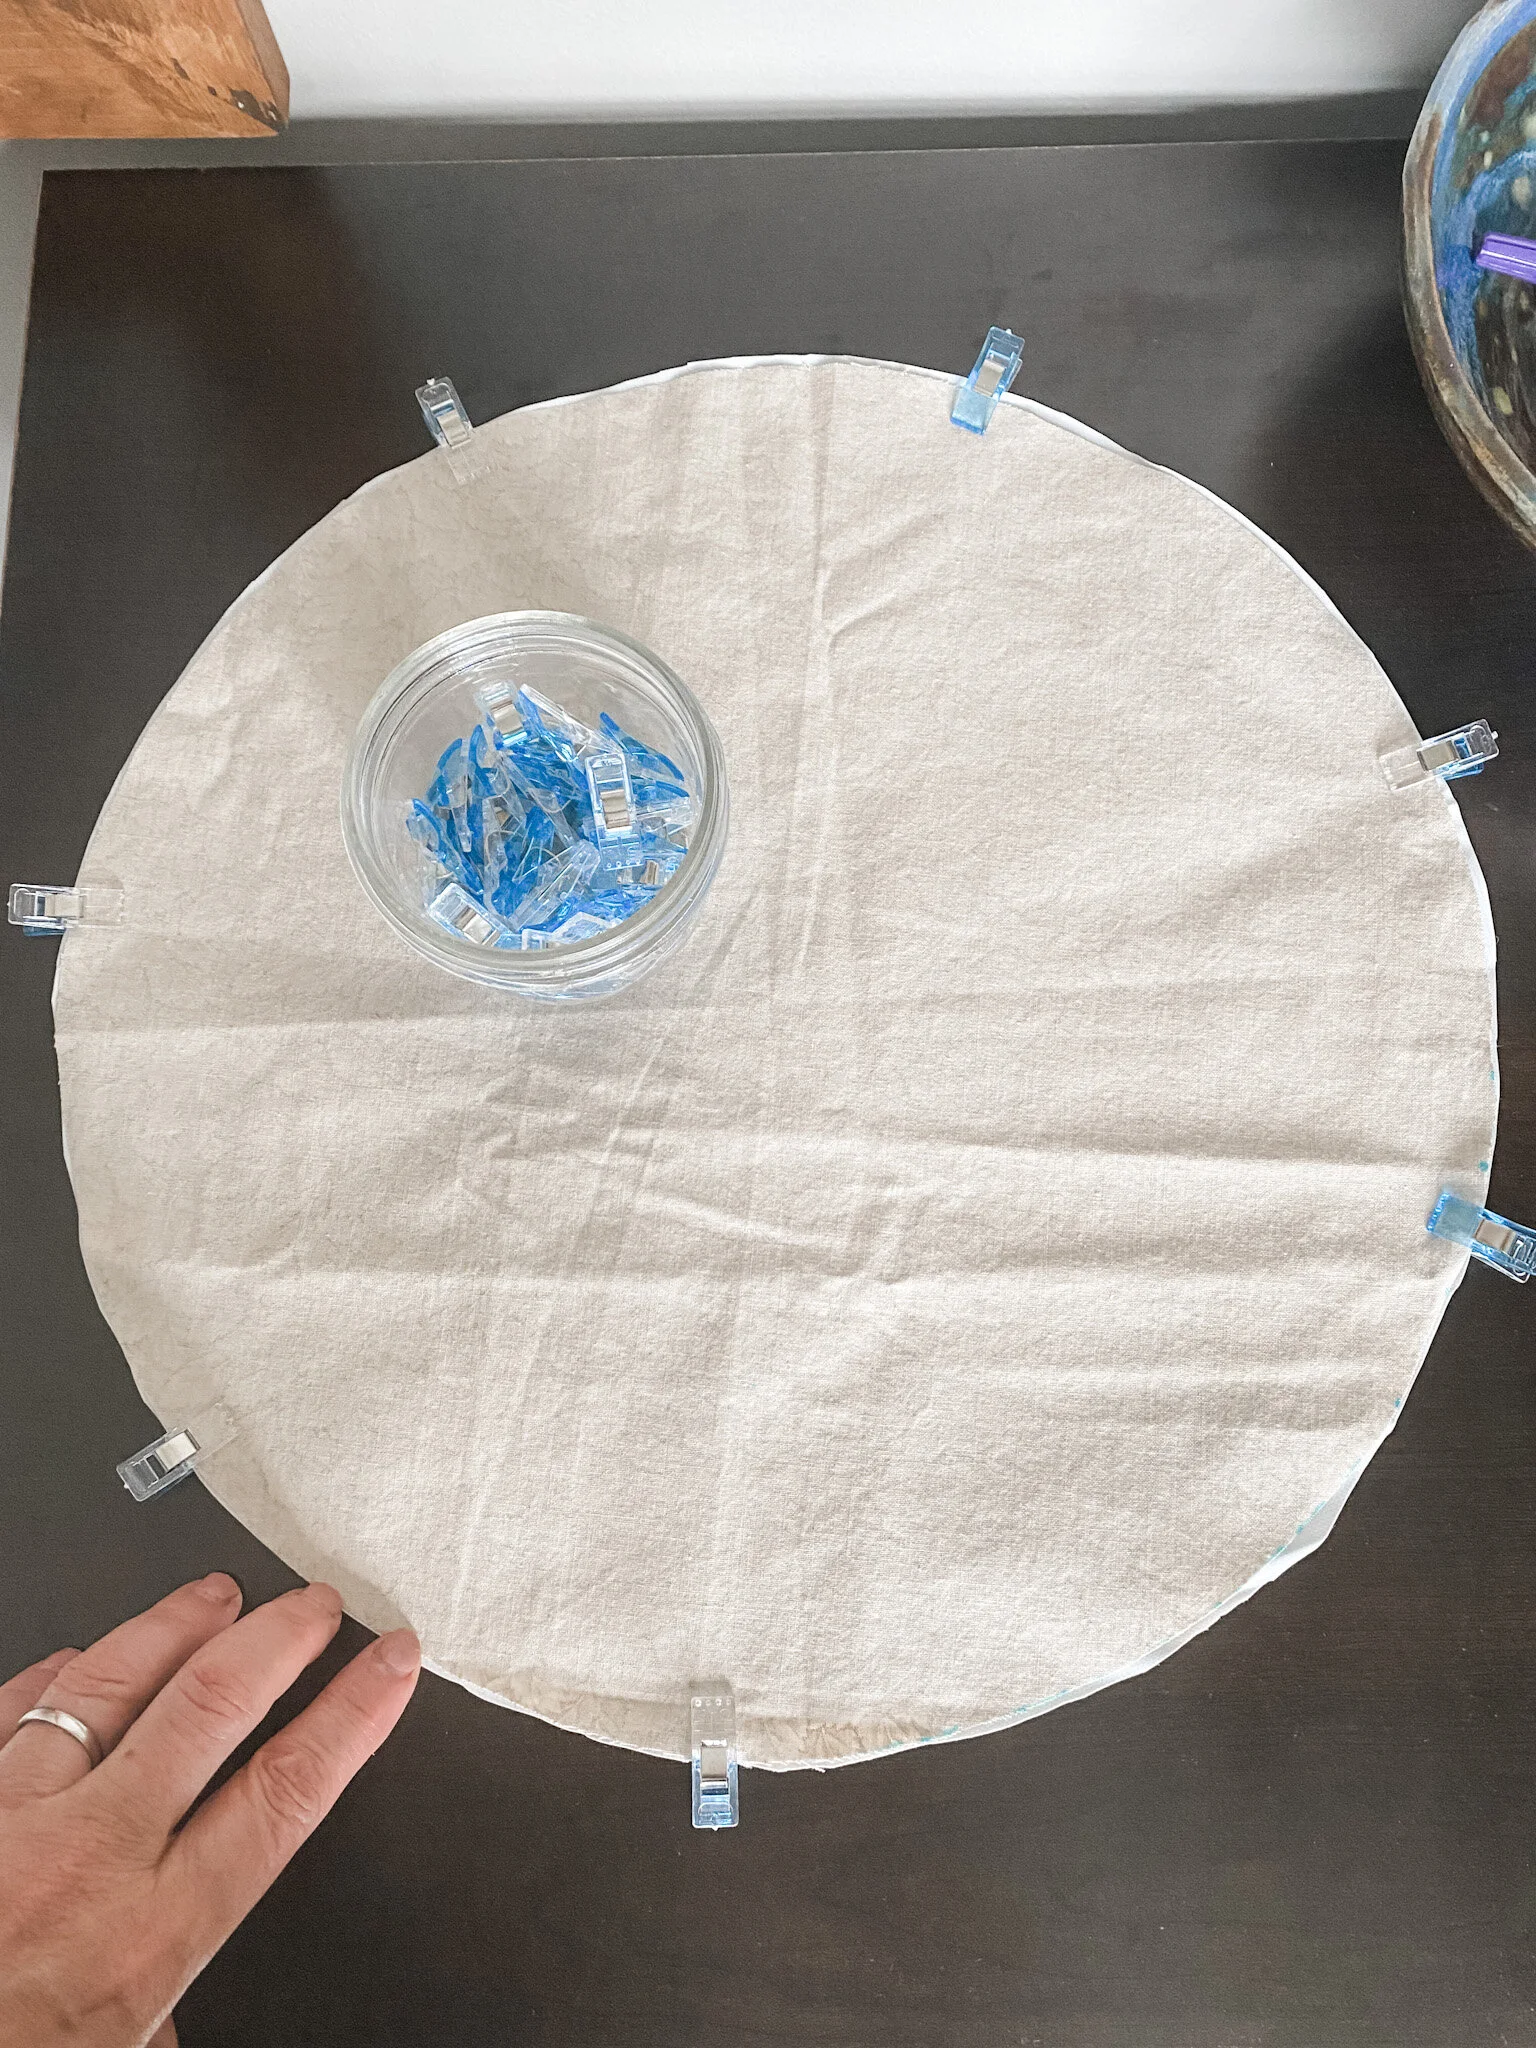
4. Sew fabric pieces together and leave 2-3 inch opening so you can turn it right side out.
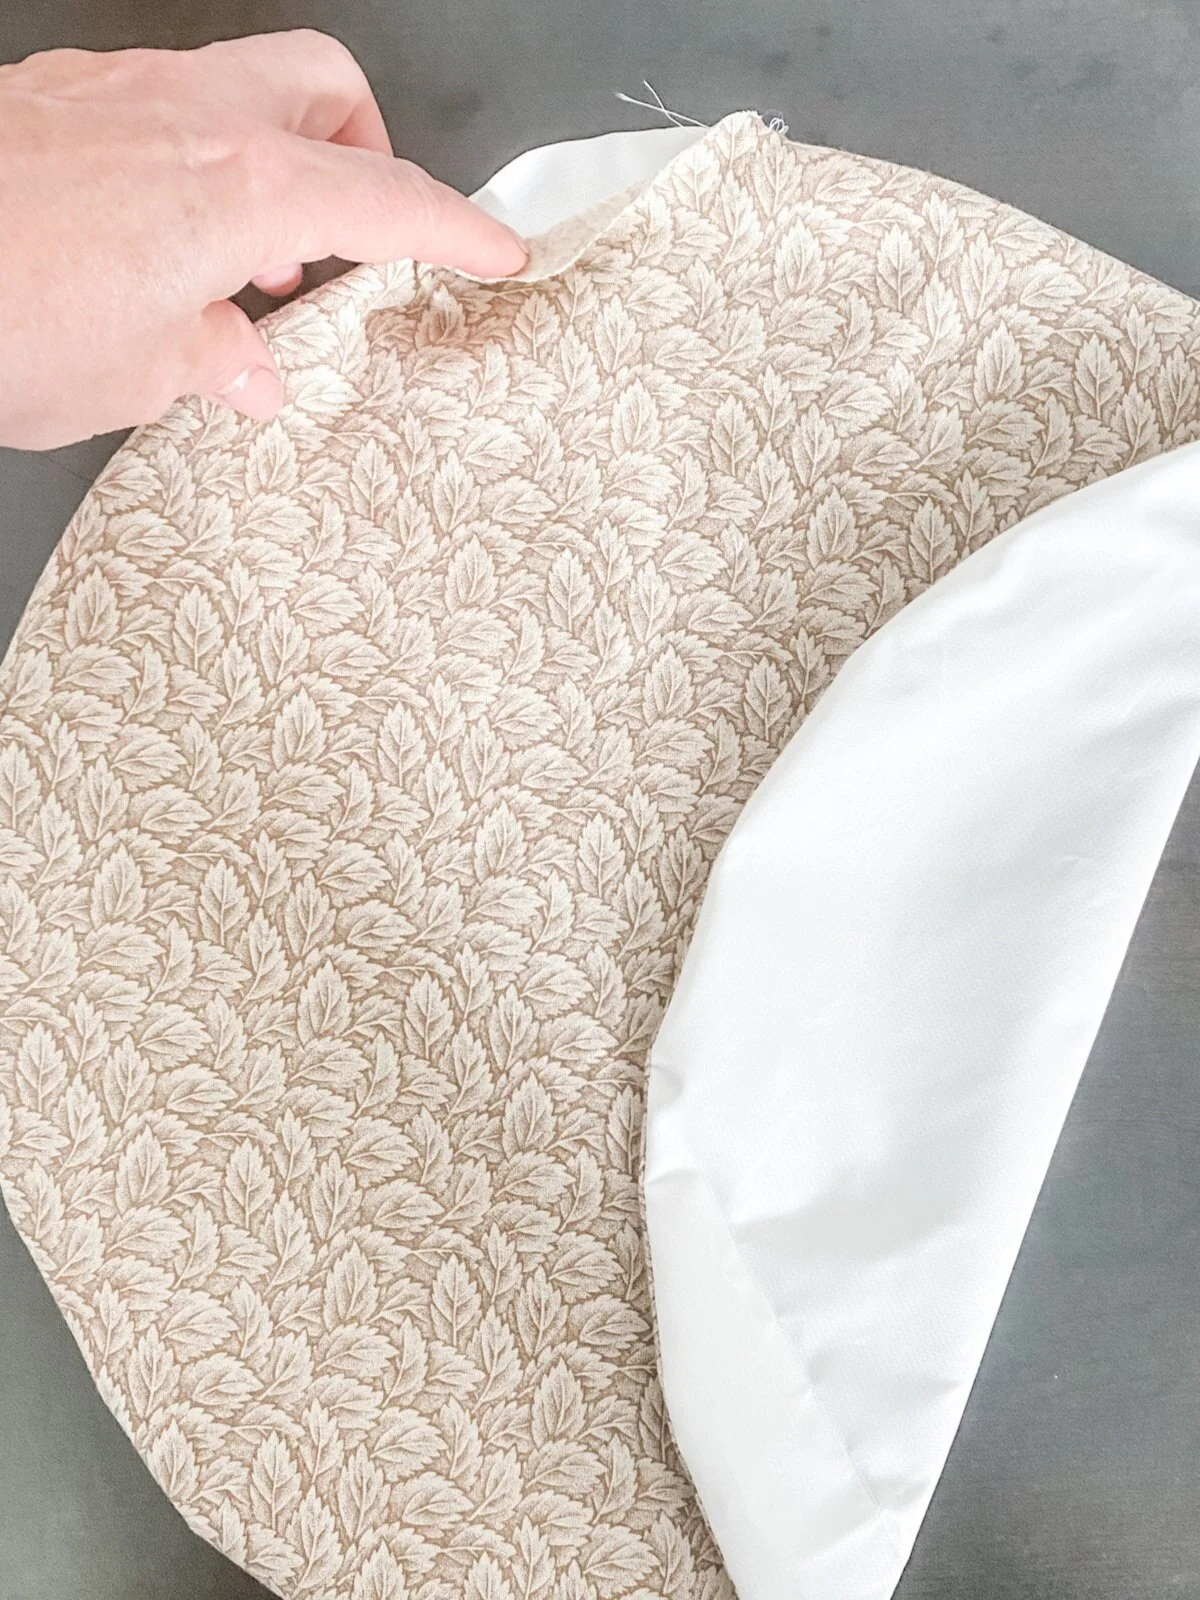
5. Turn right side out.
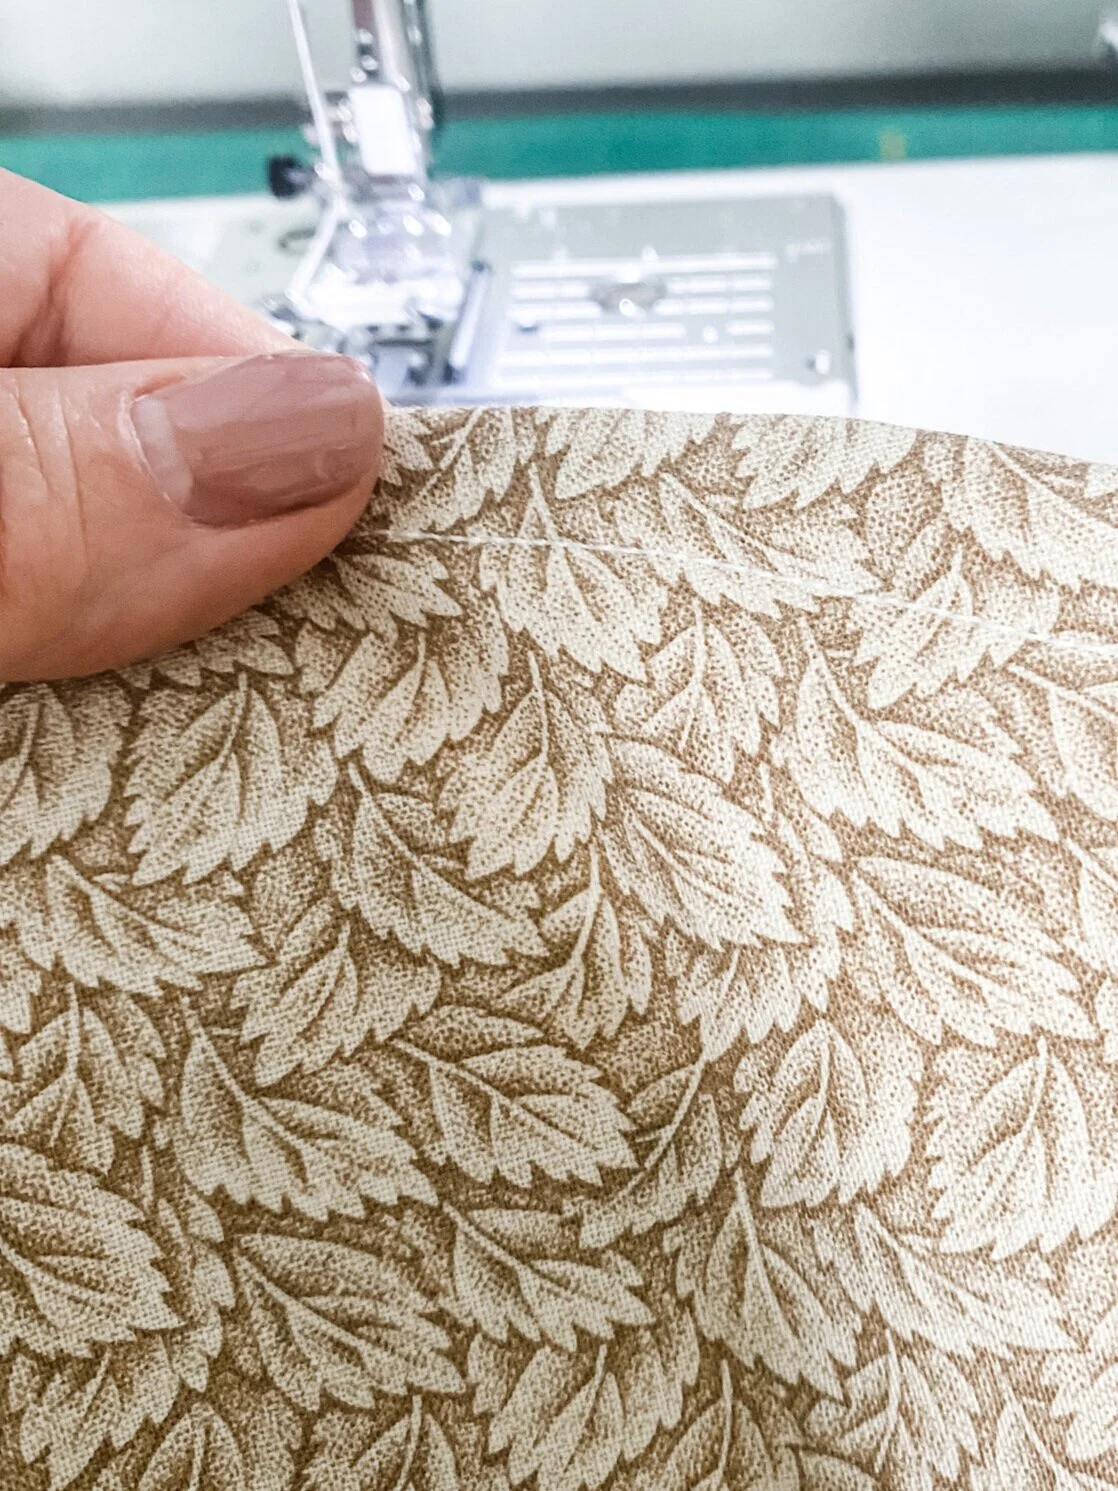
6. Top stitch about 3/8” from edge to create a seam to feed the elastic through. Stop sewing at the open area where you turned out your bowl cover. We will sew that closed after placing the elastic inside this new seam.
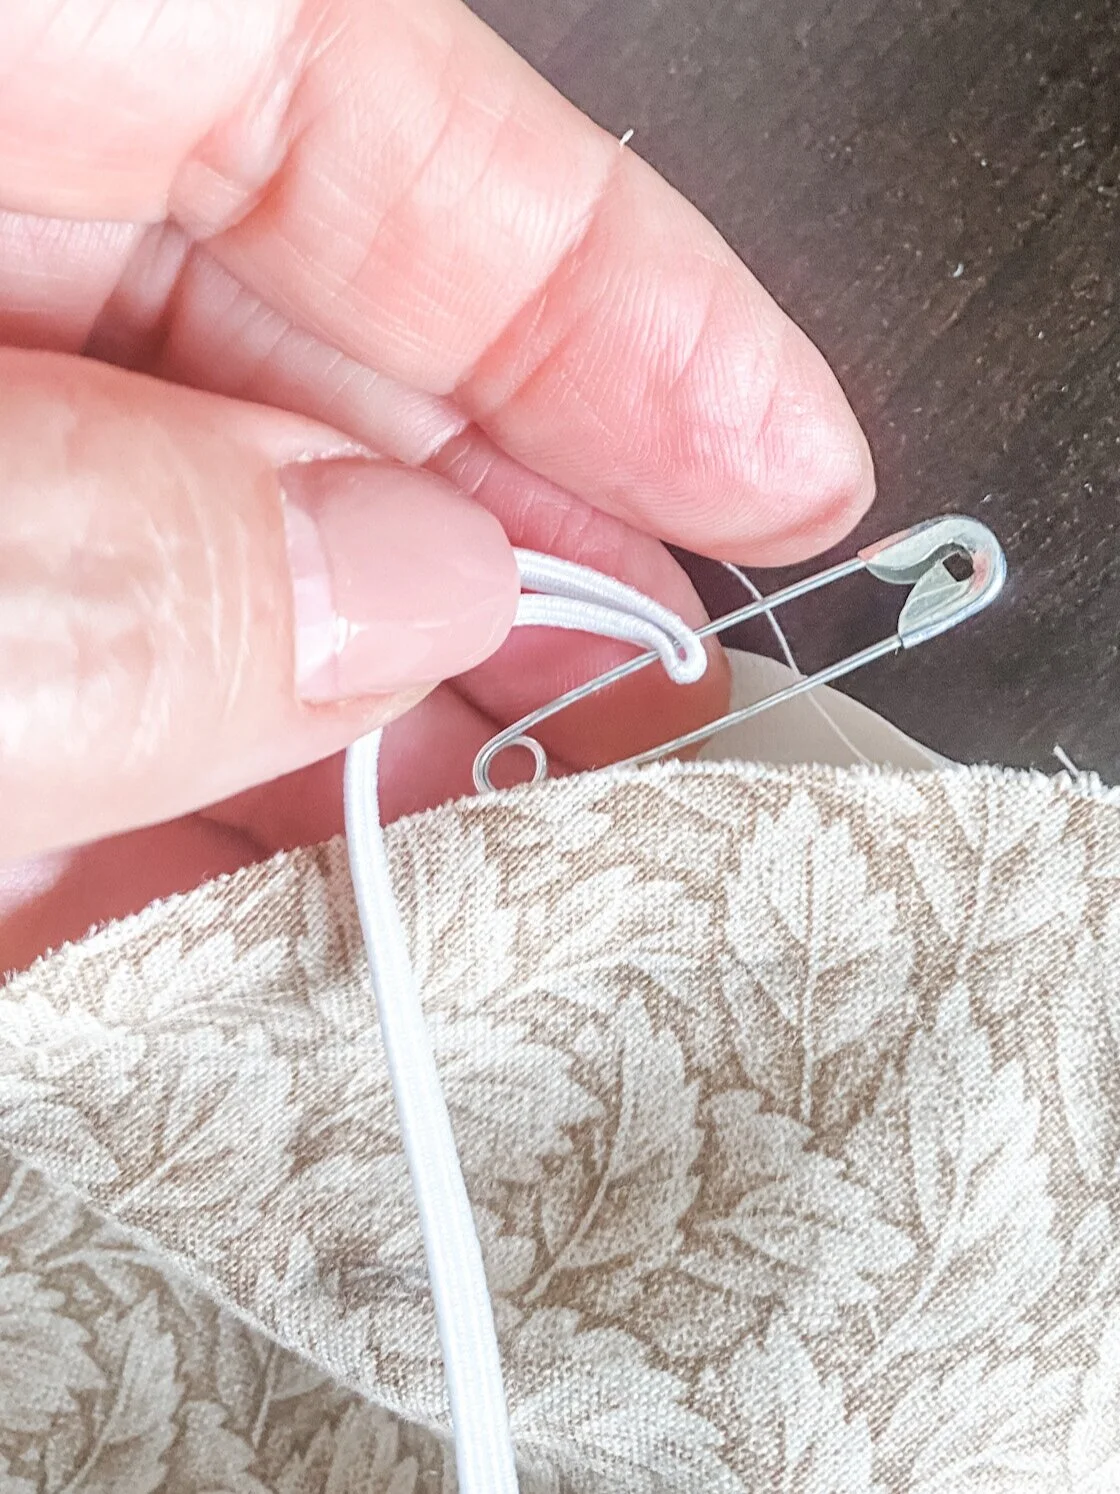
7. Attach a safety pin to your elastic, which should be about 5 inches less than your bowl circumference, and feed through the seam.
Sew the elastic ends together by hand.

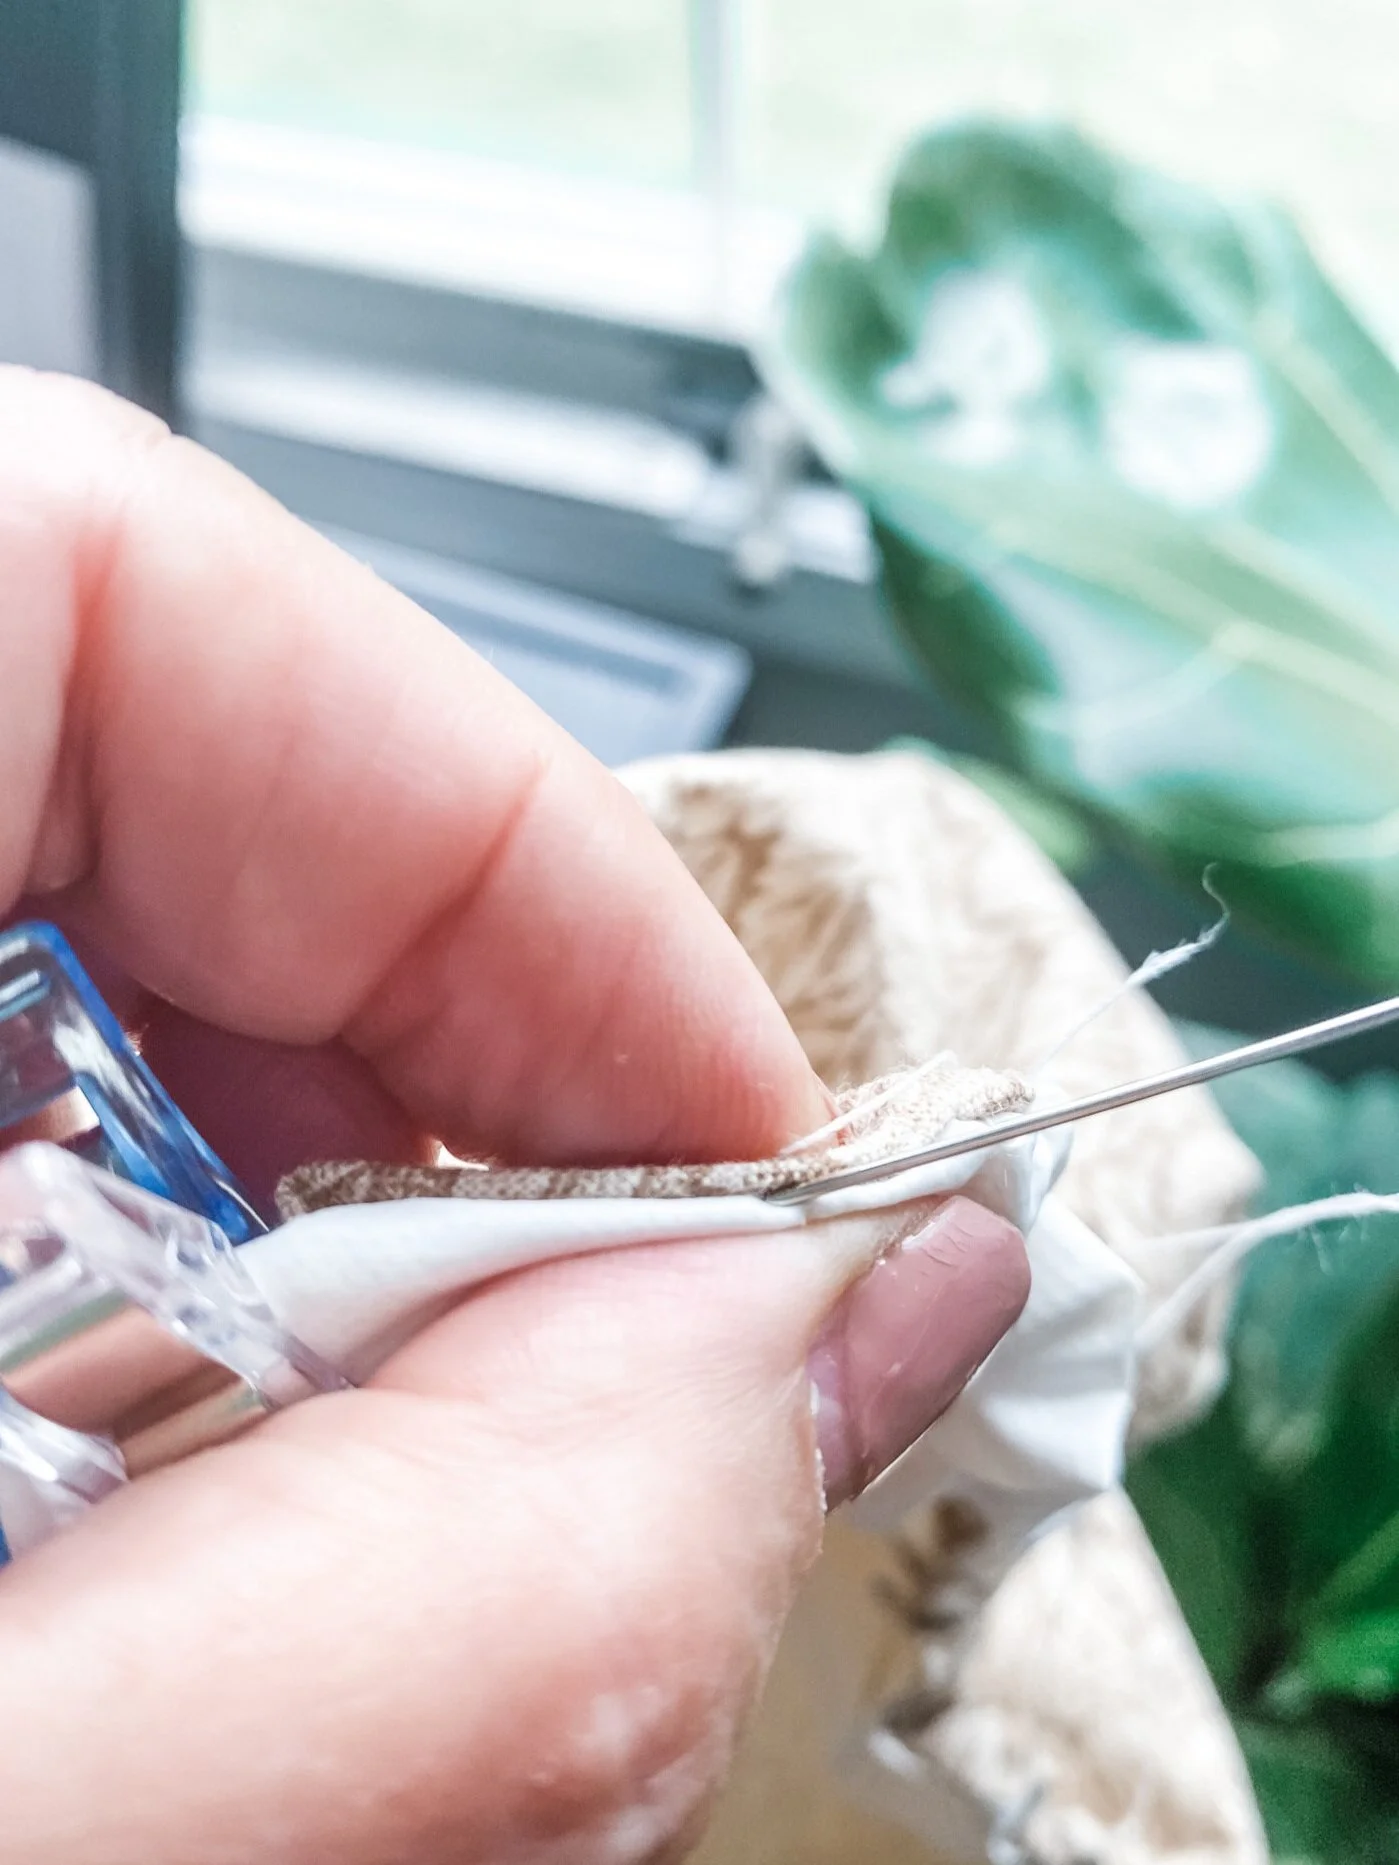
8. Fold and clip your open seam shut and hand sew closed. Top stitch to complete the seam for the elastic, making sure not to sew over the elastic.
Try and feel it and clip it out of the way.
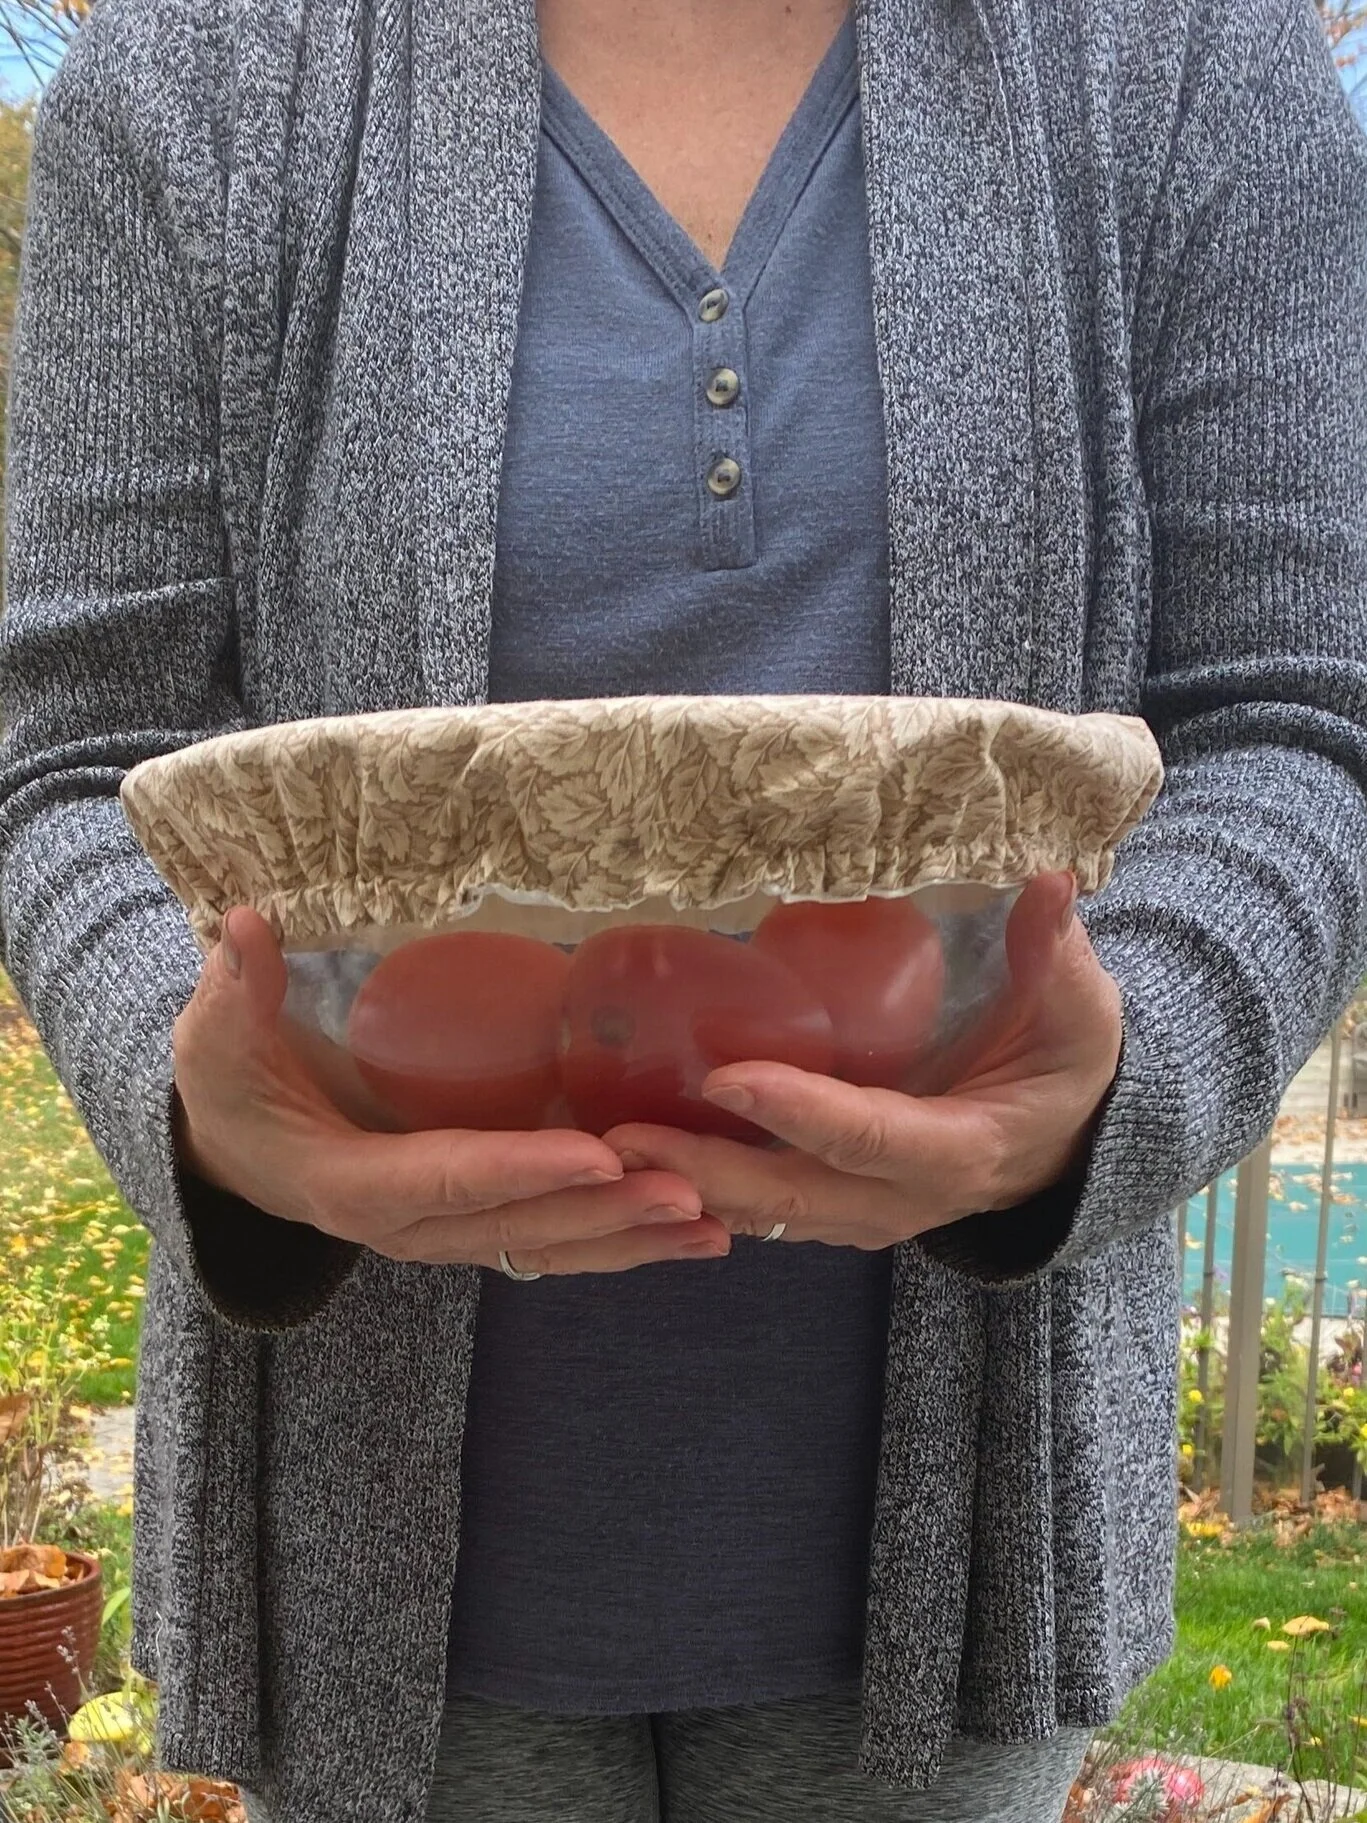
That’s it! You did it!
Join my email list to access a printable pdf of this tutorial with more details
Please pin this image so others can find it. We all need to do our part to keep our planet healthy!

If you like this tutorial you may also like my even easier burp cloth tutorial (makes a great gift)
or my bandana tutorial for your pup.
Let me know if you tried this or if you have any zero waste tips to share.
Happy sewing!