
BUTTERFLY GARDEN WHOLE CLOTH QUILT WITH CHENILLE-IT
BUTTERFLY QUILT: Blossom and Grow Fabric Blog Hop
With Chenille-it
June 24,2022
Hello everyone and welcome to day 4 of the Blossom and Grow Fabric Blog Hop!!
I’m Nannette Holmberg, and I am guest posting on Maureen’s blog today.
I am beyond excited to join Maureen and all the incredible makers on this fun and creative blog hop journey.
Before diving into my Blossom & Grow project, I wanted to share a little bit about myself and my background.
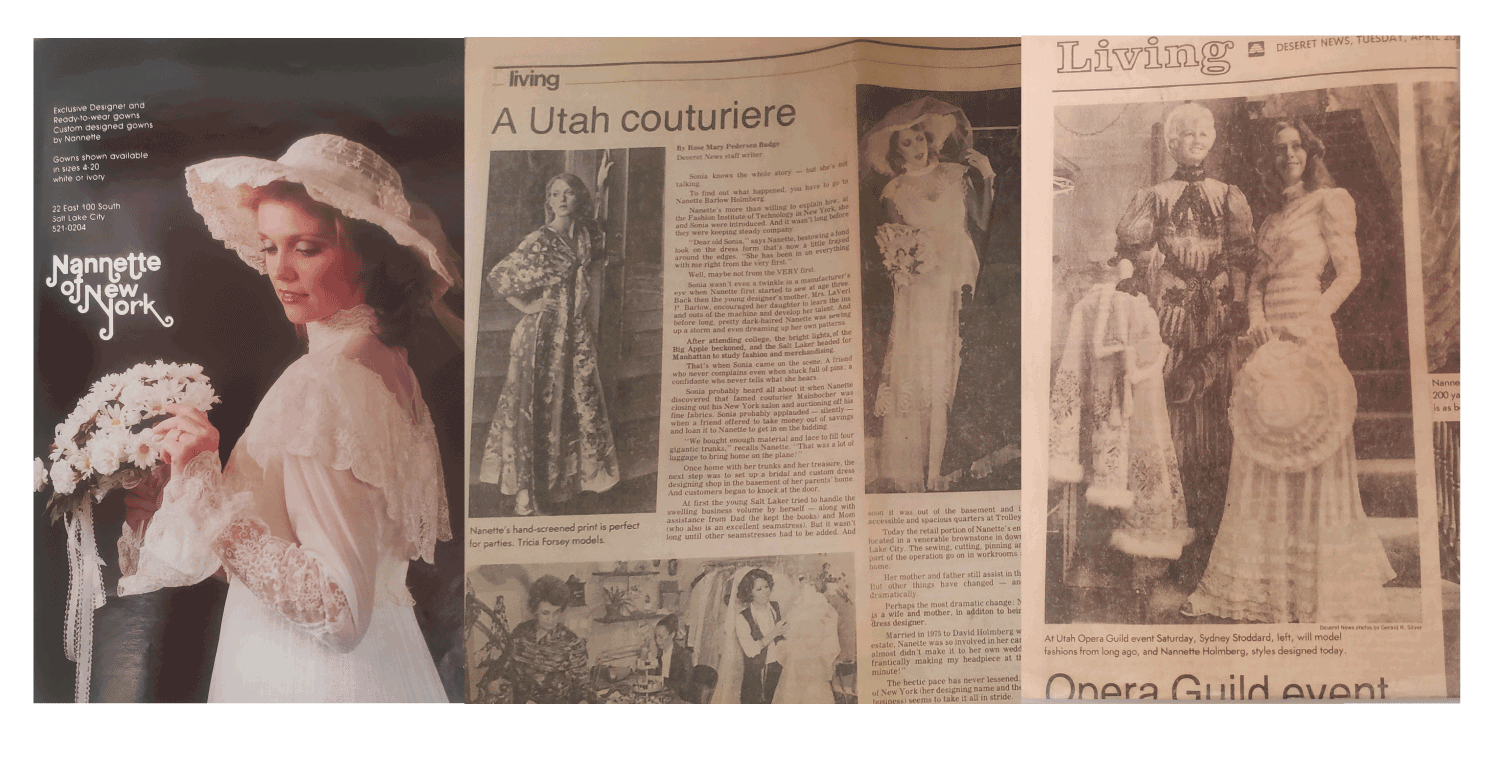
I originally studied Fashion Design at FIT in New York City before opening a couture bridal and evening wear shop under the label of Nannette of New York.
What does that have to do with quilting, you ask? After two decades, I started designing wearable art. I went to the Houston Quilt festival, for the first time in the late 90’s, and wore one of my trademarked faux chenille jackets. As they say, the rest is history.
It was that experience that led me to designing for McCall’s pattern company, writing three books on my technique, and developing a new product and new way of adding texture to quilts.
Chenille-It Blooming Bias was born. My love of quilting has changed my life and taken me around the world. It has changed the way quilters can finish and add texture to their quilts. And it is so much fun!
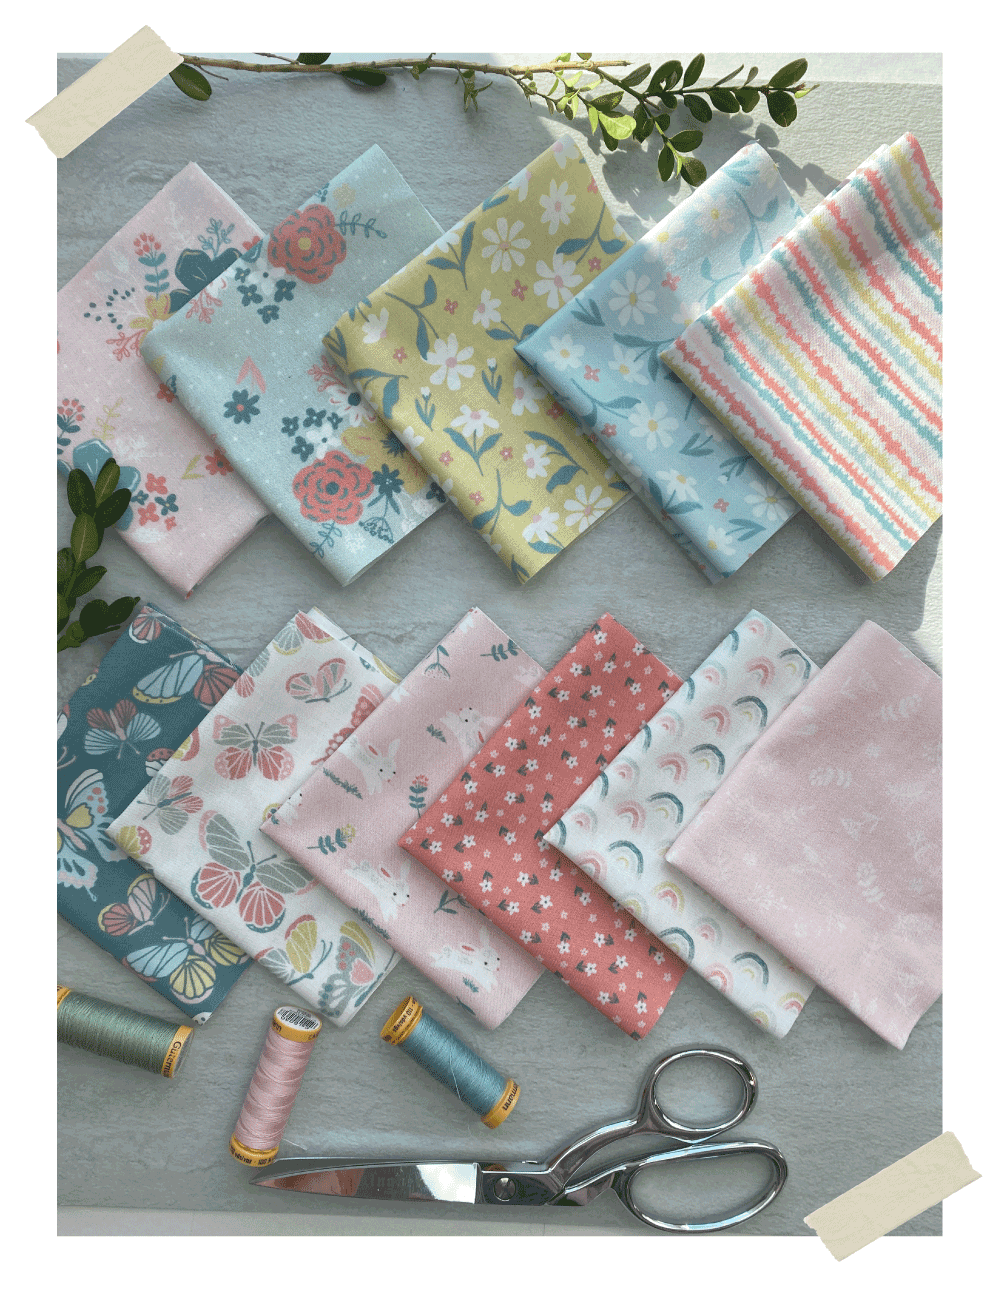
With that, let me show you what I was able to create with Maureen’s adorable Blossom & Grow collection and a little bit of Chenille-It Blooming Bias.
When Maureen asked if I would be interested in participating in this project and willing to create something with her newest fabric line, I knew immediately what I wanted to make.
Blossom & Grow is filled with darling butterfly and floral prints. So, this quilt pattern and fabric collection are a match made in heaven!!
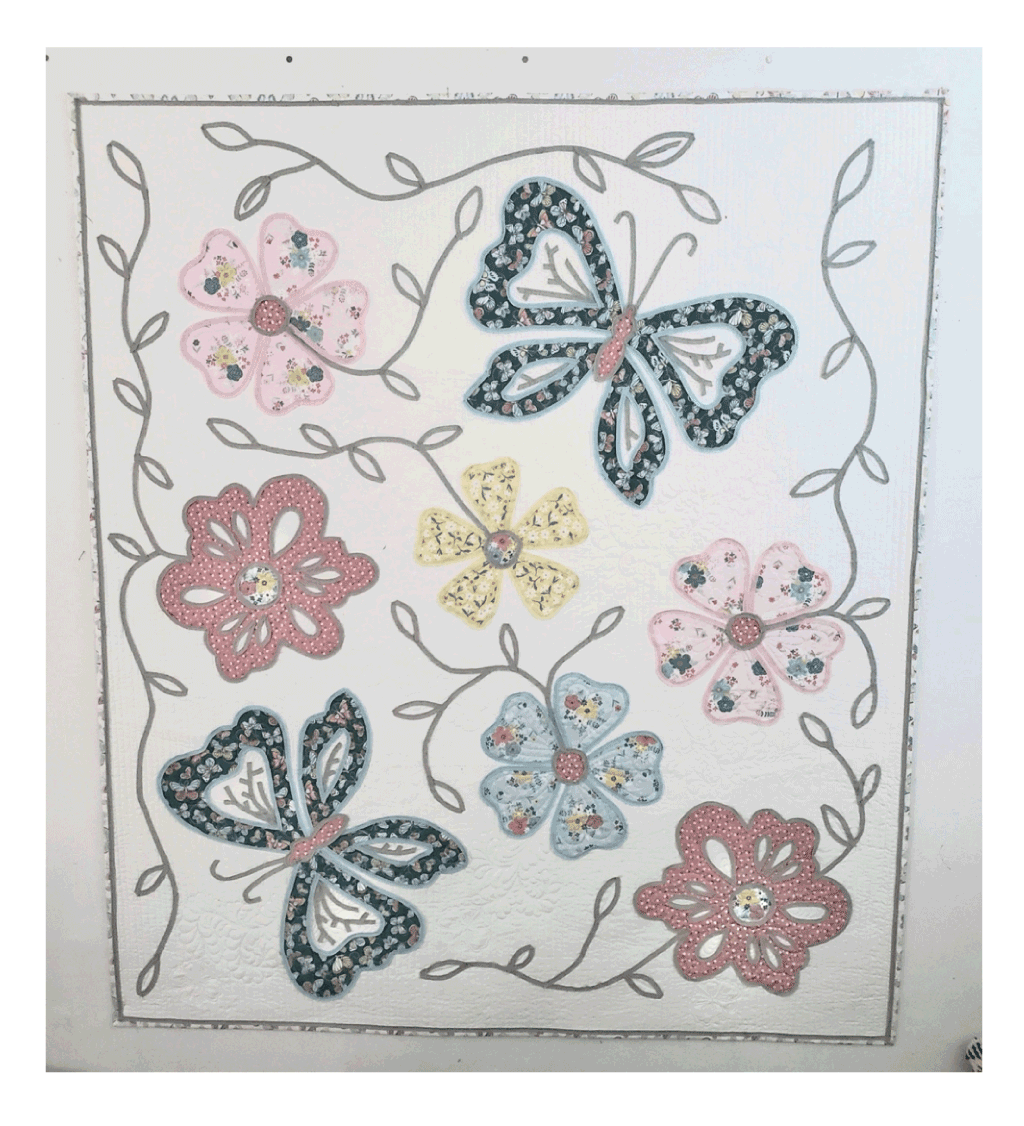
BUTTERFLY GARDEN QUILT
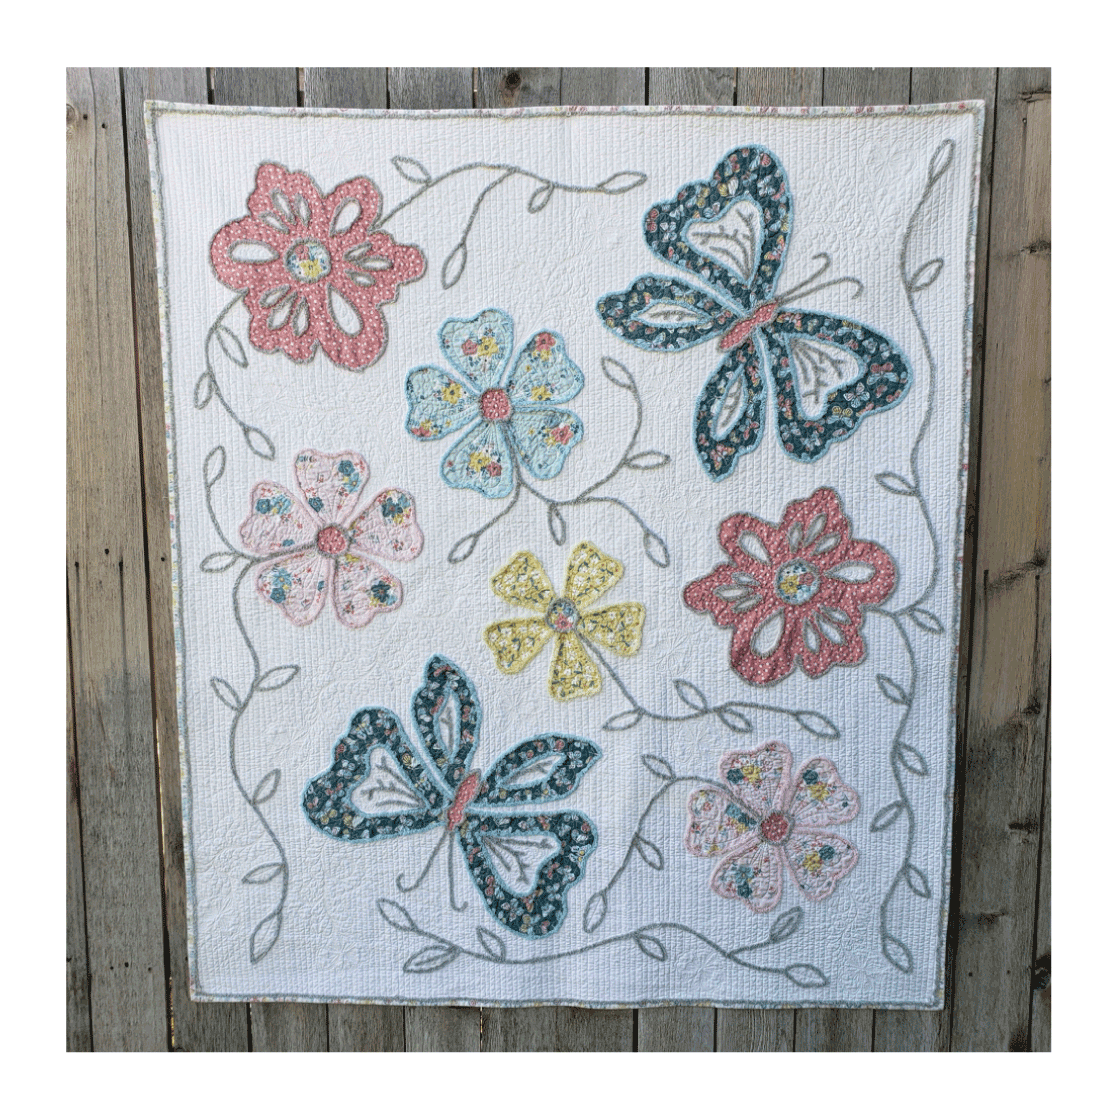
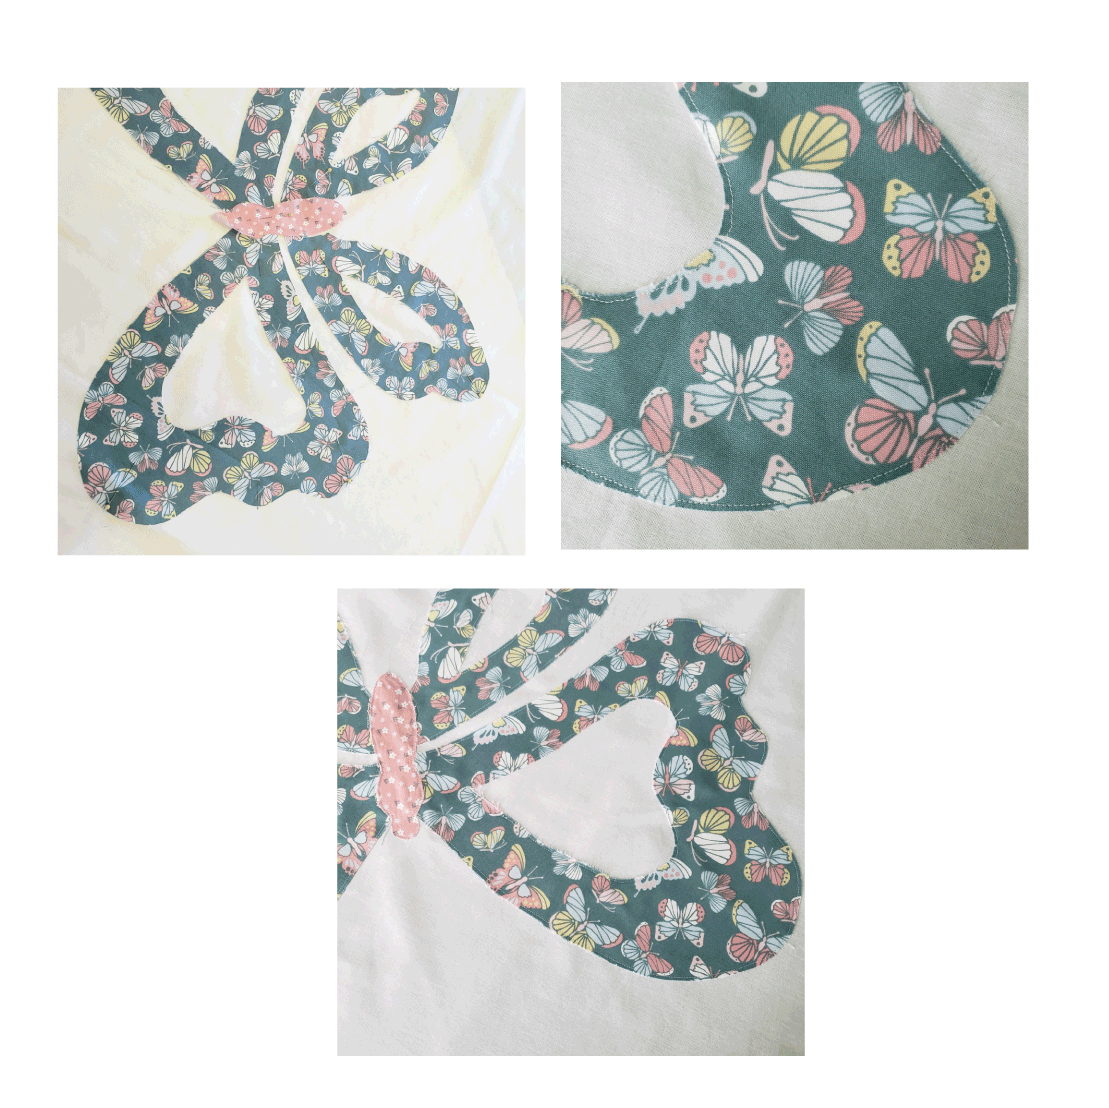
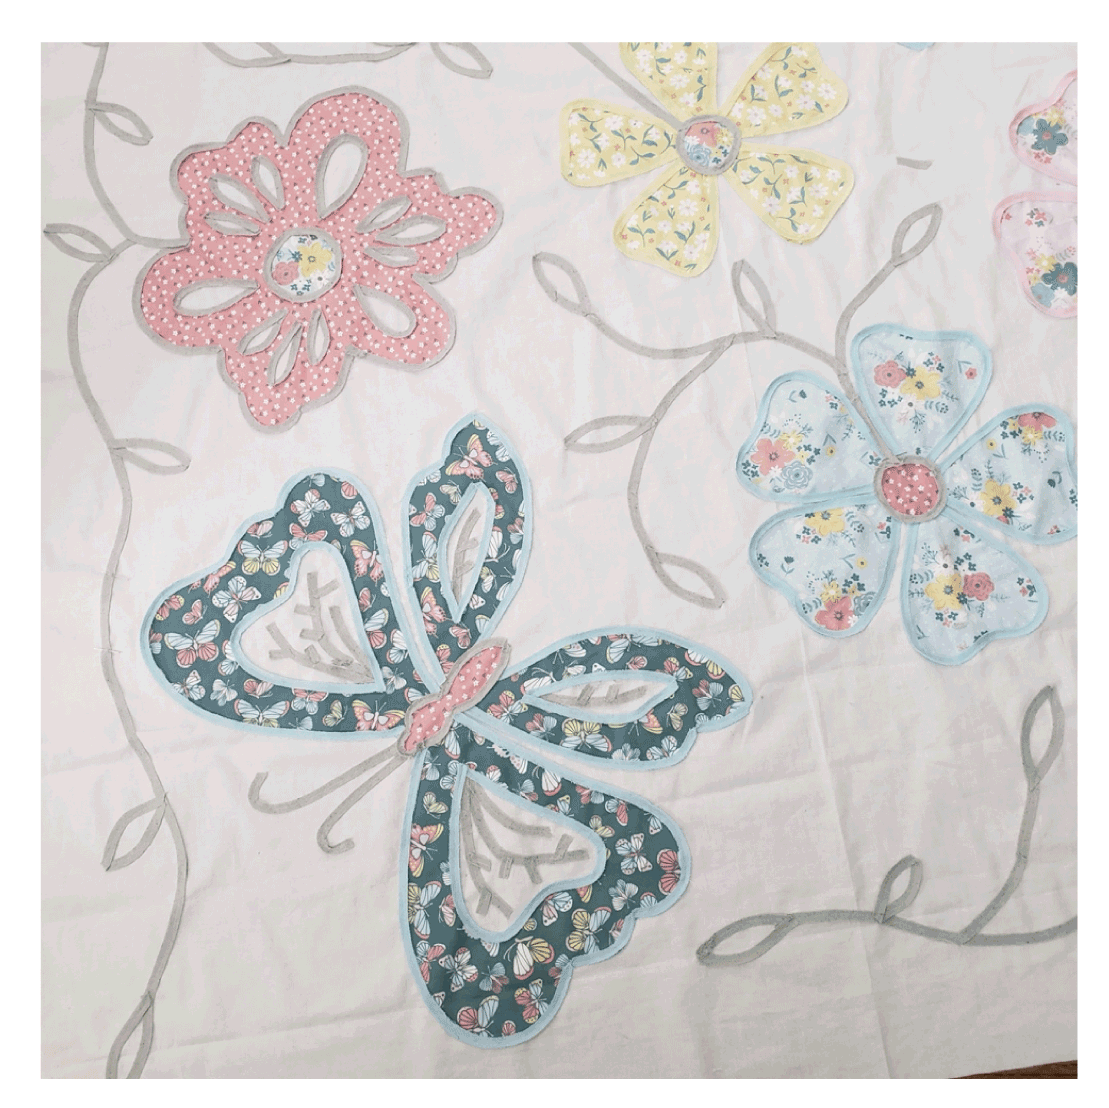
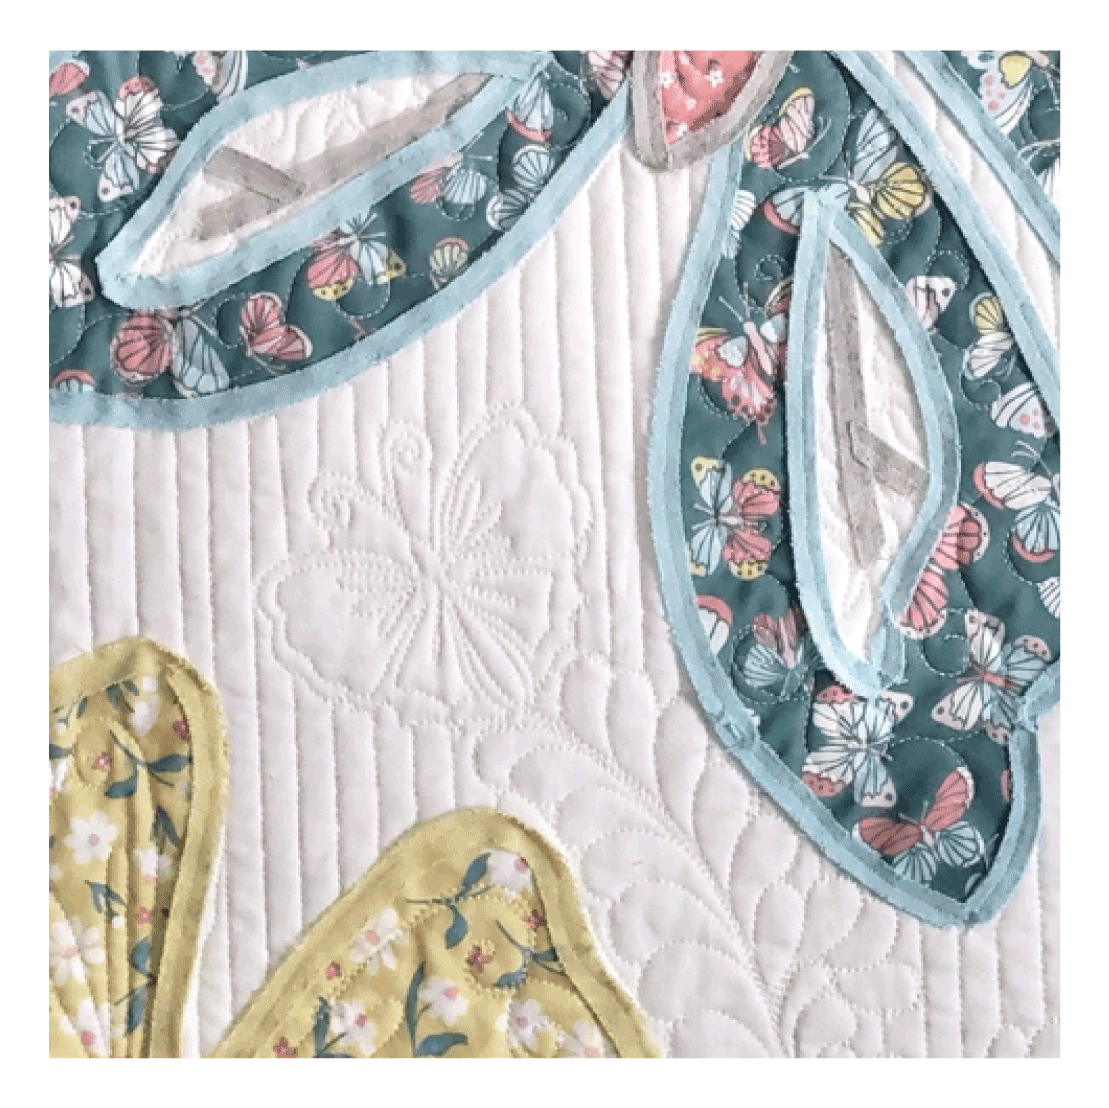
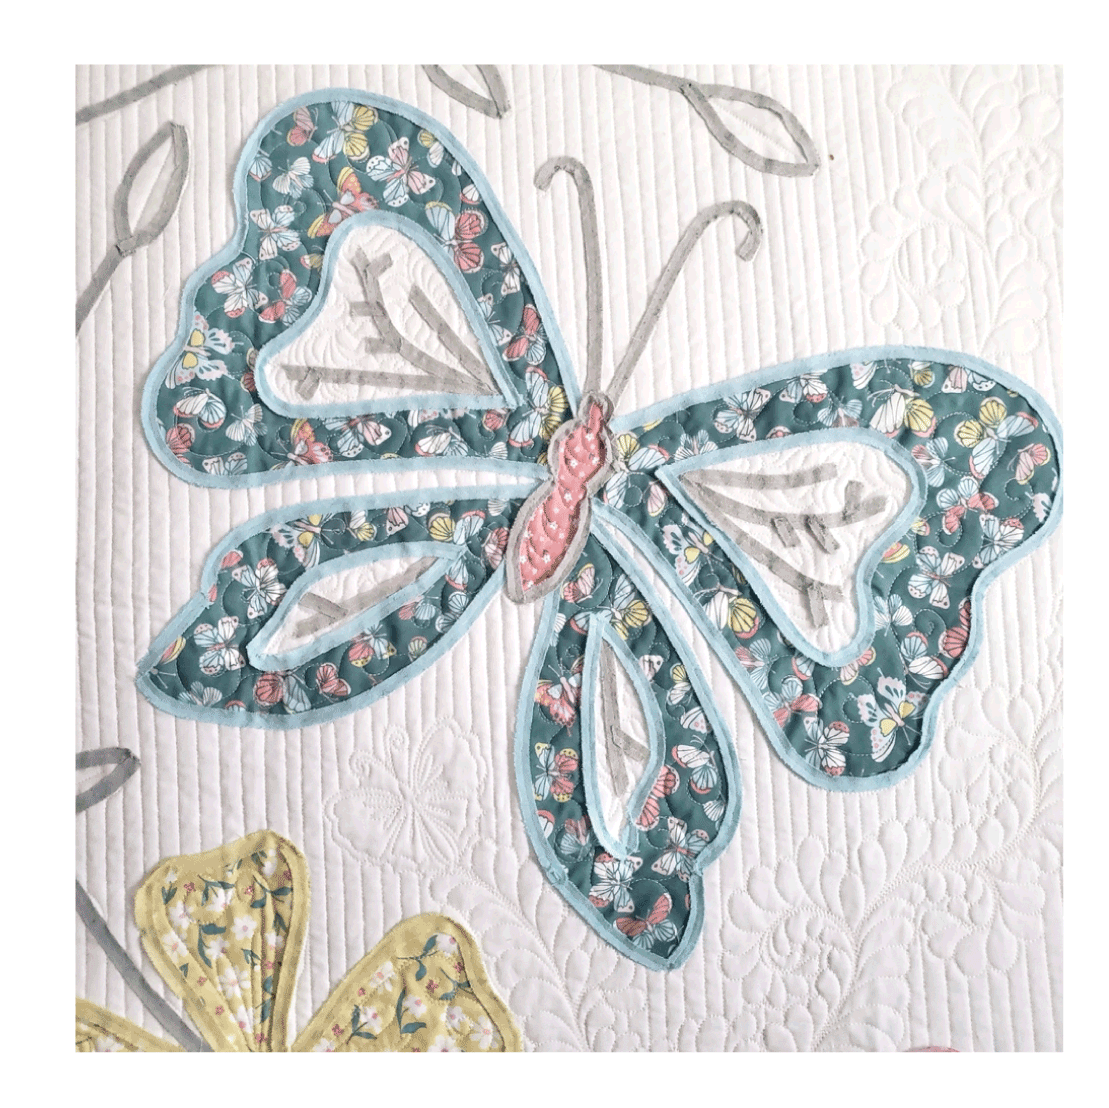
My Butterfly Garden Quilt is a whole cloth quilt with large cutwork butterflies and flowers edged with 3/8” Chenille-It.
The vines and leaves are also created with Chenille-It, making this the perfect quilt for showing off beautiful prints, while also adding a fun and textural design.
ATTACHING THE APPLIQUE PIECES
This quilt design is created using raw edge applique- a technique that is so simple when using Chenille-It. First, I cut out my shapes using the provided templates and place them on my whole cloth background. For this quilt, I am using a white 60” width fabric.
After pinning your pieces in place, or you can even glue them down using a water-soluble glue stick, I stitch near the edge all the way around the applique.
APPLYING THE CHENILLE-IT
Once the applique is in place, cover your raw-edge with 3/8” Chenille-It. Using a 2.0 stitch length, stitch down the center of the tape. There is no right or wrong way to Chenille-It. If you get to a corner, you can flip it and keep sewing, or you can cut it, and then lay down your next piece going the other direction.
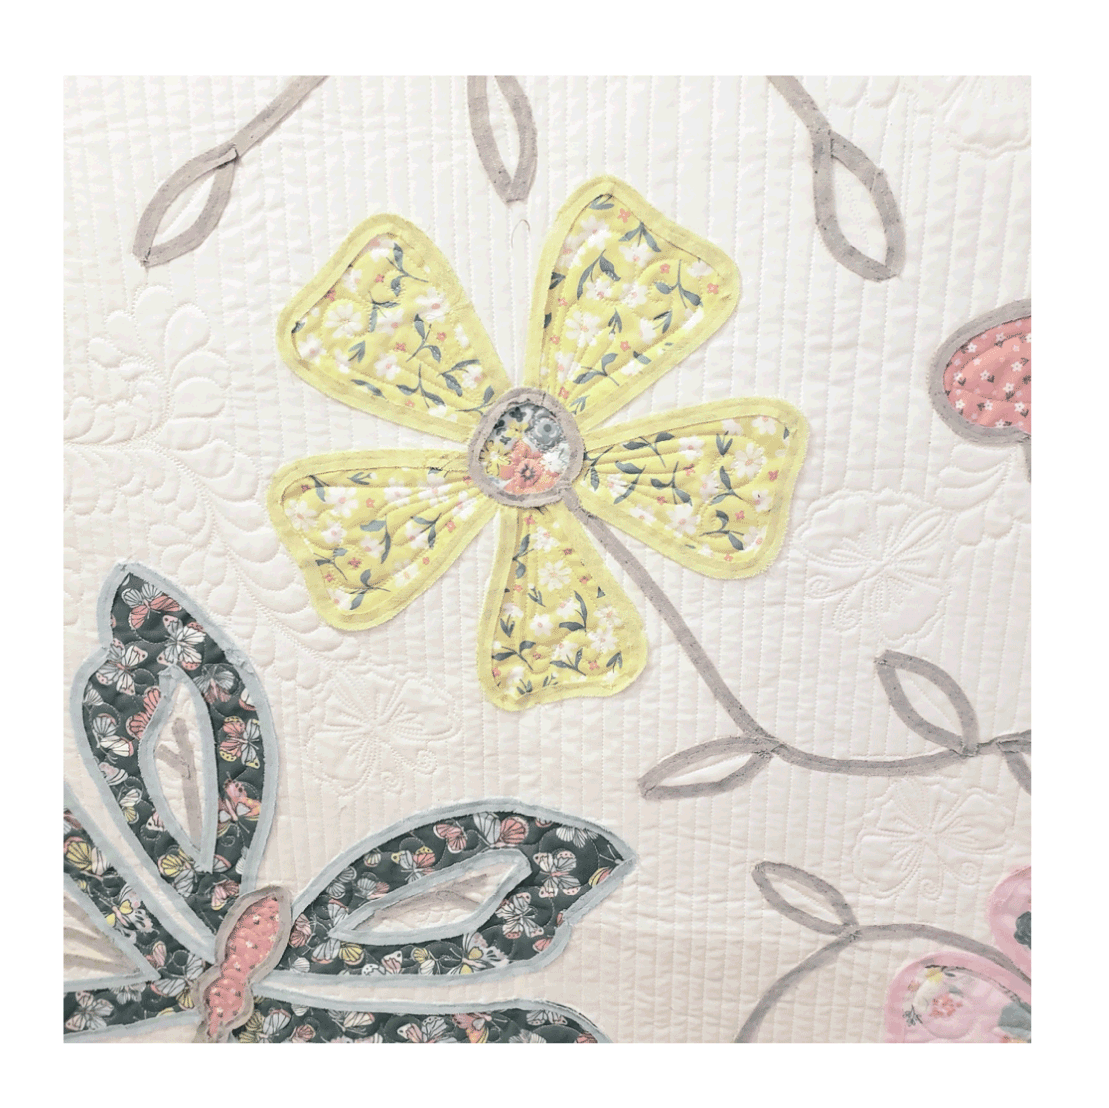
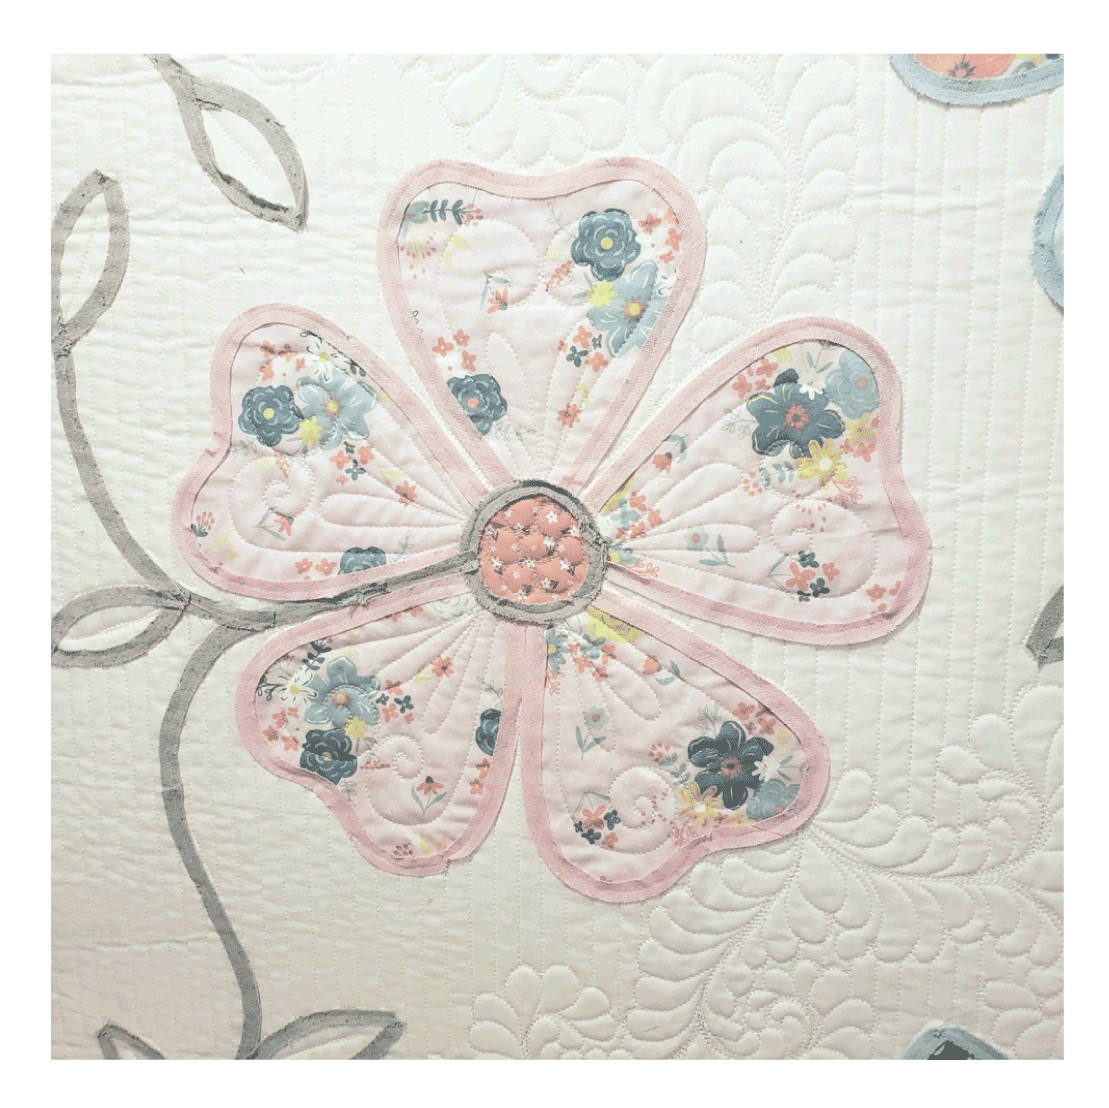
ADDING DETAILS
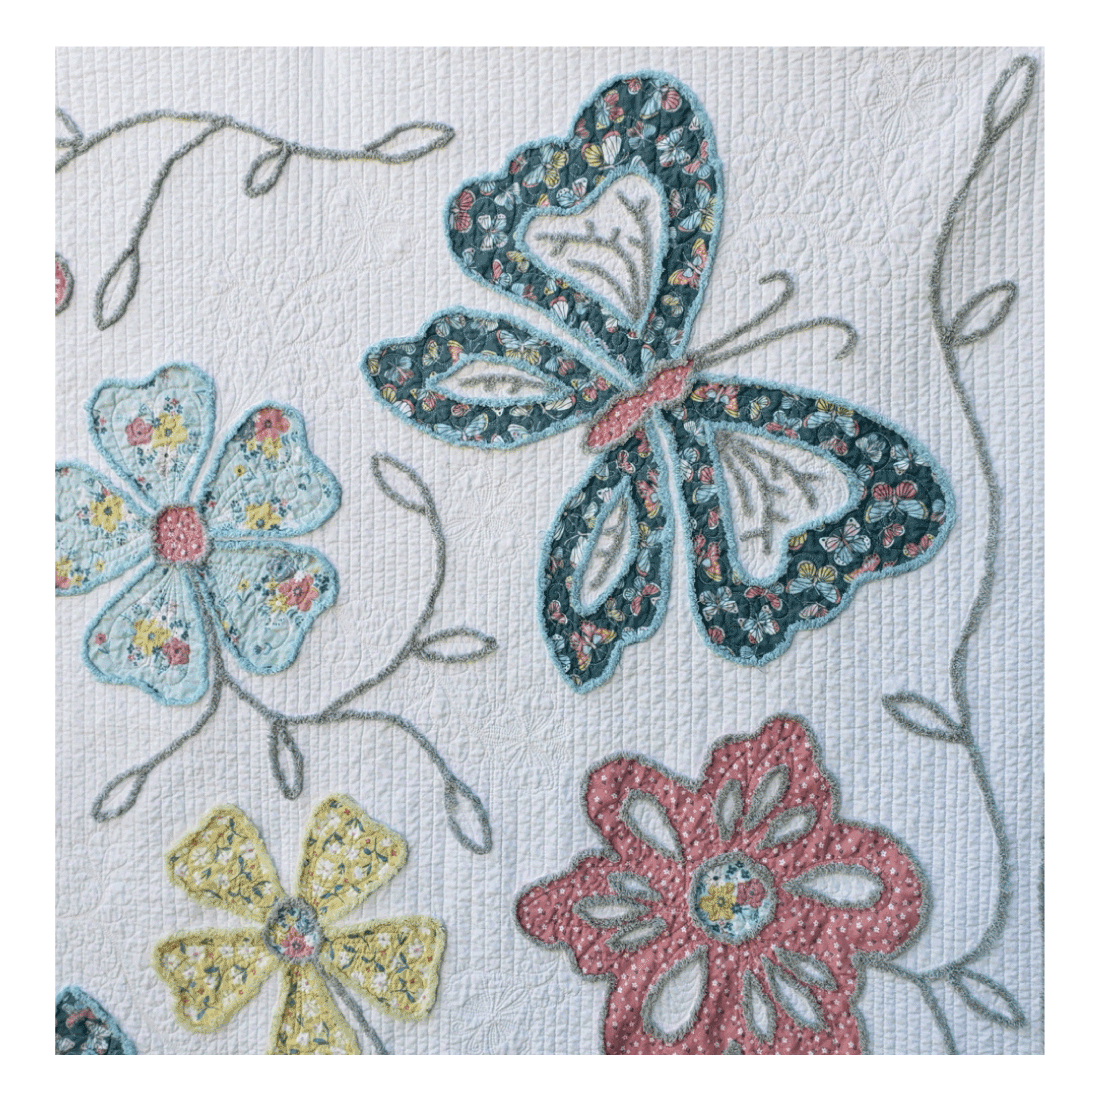
Once you have all your appliques in place, it is time to add your leaves, vines, and any other fun details. I love adding texture and dimension to my butterfly wings, antenna, and the centers of my flowers. Chenille-It will bring your quilt to life!
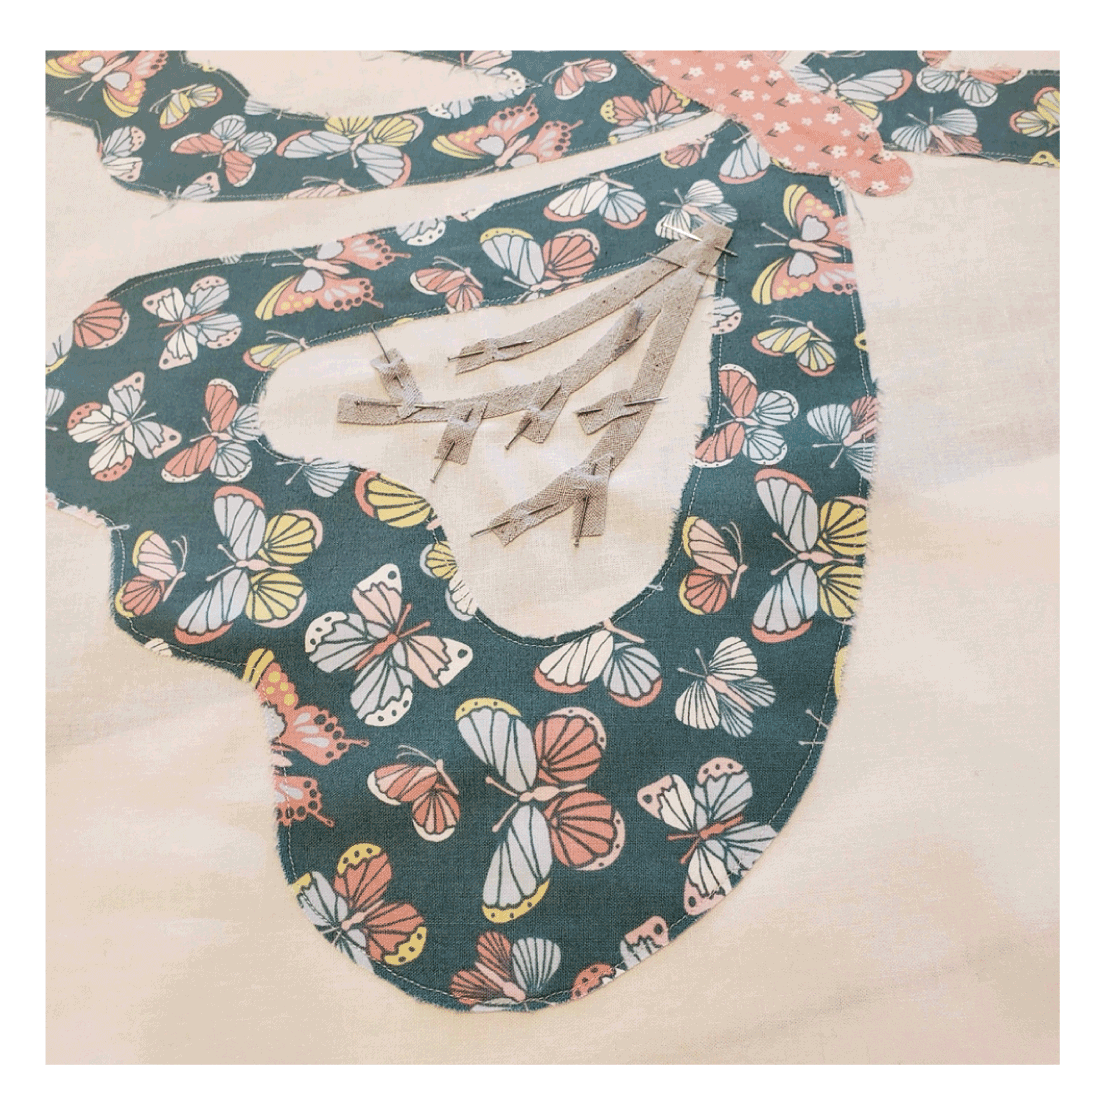
ADDING LEAVES AND VINES
Adding your leaves and vines is done using 3/8” Chenille-It and can be applied using your domestic machine, or it can be done on the long arm. I had the opportunity to demonstrate this technique on Handi Quilter Live. If you are interested in seeing how it is done, check out this YouTube video:

WHAT COLOR WILL YOU CHOOSE?
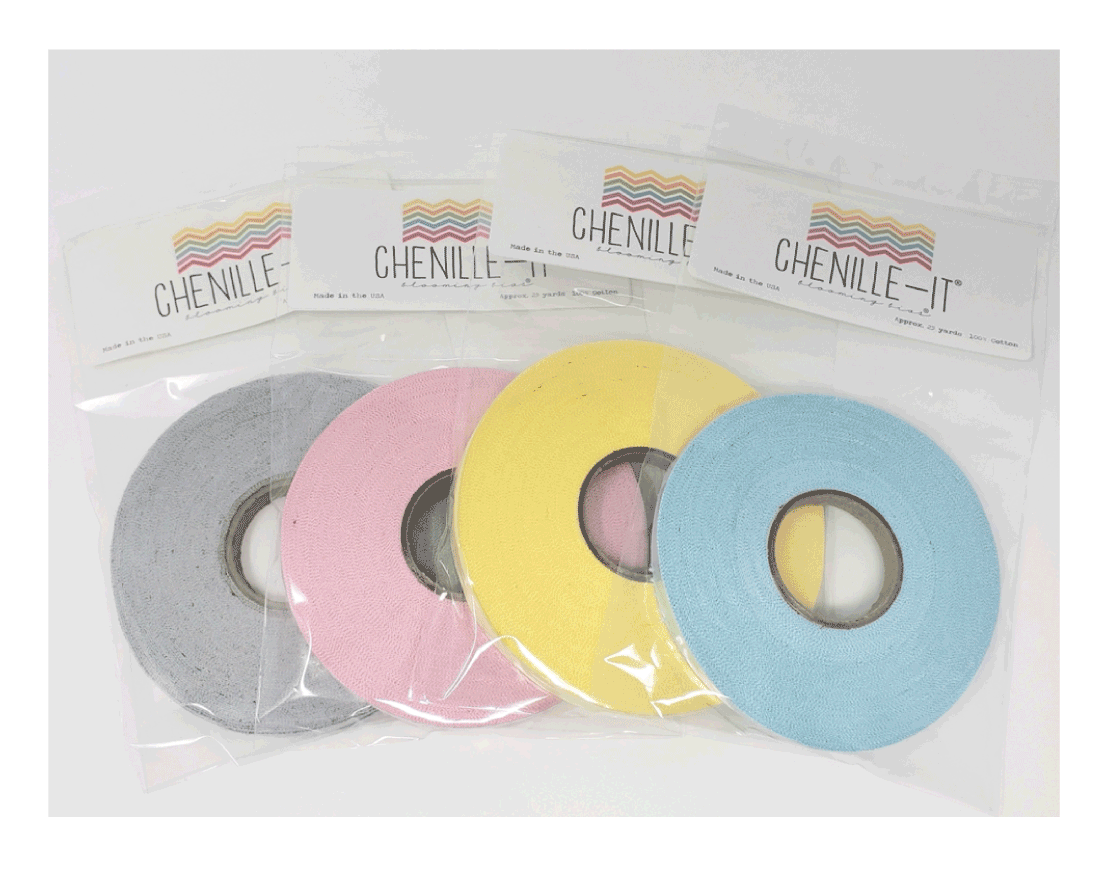
I used so many Chenille-It colors on this fun quilt: Grey, Pale Blue, Pale Yellow, and Pale Pink. They all coordinate perfectly with Maureen’s Blossom & Grow fabrics and help the design and prints pop. Plus there are so many more to choose from for your project on our website.
TIME TO QUILT
Once you have your appliques in place and outlined with Chenille-It, and your Chenille-It vines and leaves have been stitched down, you will want to quilt.
One of the most frequently asked questions I receive is when to add your Chenille-It: before or after quilting?
While it can be added afterwards, I typically add my Chenille-It prior to quilting. If you are doing E2E, make sure your quilting pattern isn’t too dense, then you can quilt right over the Chenille-It and it will bloom around your stitches. Otherwise, you can free motion quilt around your blooming bias.
This quilt was long armed by my good friend, Ruth Davis. I love all the beautiful patterns she added with her amazing custom quilting. If you look closely, you will see she added butterflies, flowers, and leaves in addition to the straight-line quilting.
BINDING YOUR QUILT
Next, you will want to bind your quilt.
Binding with Chenille-It is one of my favorite ways to use our product. It looks amazing and you have so many options of how you can incorporate it into the final finish of your quilt.
I often like to bind my quilts with our 5/8” Chenille-It giving it a soft, full, and fluffy finish.
If you are interested in learning about that technique, check out my Strip Pieced Baby Quilt on YouTube for step-by-step instructions:
Or, if you prefer traditional bindings, you can frame your quilt by adding a single layer of 3/8” Chenille-It around the edge, like I did with this Butterfly Garden quilt.
Once your binding is on, it’s time to make the magic happen!
Chenille-It blooms after a trip through the washer and dryer. For best results, you will want to use a machine that has an agitator. If you don’t have one of those, be sure to throw in a few towels or even a pair of sneakers.
It is the agitation that loosens the fibers and creates the fluffy finish of Chenille-It.
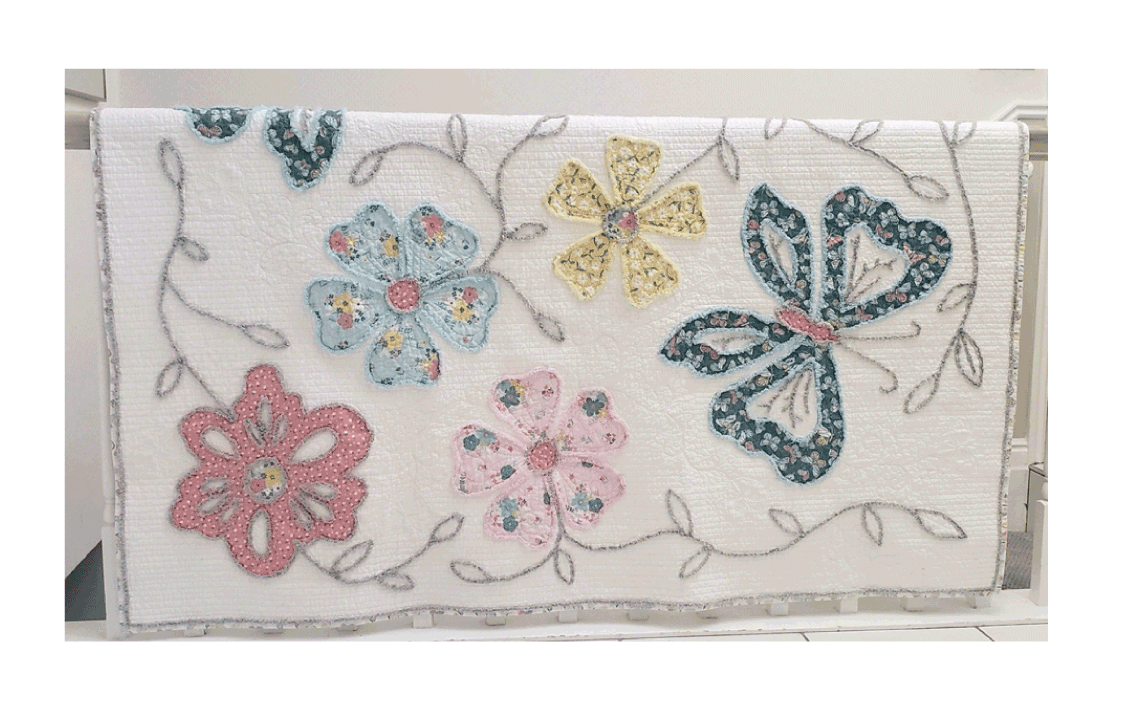
Such a beautiful transformation
with amazing texture!
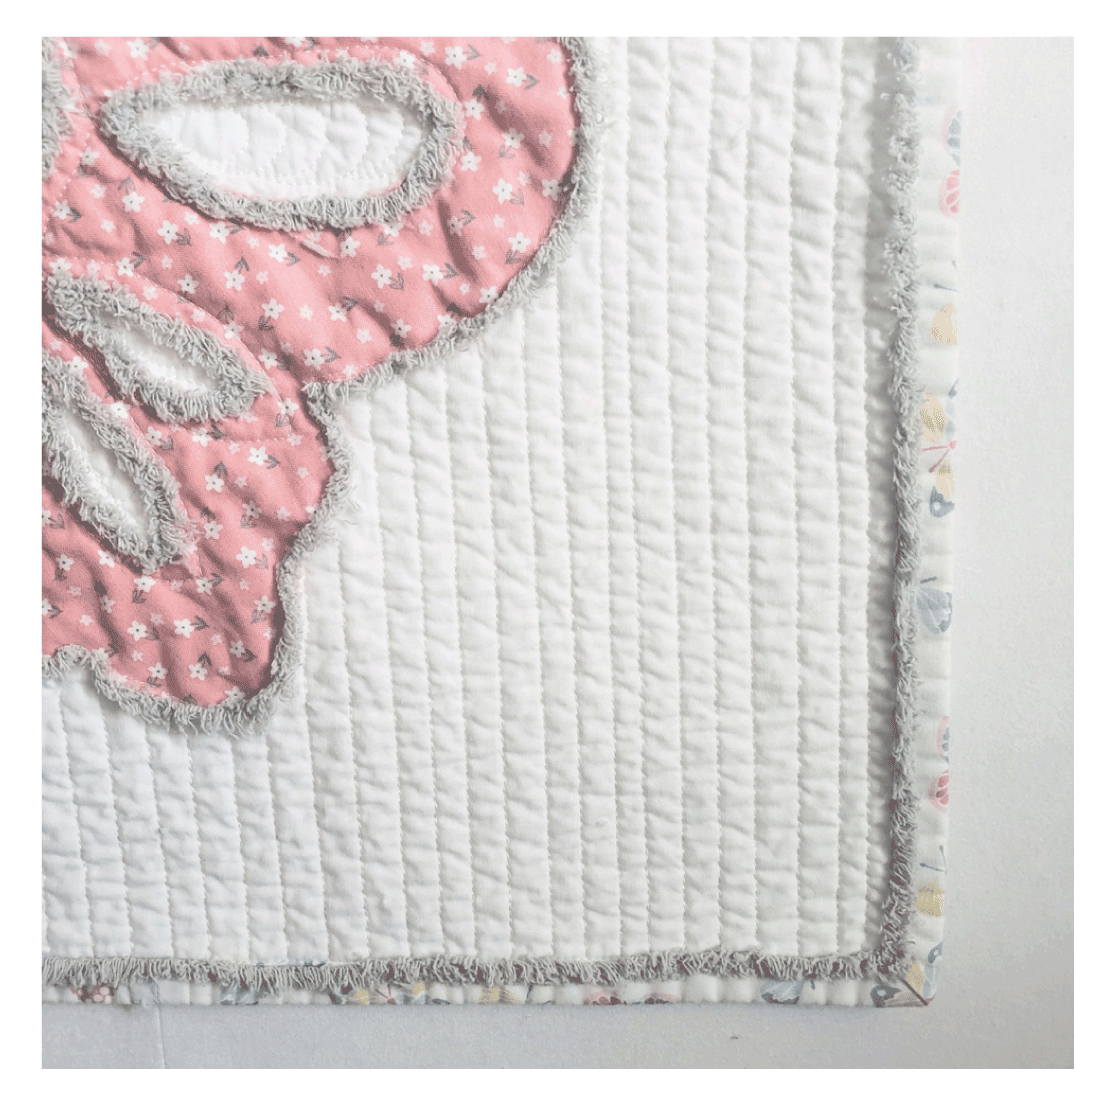
And here is a closeup of the binding.
A beautiful traditional binding, with a soft and texture-filled finish, perfectly framing the design and quilt!

Butterfly Garden is a perfect quilt for a wall hanging or for the top of any bed.
The quilt shown is 58” wide by 70” long, but it could be made any size.
You could use 108-inch-wide fabric for your whole cloth background and add more butterflies and flowers to make a king size quilt.
It is an easy quilt to adjust and make in any size.

HOW TO GET YOUR PATTERN
The Butterfly Garden quilt pattern is available on our website and can be purchased here https://www.fauxchenille.com/collections/patterns/products/butterfly-garden-quilt
You will also find all our Chenille-It Blooming Bias which comes in two widths- 3/8” and 5/8” and 25 different colors.
I hope you love this quilt as much as I do! It was the perfect project to showcase these adorable prints and Chenille-It.
After this it is going to a very dear friend who just lost her daughter- she loved butterflies. I am hopeful that this quilt will bring her peace and help her heal.
I am grateful to Maureen for sharing in that process and allowing me to create this for her!
DON’T BE A STRANGER
Follow me on Instagram @chenilleit for more fun ideas, techniques, and Chenille-It patterns. I would love to connect with you there and am happy to answer any questions you have.
Make sure you visit and bookmark Maureen’s Blog tour page where you will find the list of all participants and schedule for the tour. It is going to be filled with so many fun projects, and you don’t want to miss any of it!
Don’t forget to check back in tomorrow.
I can’t wait to see what is next! Make sure to visit Anne Schott from Five Patch Design tomorrow for more inspiration and fun!!
She is planning an environmentally-friendly project you won’t want to miss.
Butterfly Garden quilt pattern, Copyright Chenille-It 2022
Not for duplication
PS. Here is the link to all of the Blossom and Grow Blog Hop projects in one place. Be sure to check them out.